Canning: Homemade Strawberry Jam
Toward the end of last year, I made Strawberry Freezer Jam. While I love strawberry freezer jam, my lack of a huge freezer makes it hard to make large batches for food storage. This year, I decided to can my strawberry jam instead.
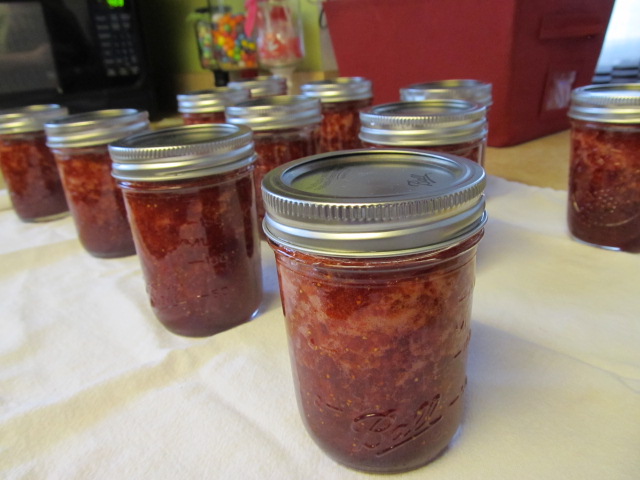
I was a bit terrified, not being an expert canner, but I felt a huge amount of pride when I tested my seals and discovered all my jars had sealed. In the words of my mom, “If you do it right,the physics of it works.” I guess she’s right.
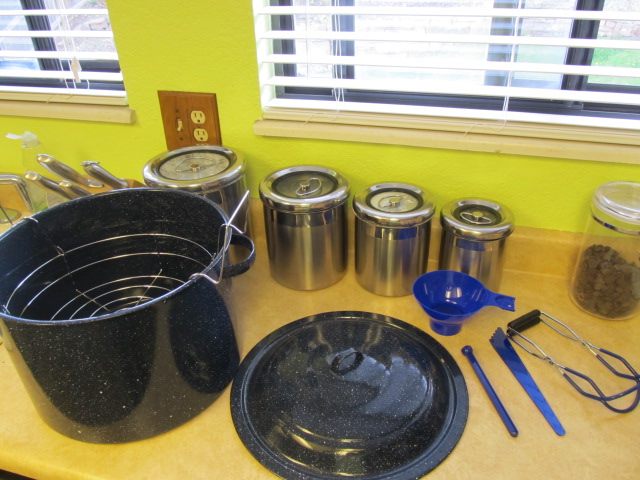
Before I started, I assembled all my canning supplies. If you don’t have some of these tools, you can get by with tongs and a butter knife. My canning set(click the link to see my set) was a gift from my mom and I’m very grateful for it. I highly recommend a large pot with a canning rack to keep your jars from tipping while they process.
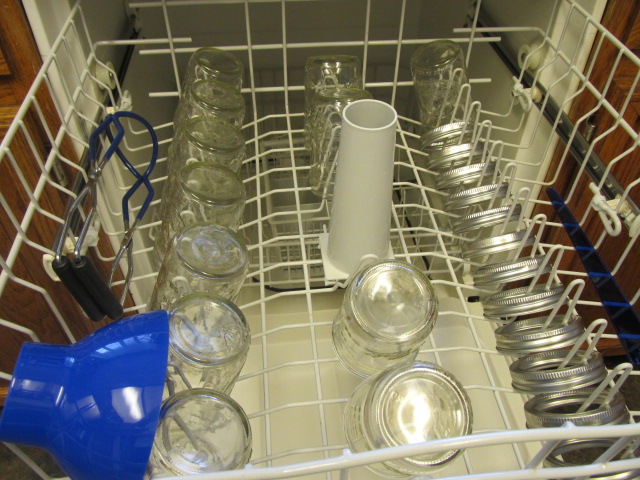
The first step is to sterilize your jars. My mom taught me to do this by putting my jars and rings into an empty dishwasher (I also added all my canning tools, except my magnet tool), and running them through a wash cycle (with soap). Doing this while your prepare everything else ensures the jars are warm when you add the jam. It’s really important for your jars to be warm, so the warm jam doesn’t crack the jar.
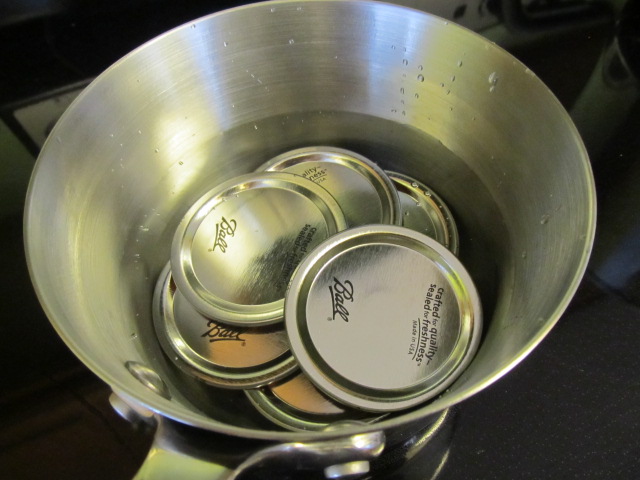
While your jars are sterilizing, put your lids into a small saucepan with a little water and bring to a simmer.
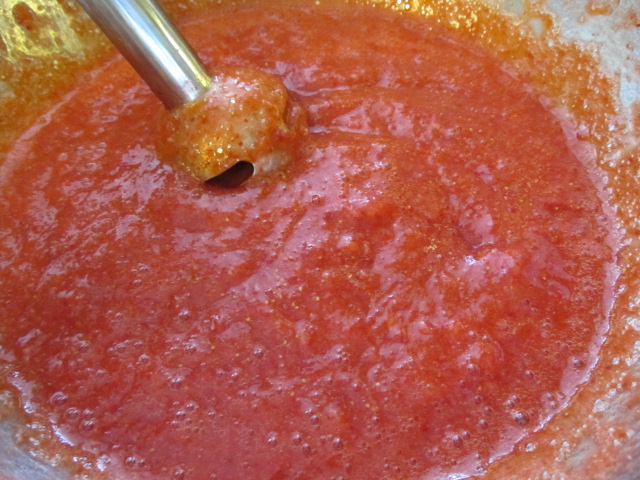
Before you mash your berries, wash and hull the strawberries. Then cut them into chunks and either mash them with a potato masher, or blend them with an immersion blender.
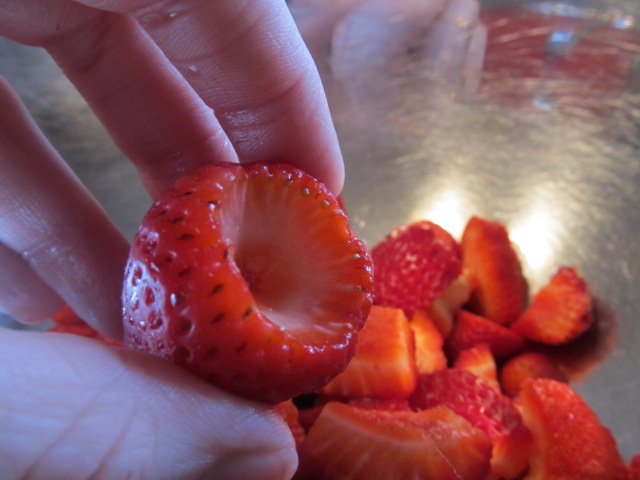
The amount of strawberries you’ll need depends on how much you mash your berries. In the end, you’ll need 5 cups of crushed berries. I blended mine with an immersion blender (leaving a few chunks because I love the large pieces of strawberry in the jam), so I needed more berries. I used about 3 1/4 lbs of strawberries. If you choose to mash your berries with a potato masher and leave them chunkier, you’ll probably need 2-3 pounds.
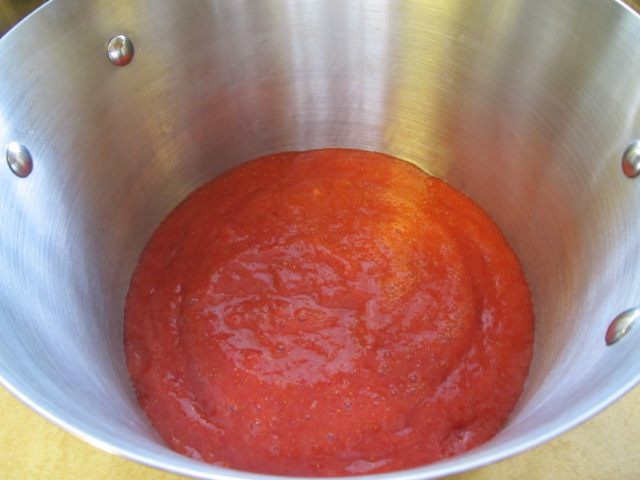
Add your 5 cups of mashed strawberries to a large pot, and measure 7 cups of granulated sugar into a large bowl. Set this aside for later.
This is a good time to fill your massive canning pot with water and start heating it up on the stove.
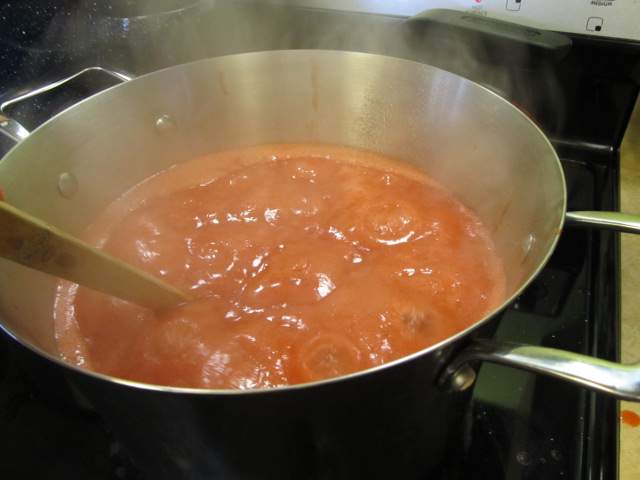
To the berries, add one package of canning fruit pectin. You can find this in the baking isle of your grocery store. Put the pot of berries on the stove on high heat and stir constantly to bring to a full rolling boil.
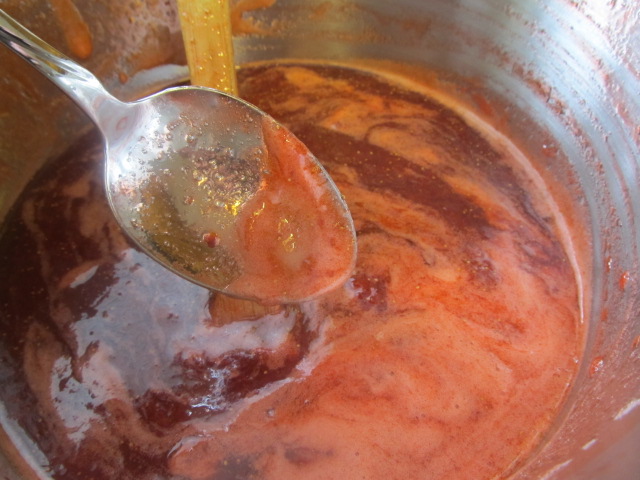
Once the mixture starts to boil, keep stirring and add the sugar all at once. Bring back to a hard boil and boil for another 1 minute and 20 seconds. I know it’s a random time. I don’t know why it works, but it does.
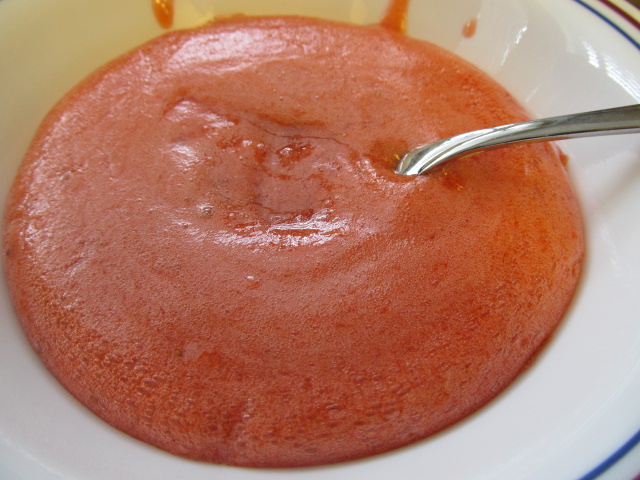
Now remove the pot from the heat and skim the foam off the top. Most people throw this away, but I LOVE the foam. I put it in a plastic container in my fridge and eat it like jam.
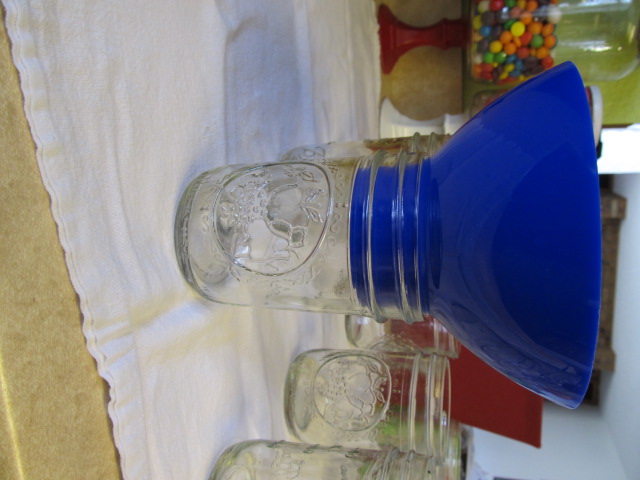
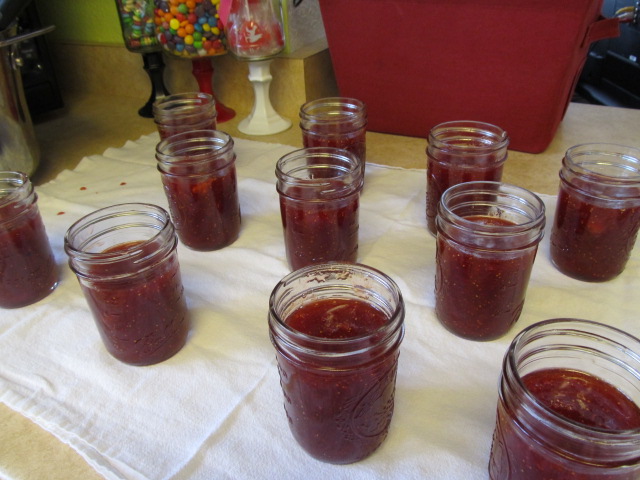
Now it’s time to fill the jars! Put the sterilized jars on a kitchen towel (because if you’re like me, you will slop) and fill the jars using a canning funnel and a ladle. If you don’t have a funnel, you can just ladle the jam in. Since I have a talent for spilling, I personally would not do well without the funnel. I fill it to the bottom of the funnel, or about 1 inch from the top of the jar.
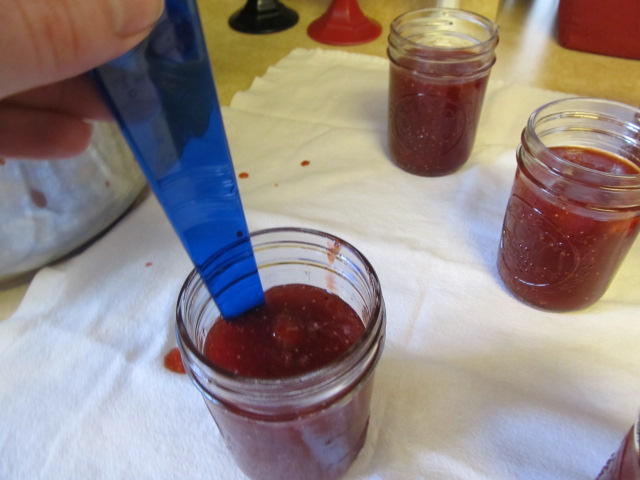
Using your stick tool (or a butter knife), get rid of any air bubbles by running the tool around the inside of the jar.
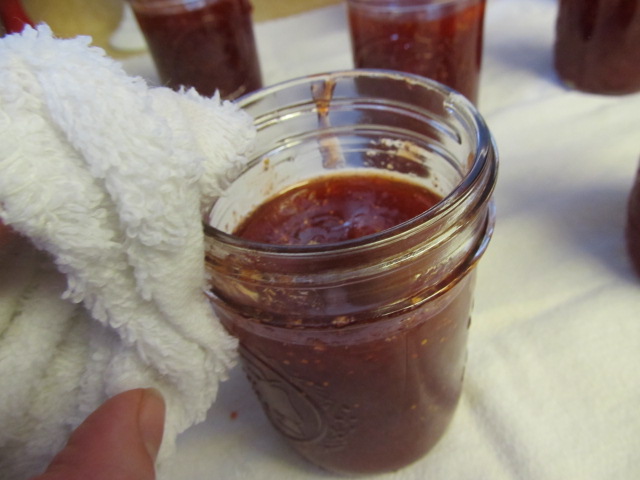
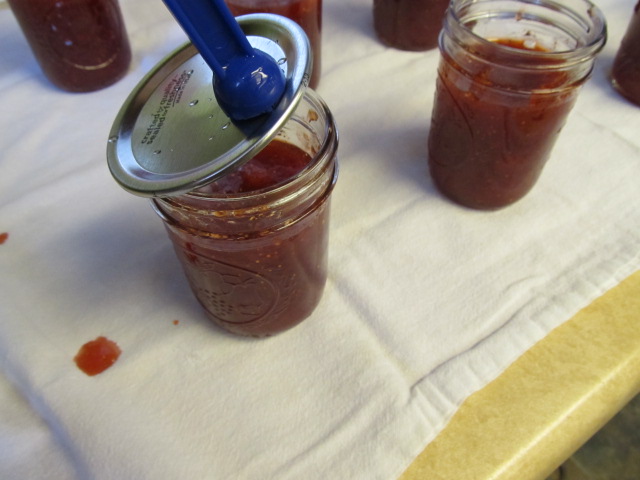
Using a damp cloth, wipe the rims of the jars clean and set the lid on top, either with tongs or a canning magnet tool. Now lightly screw the rings on the jars, being very careful not to move the cans too much.
Gently place the jars on the canning rack and lower them into the water. Put the lid on the pan and as soon as the water starts to boil hard, set the timer for 10 minutes. After 10 minutes, turn the heat off and let the cans sit for another five minutes.
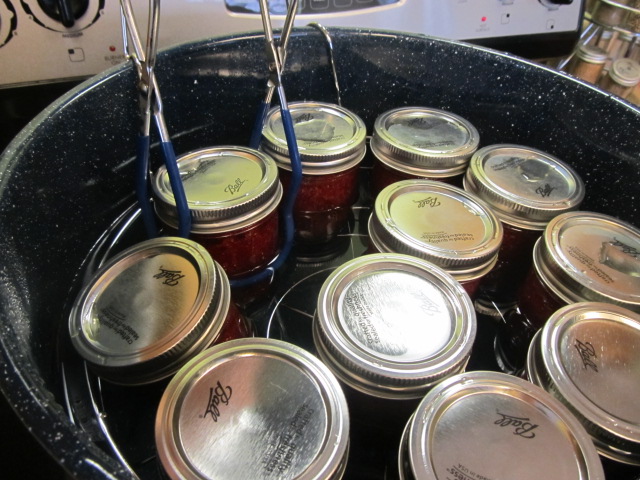
Now set the jars back on the kitchen towel and walk away for 24 hours. That is the hardest part for me. I really want to test the seal right then, but that would be counter-productive.
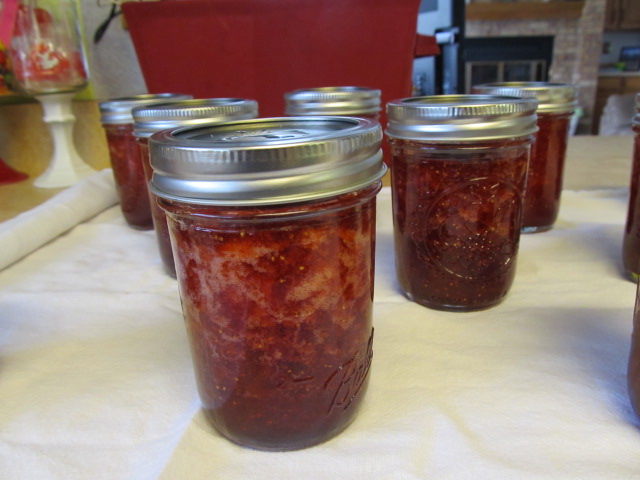
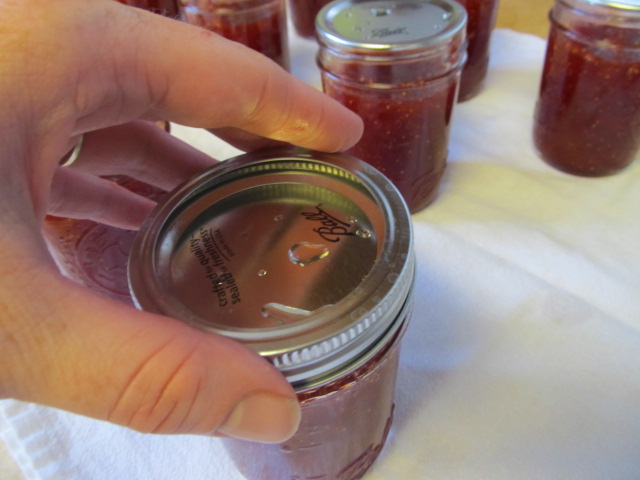
After 24 hours, gently remove the ring and check the seal. If the lid doesn’t move at all, you’ve successfully canned jam!! If it does, put it in your fridge and use it.
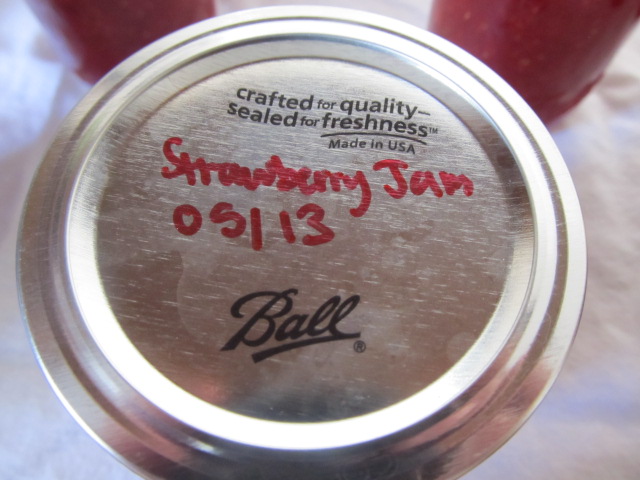
Be sure to label your cans with what they are and when they were made. They’ll stay good in a cool, dark place for up to a year.
Good luck!!