How to Make a No-Sew Tutu
Last year for Halloween, I bought my daughter a tutu to go with her costume. I thought she’d wear it for Halloween and occasionally to dress up and then we’d pack it away when it got too small. I was wrong. This now raggedy, too-small tutu makes an appearance daily. Sometimes it appears over her jeans, sometimes over her pajamas, sometimes under another dress and sometimes she comes down in a swimsuit and the tutu. She must have noticed it’s starting to look old and worn because recently she requested “More tutus!” I tried to explain to her that beauty is about what is inside, but she’s firm in her declaration that beauty must include a tutu. Because I don’t want to spend $30 on a tutu that will be used as an accessory, and because I can’t sew, I decided I needed to learn to make a no-sew tutu.
I built my confidence by watching several You Tube videos and talking to friends. The results; a no sew tutu any girl can be proud of.

Materials:
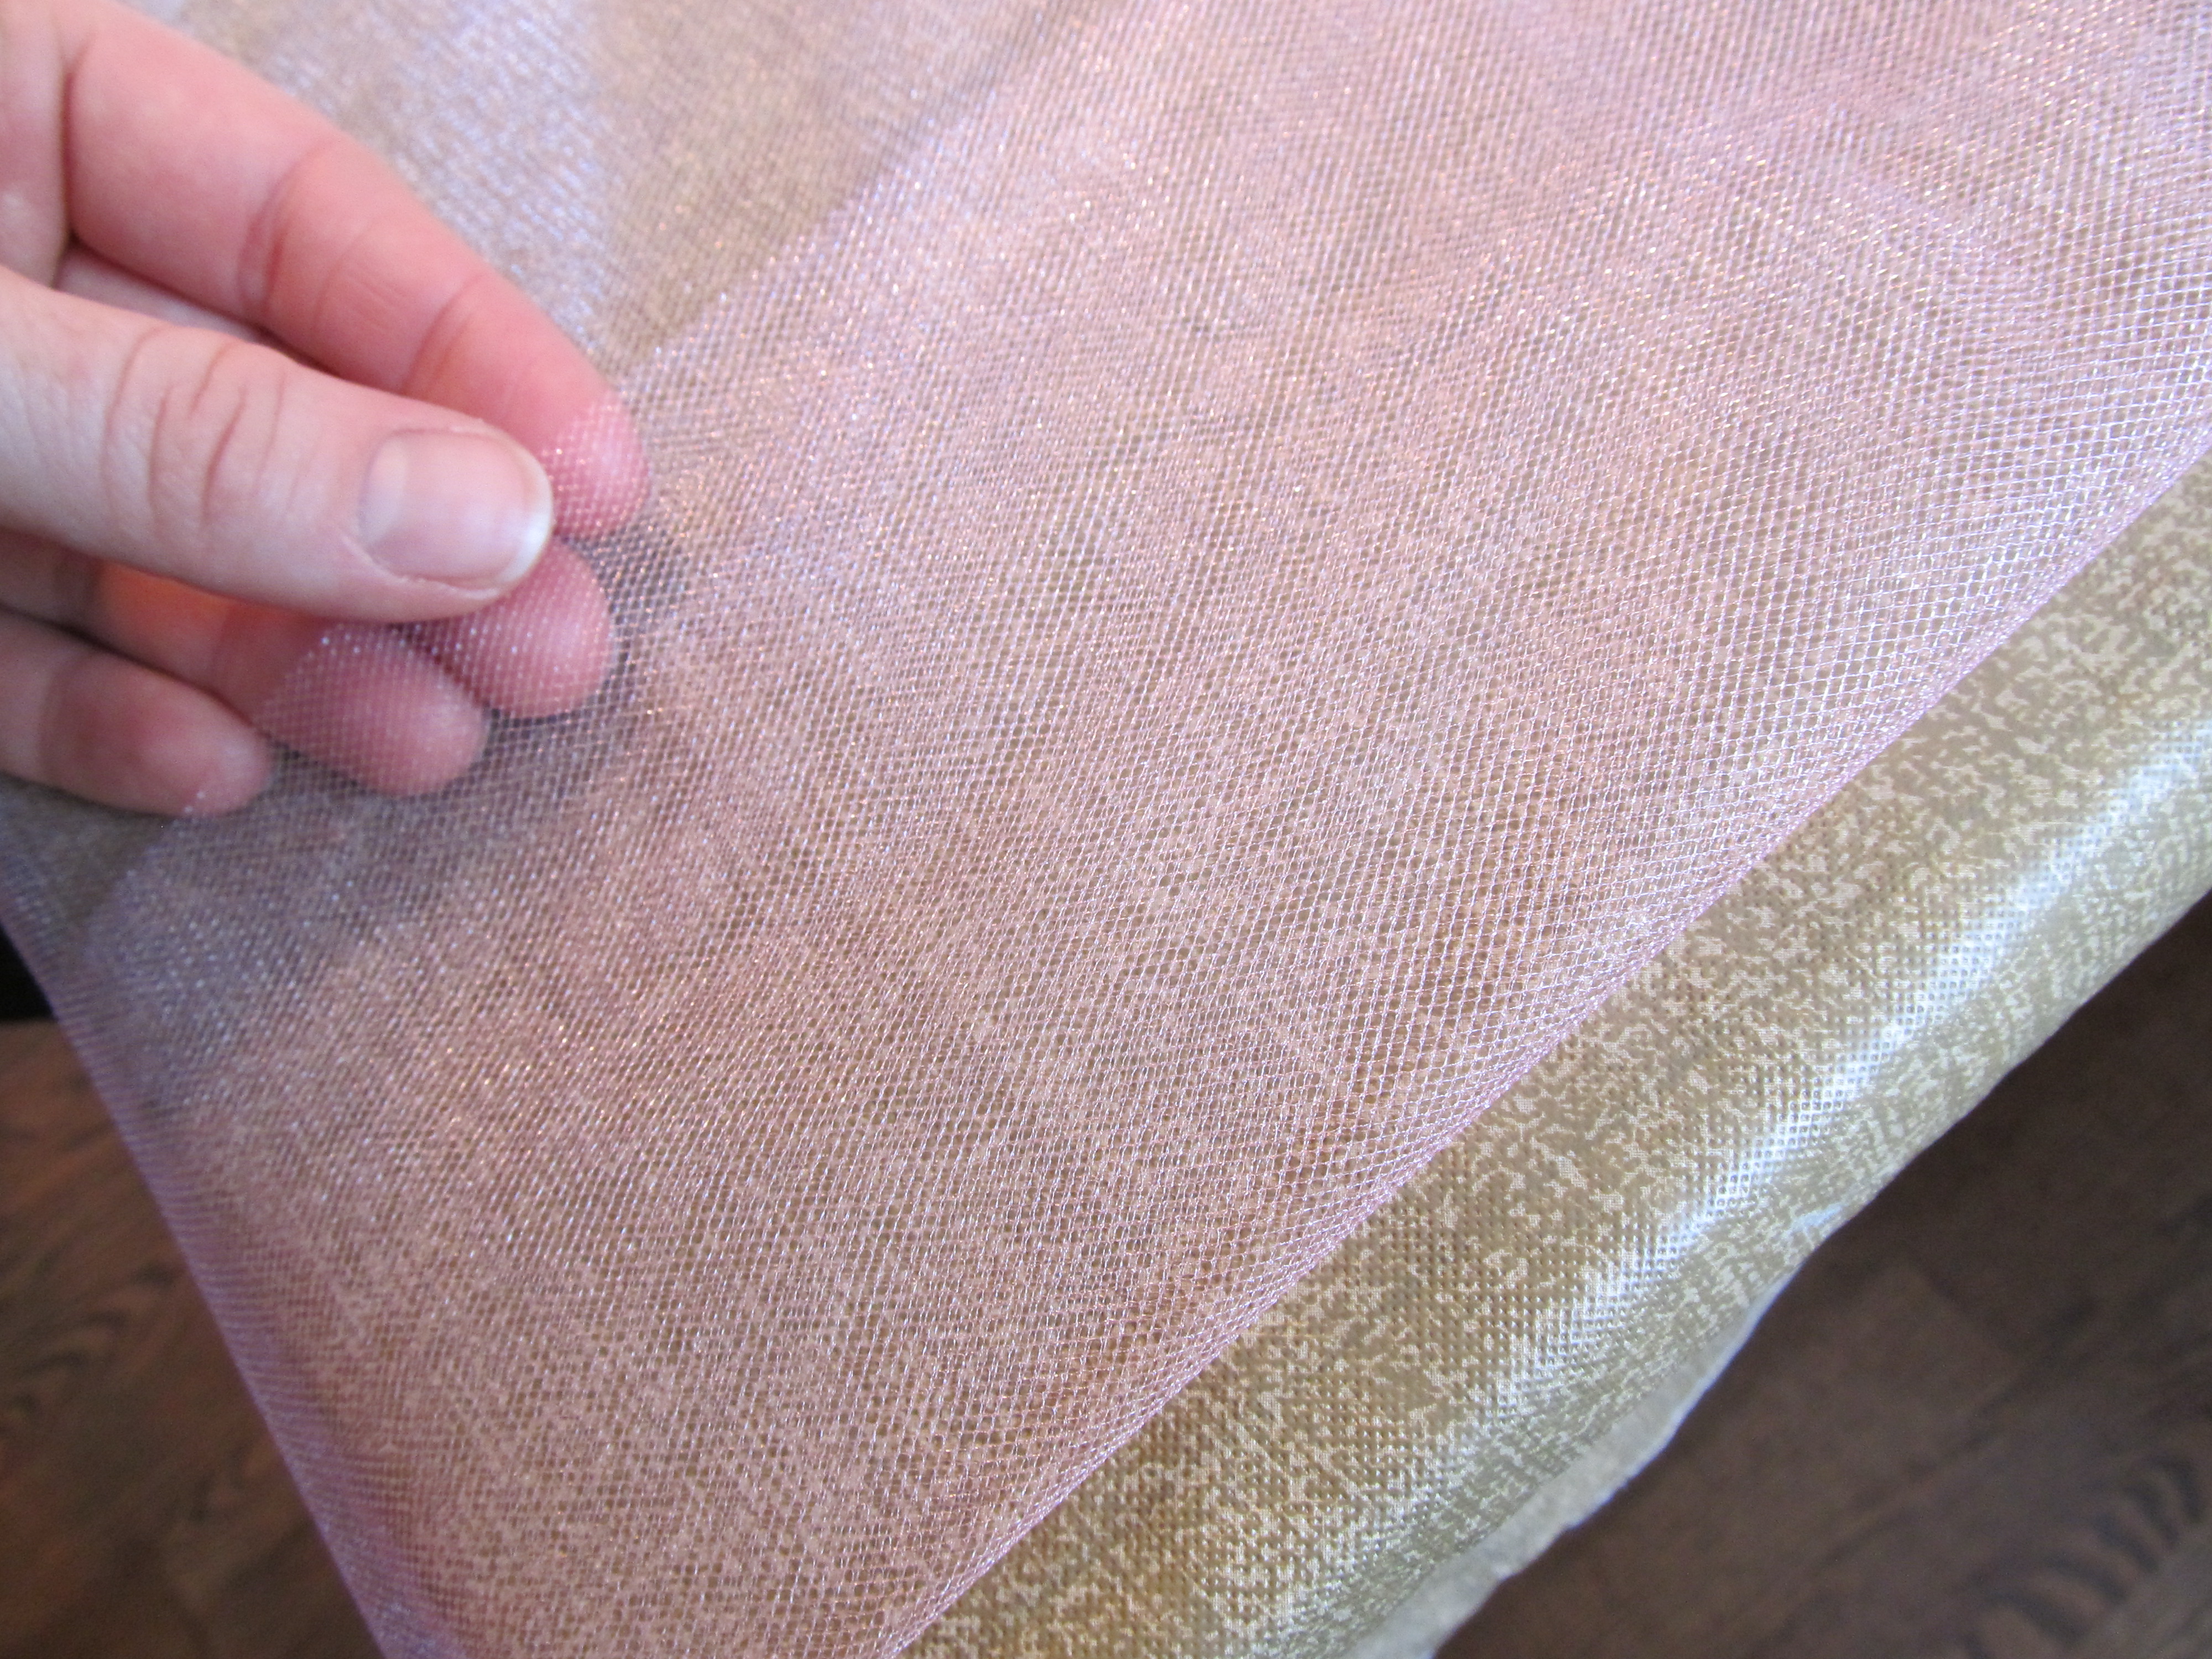
- First, you need tulle and lots of it. I used 5 yards of tulle. This would fit a girl anywhere from 2 to about 8. You can pick one color tulle or several (my daughter, of course, picked 3 colors). You can choose $10/yard sparkly tulle with print, or plain old $1.29/yard tulle. I splurged and got the $1.49/yard shiny tulle (Have I mentioned I’m cheap?).
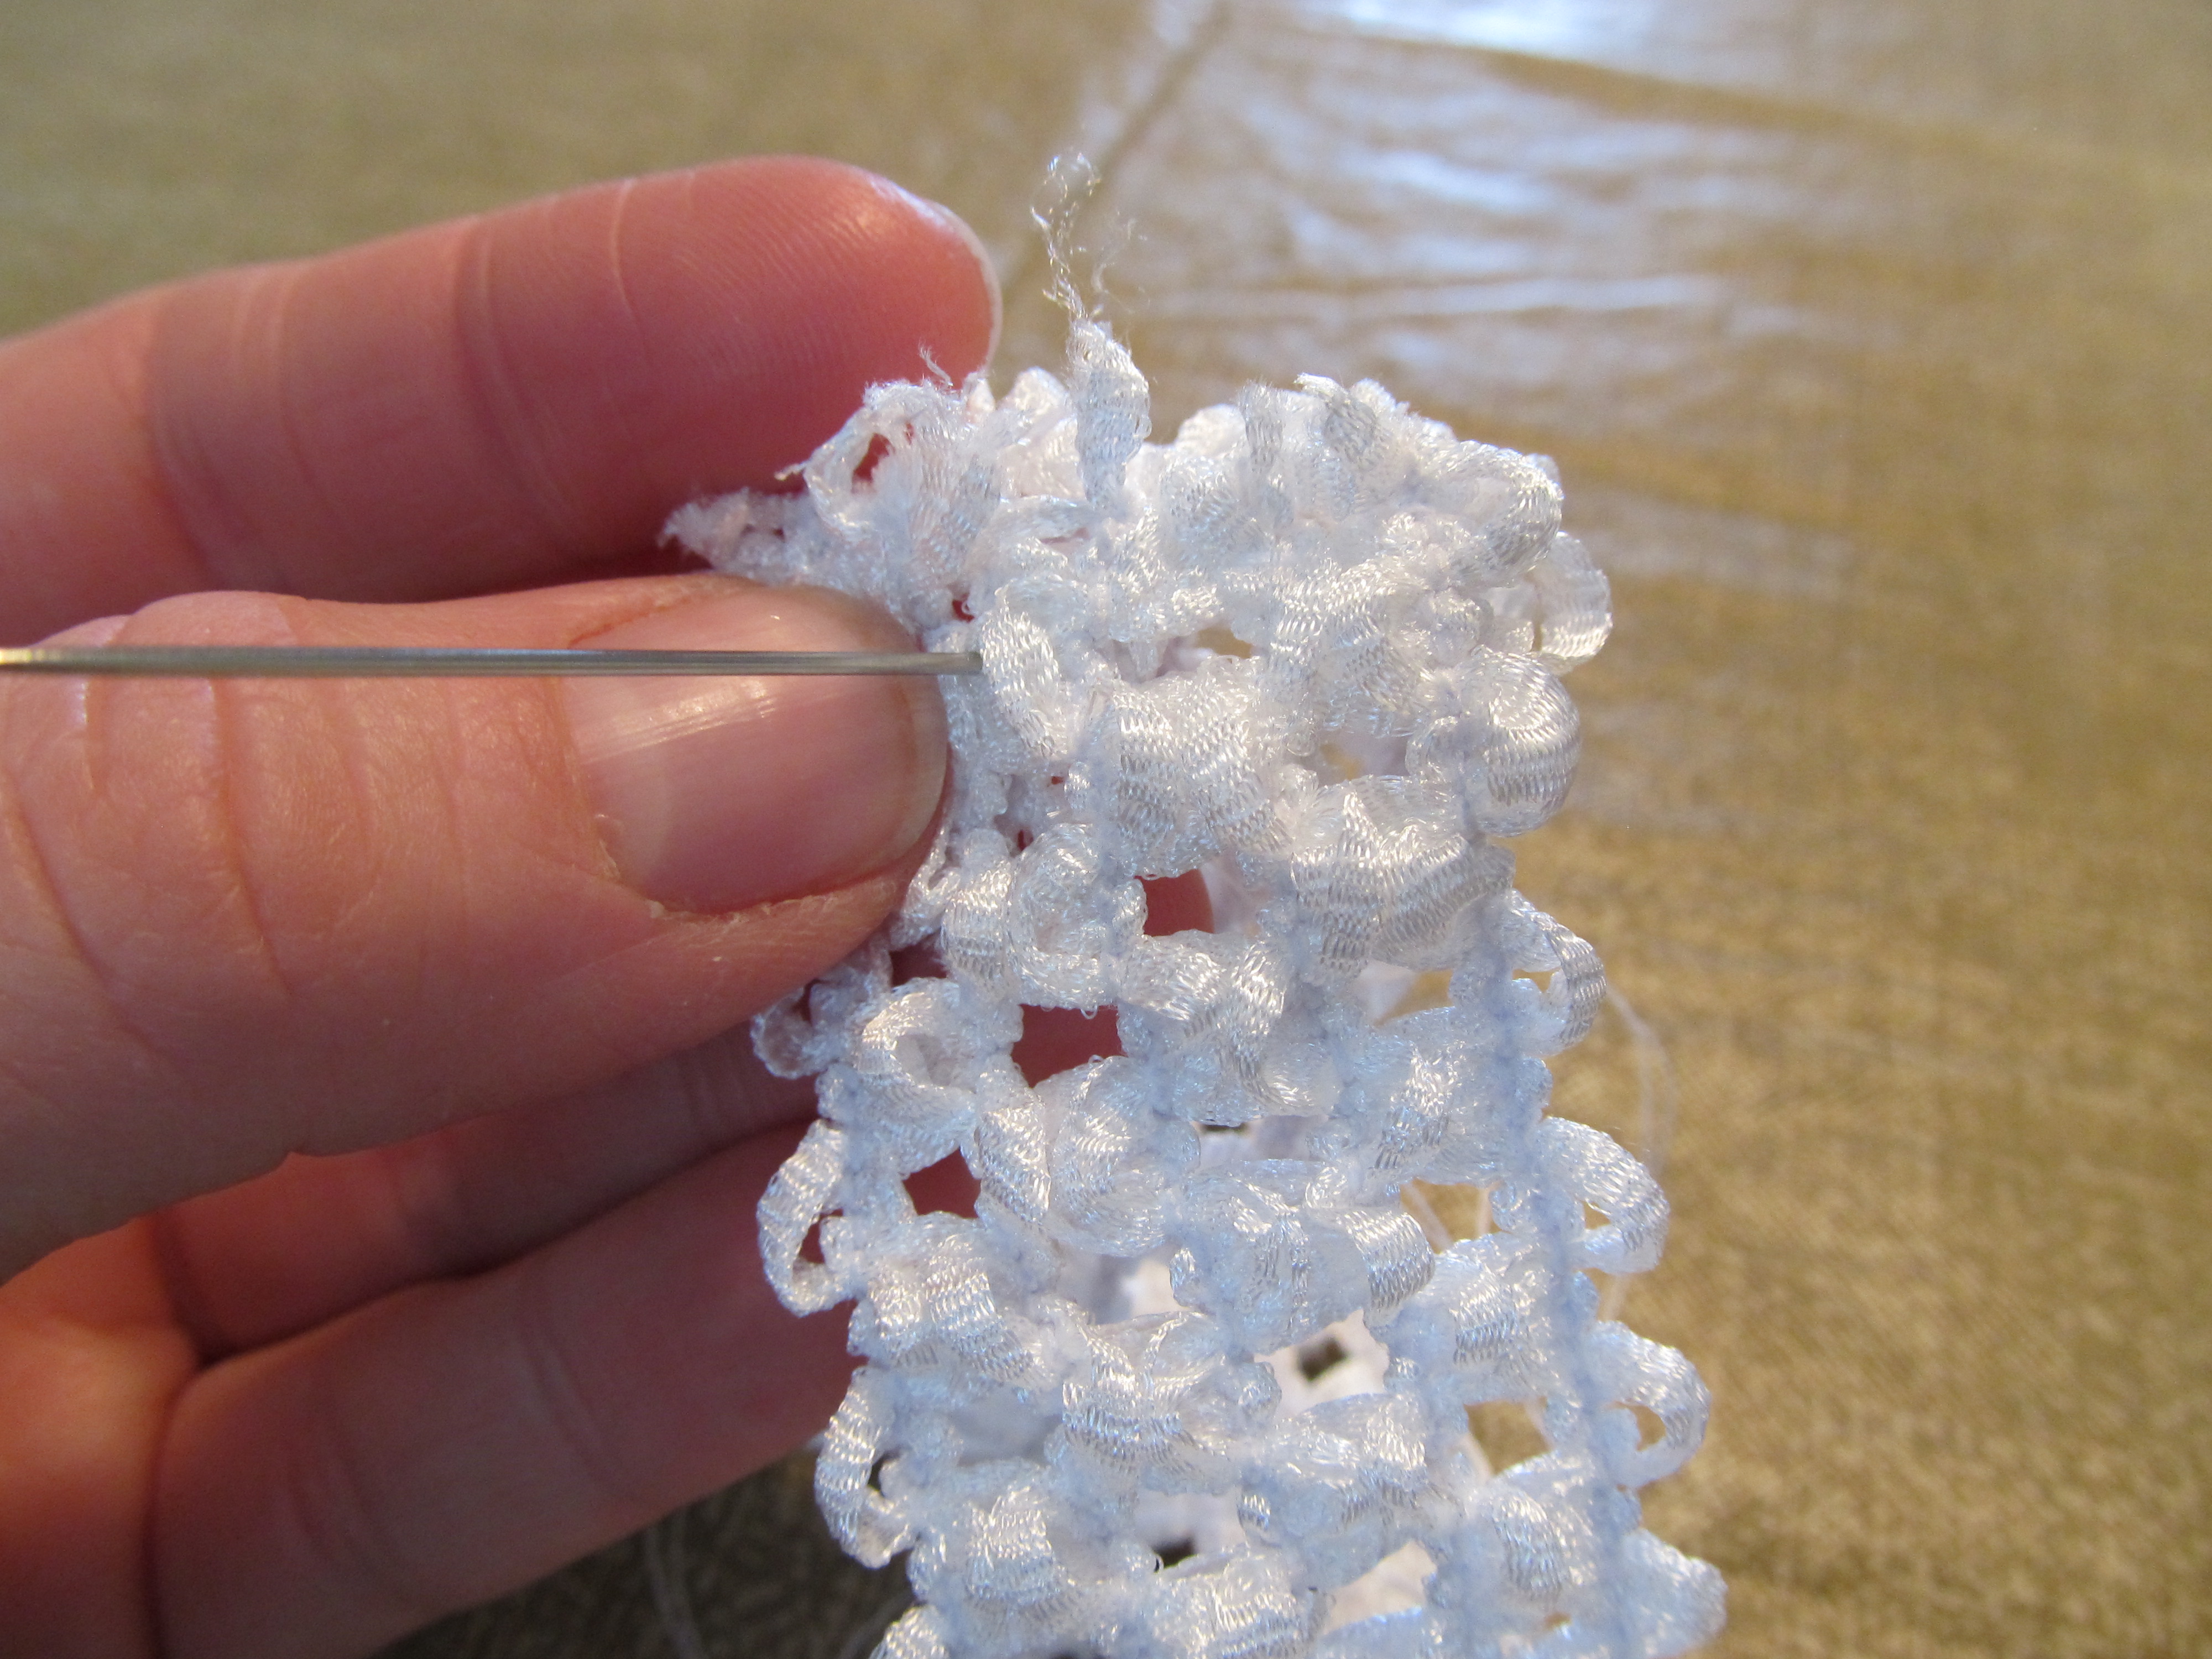
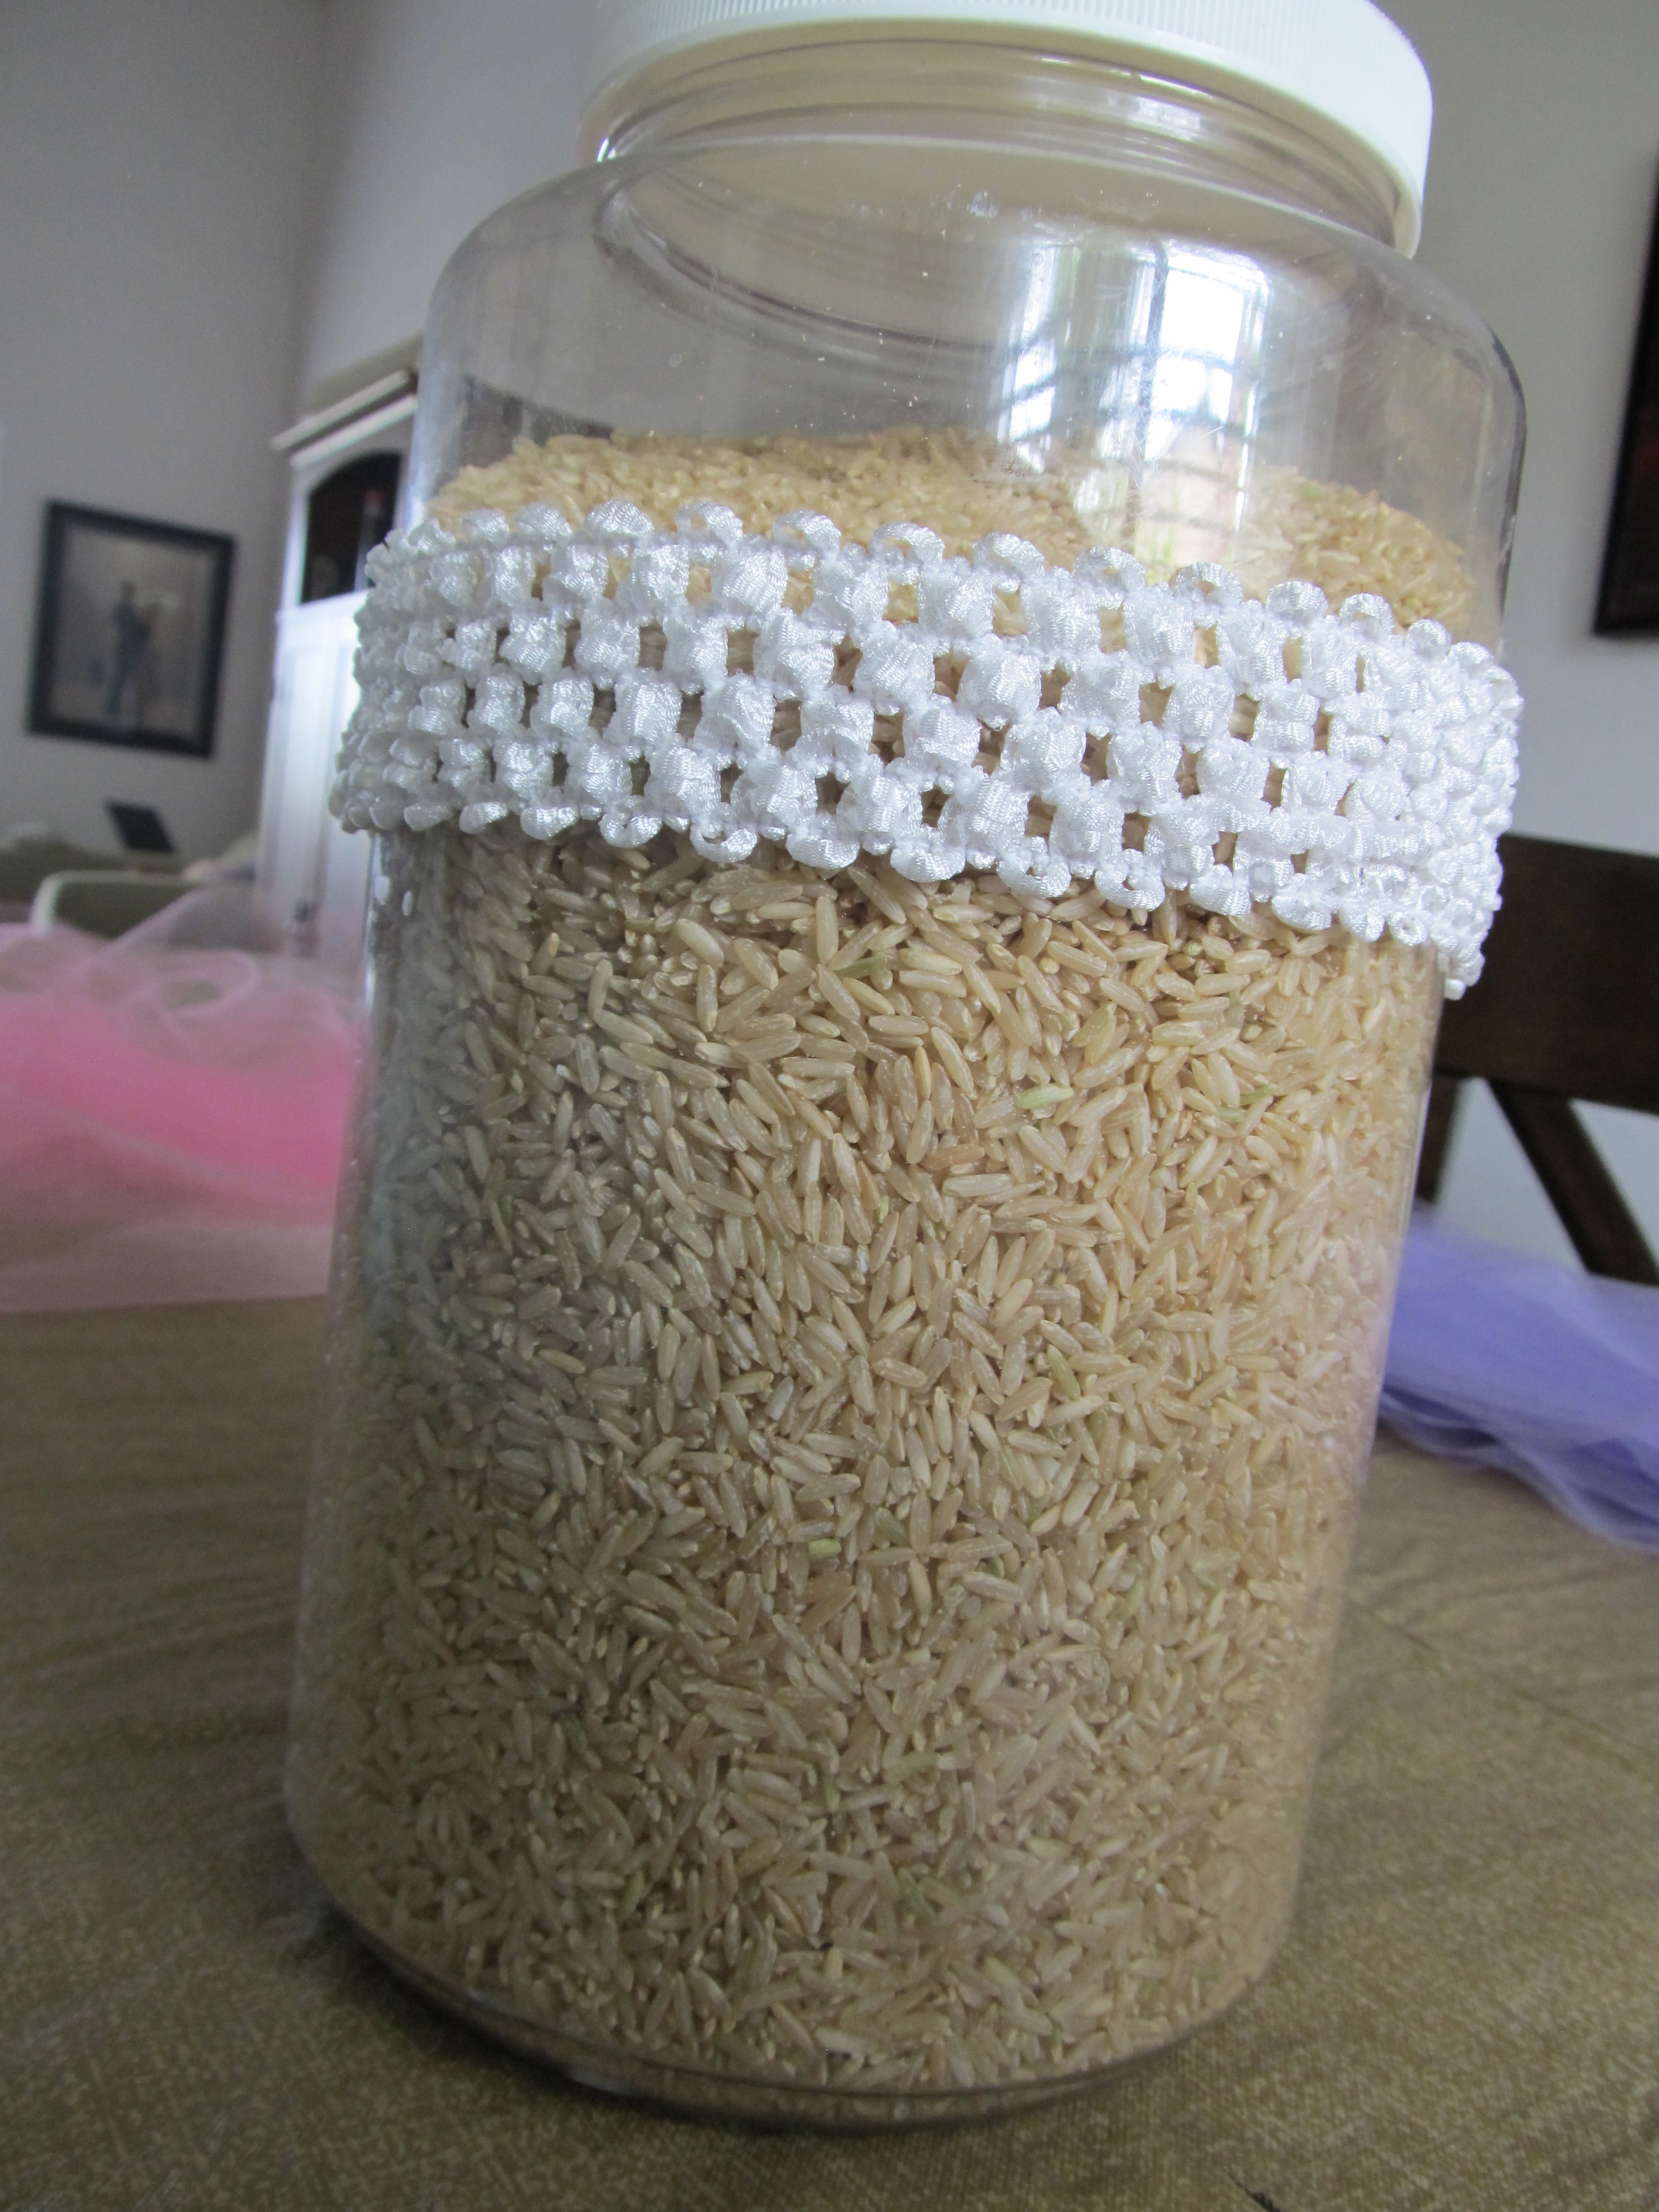
- Next you need some kind of waistband. You can choose to tie the tulle strips on a ribbon or a headband. For the ribbon method, just measure around the girl’s waist. Be sure to leave about 6-8 inches of ribbon on each side unadorned to tie the tutu on. The portion in the middle is where you’ll tie the tulle strips. The headbands I’m referring to are the mesh headbands usually adorned with flowers, etc. I decided I wasn’t a fan of either method. And here’s where I actually did do a little sewing. And this is the kind of sewing done by someone who can’t even hem pants, so I’m pretty sure you can do it. I purchased the headband material mentioned above on a spool rather than a pre-made headband. Then, using the headband material, I measured around my daughter’s waist. I wanted it to be tight enough to stay on, but loose enough to last years. Then I hand-stitched the ends together with a needle and some white thread. I just got this material at Hobby Lobby on sale for $1.67. So I guess technically my tutu wasn’t a completely no-sew tutu, but this was my favorite method.
- Scissors
- A large flat surface for cutting tulle.
- A ruler
- some kind of large jug to keep the headband in place while you tie on tulle
- 2 free hours
Cutting the Tulle:
Since I can’t cut a strait line, I was a but nervous for this part, but it was actually easier than I thought.
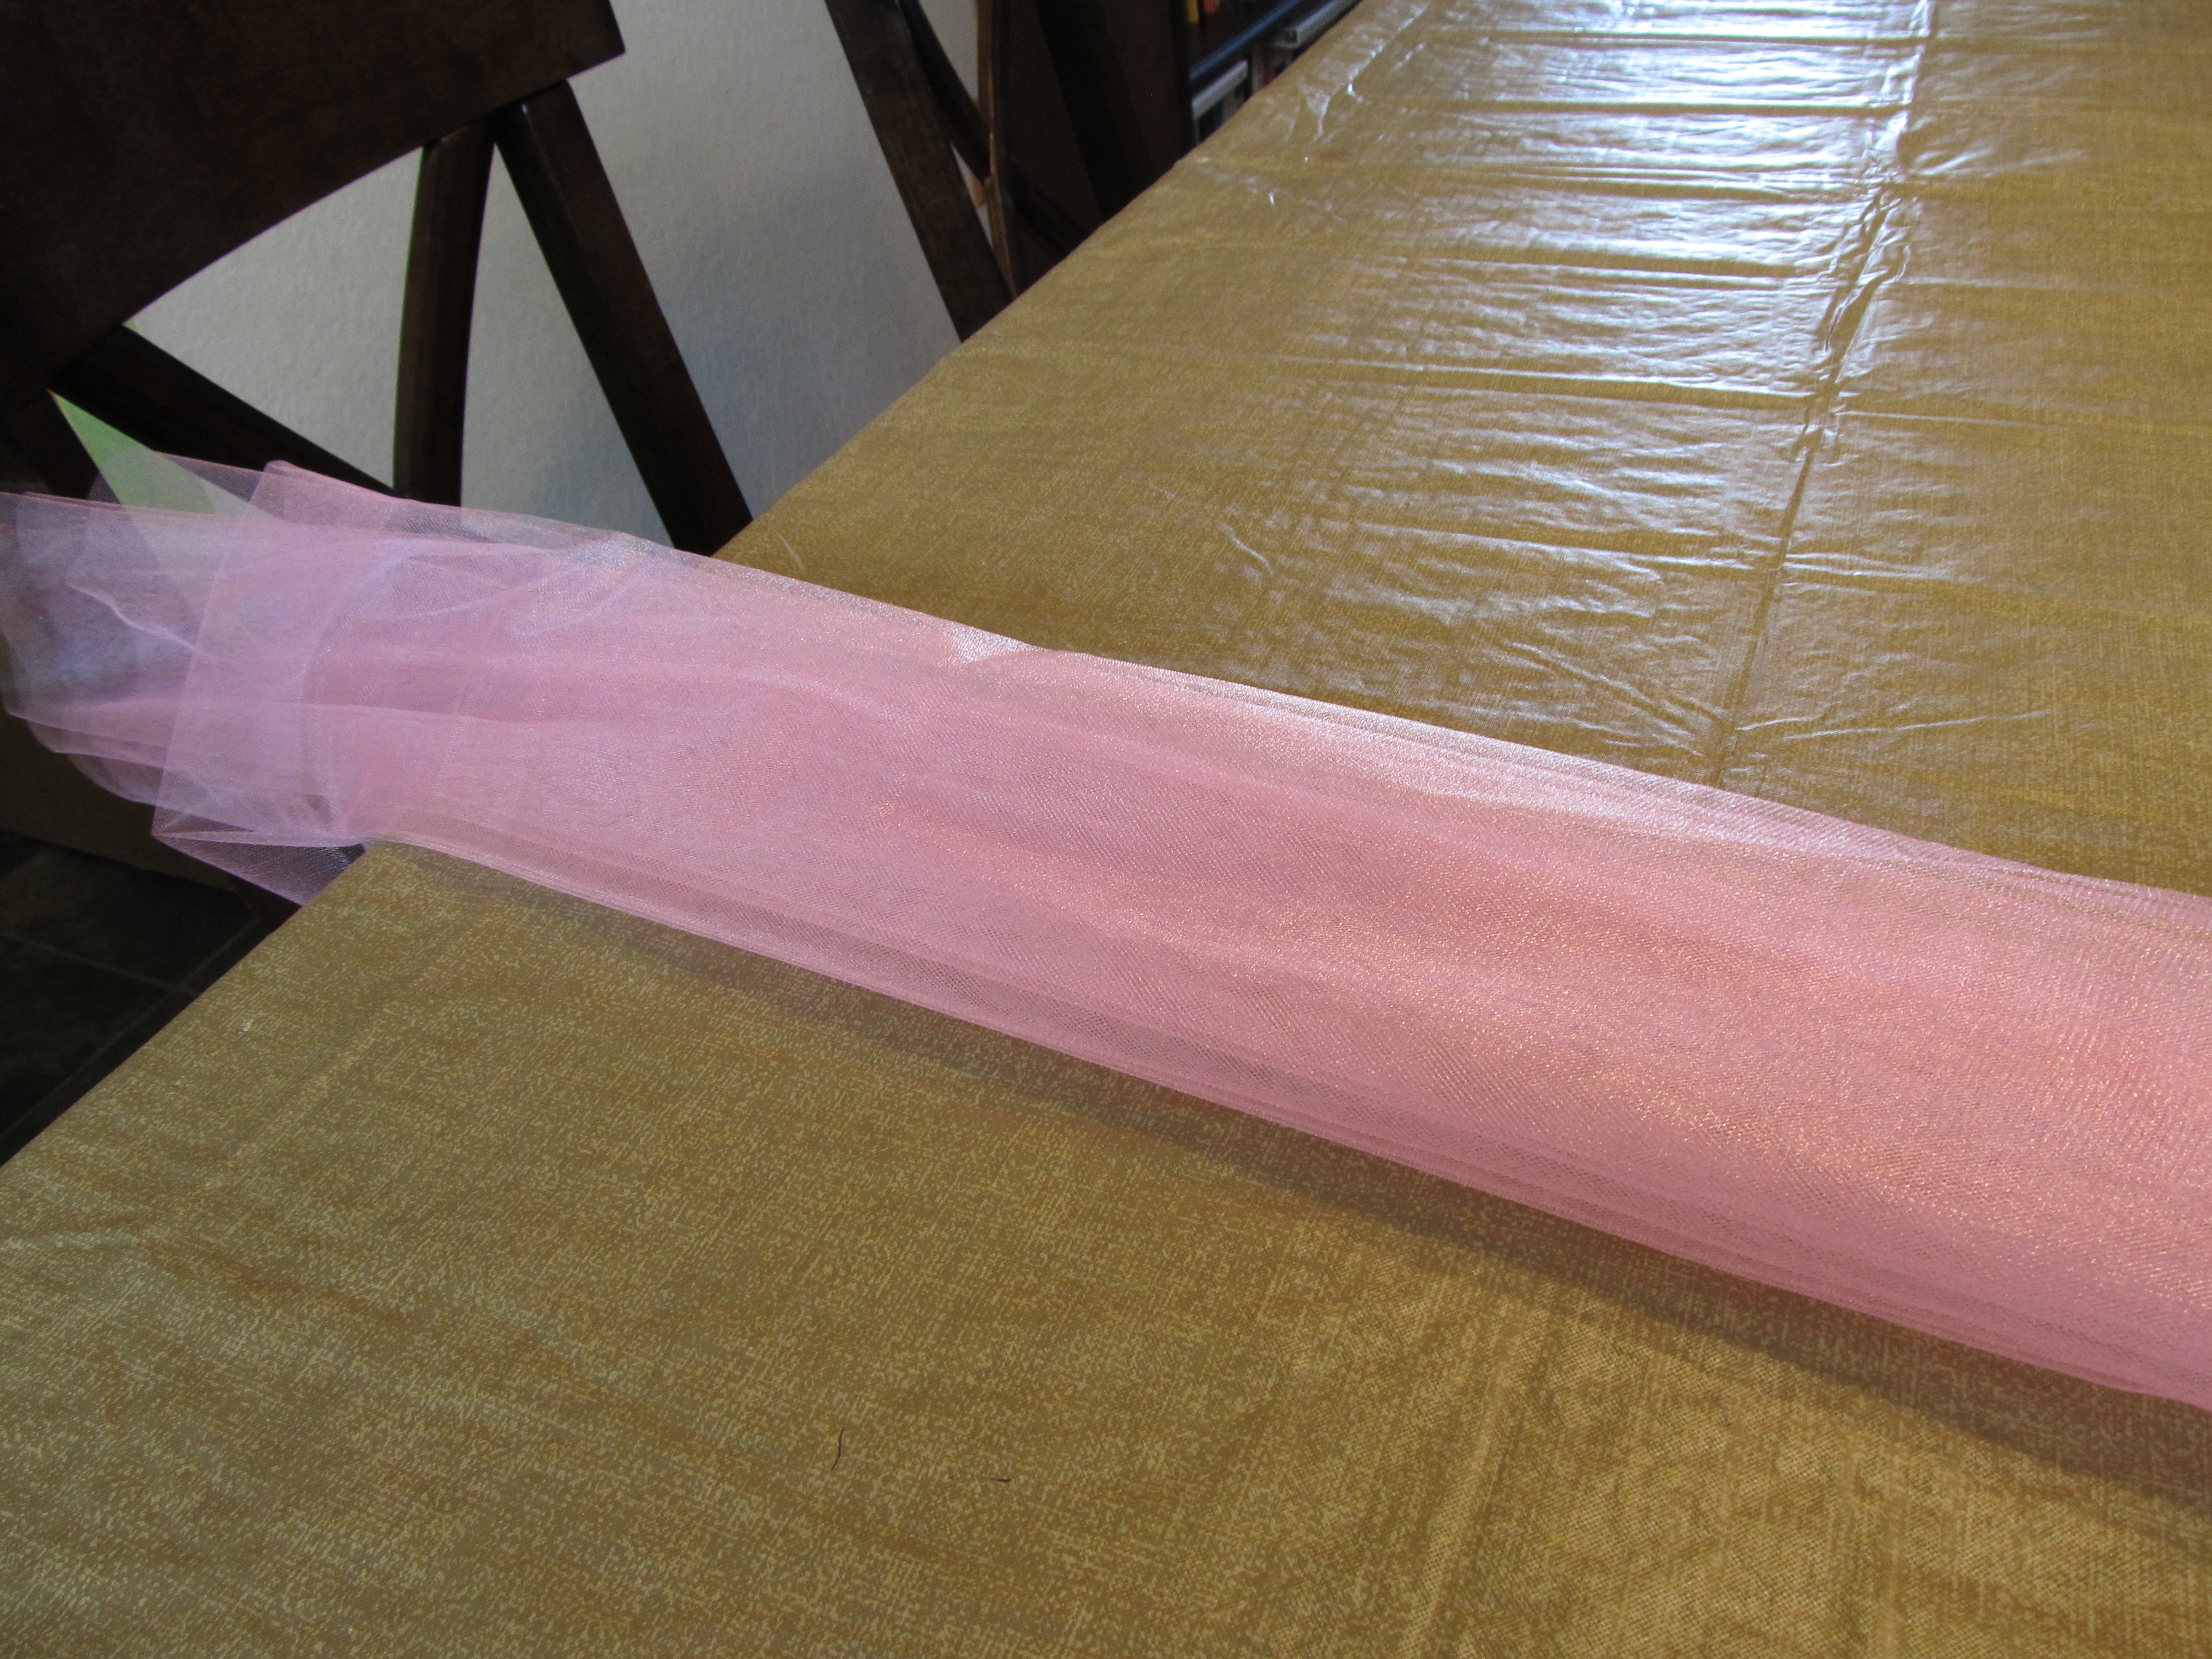
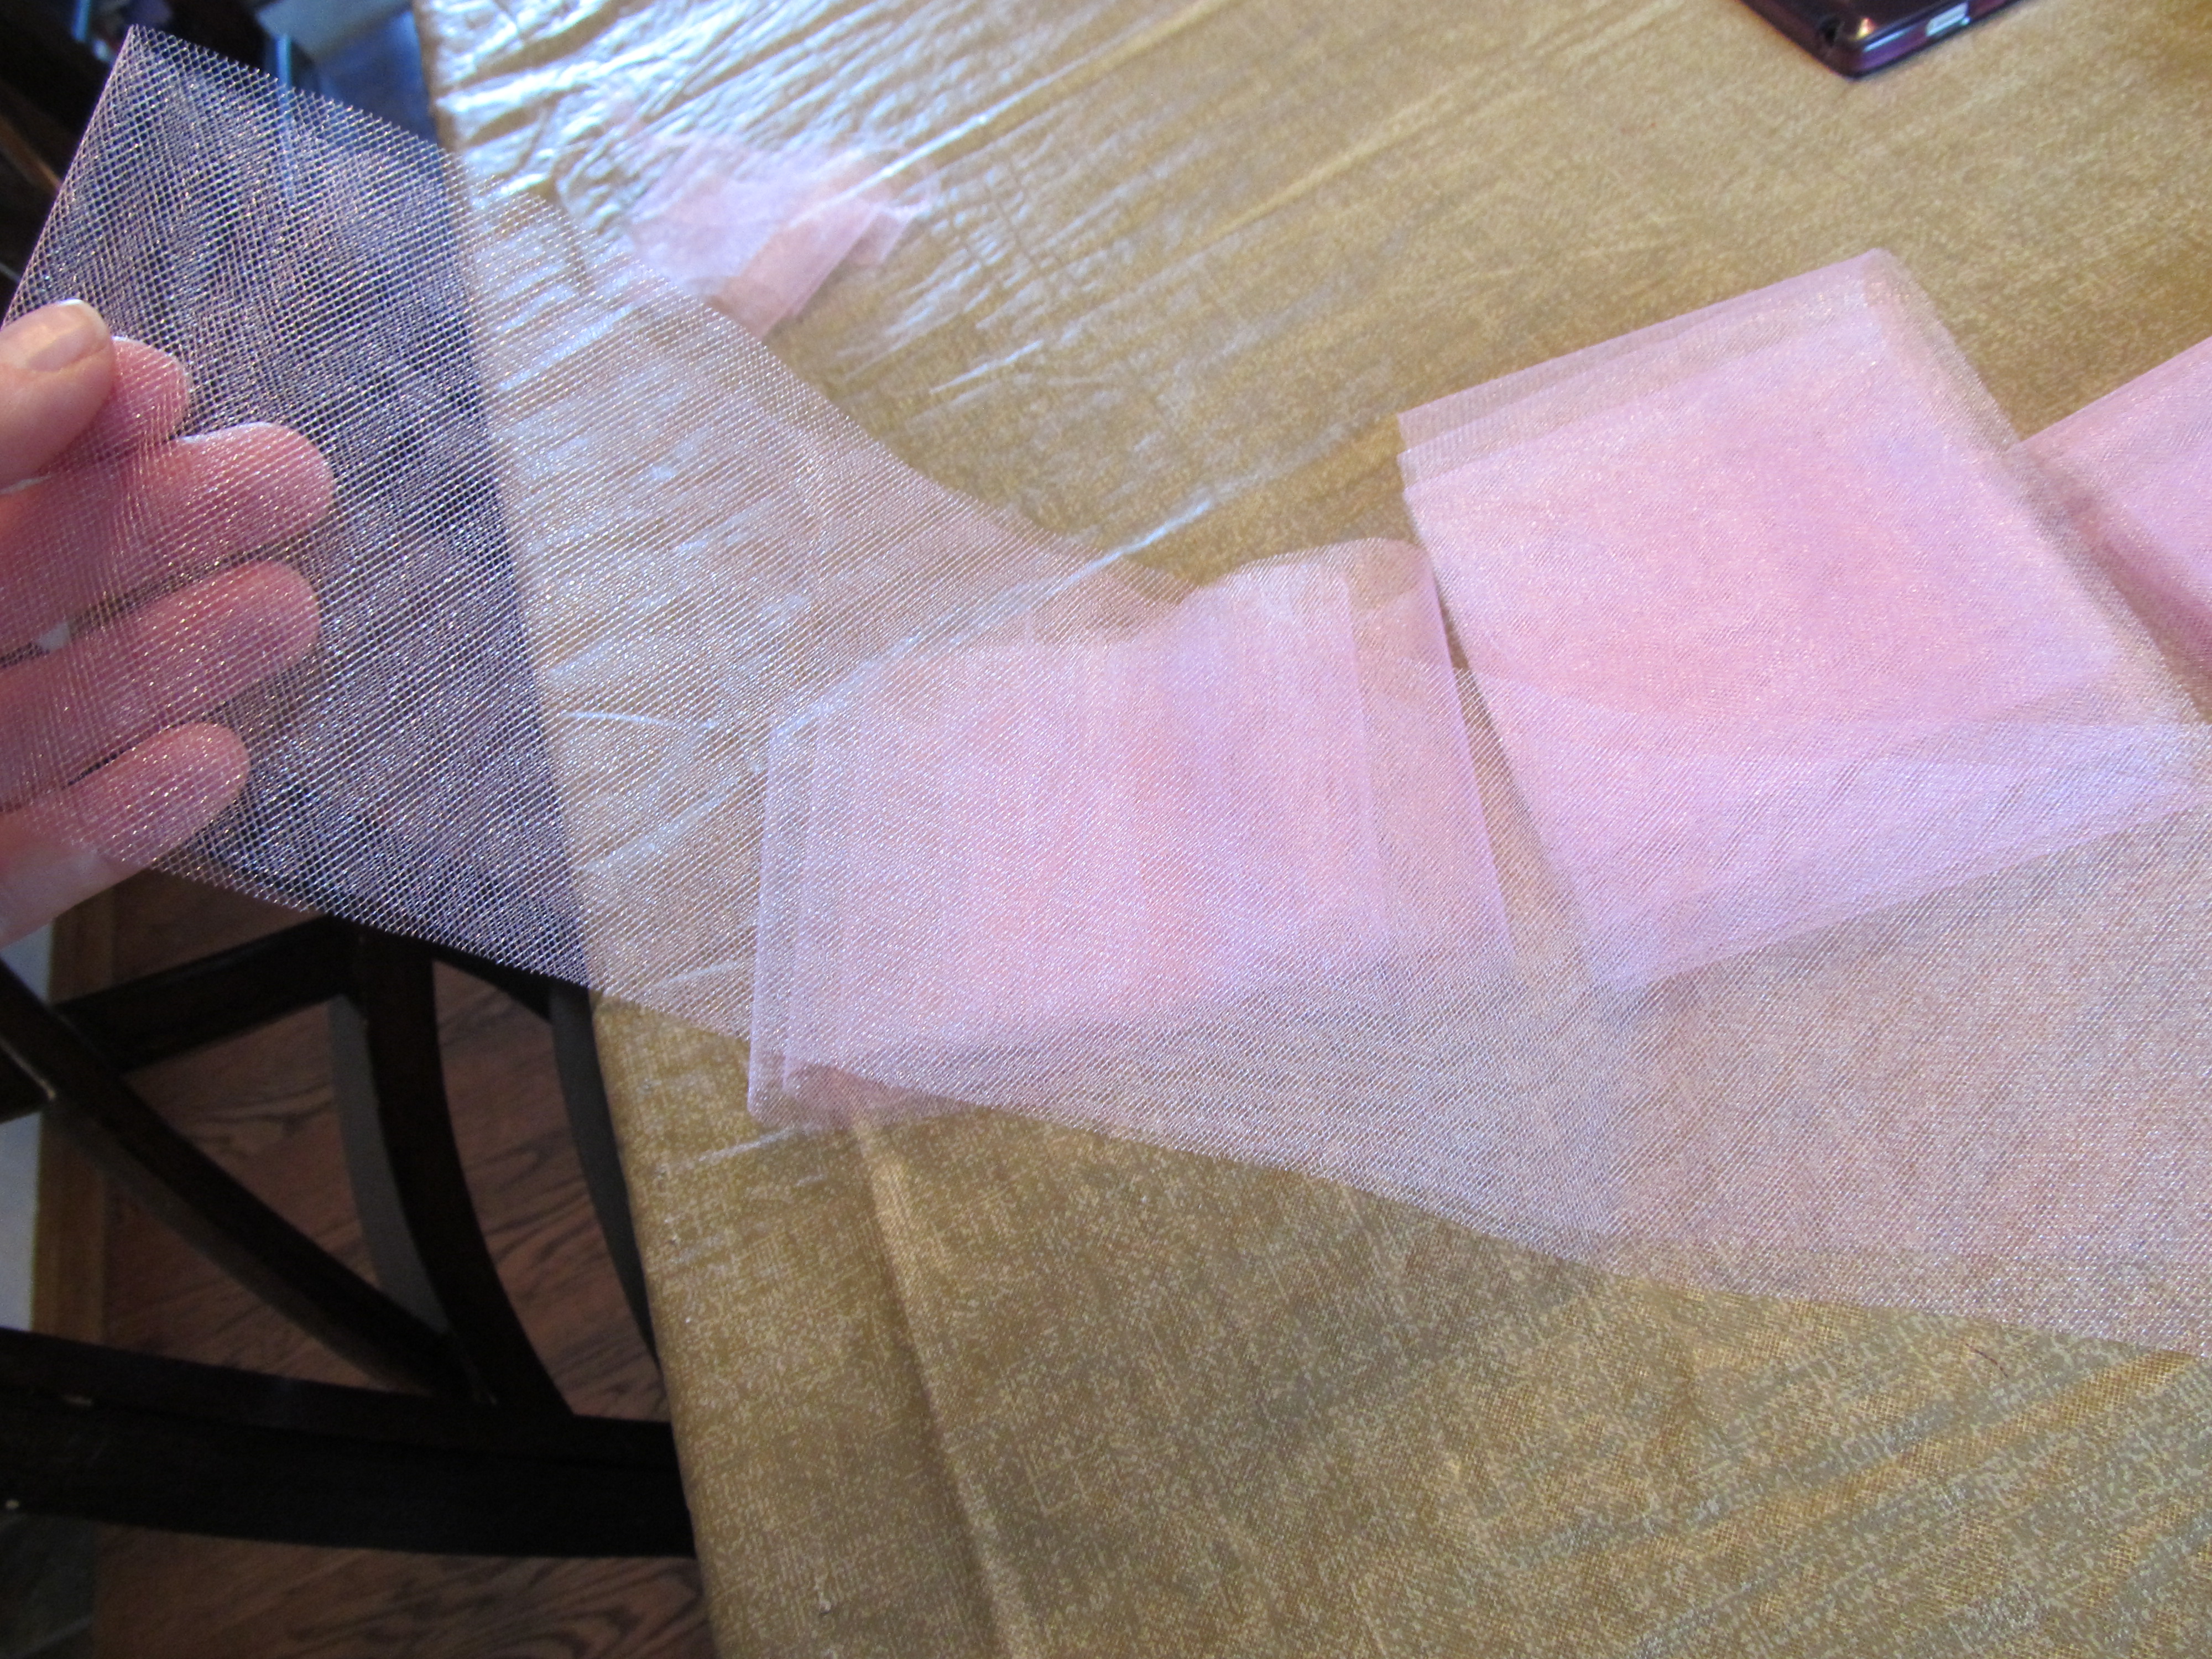
- First, lay your tulle out on a a large table or the floor.
- Begin folding it up, and up and up. When you finish, you’ll end up with a large tube of tulle.
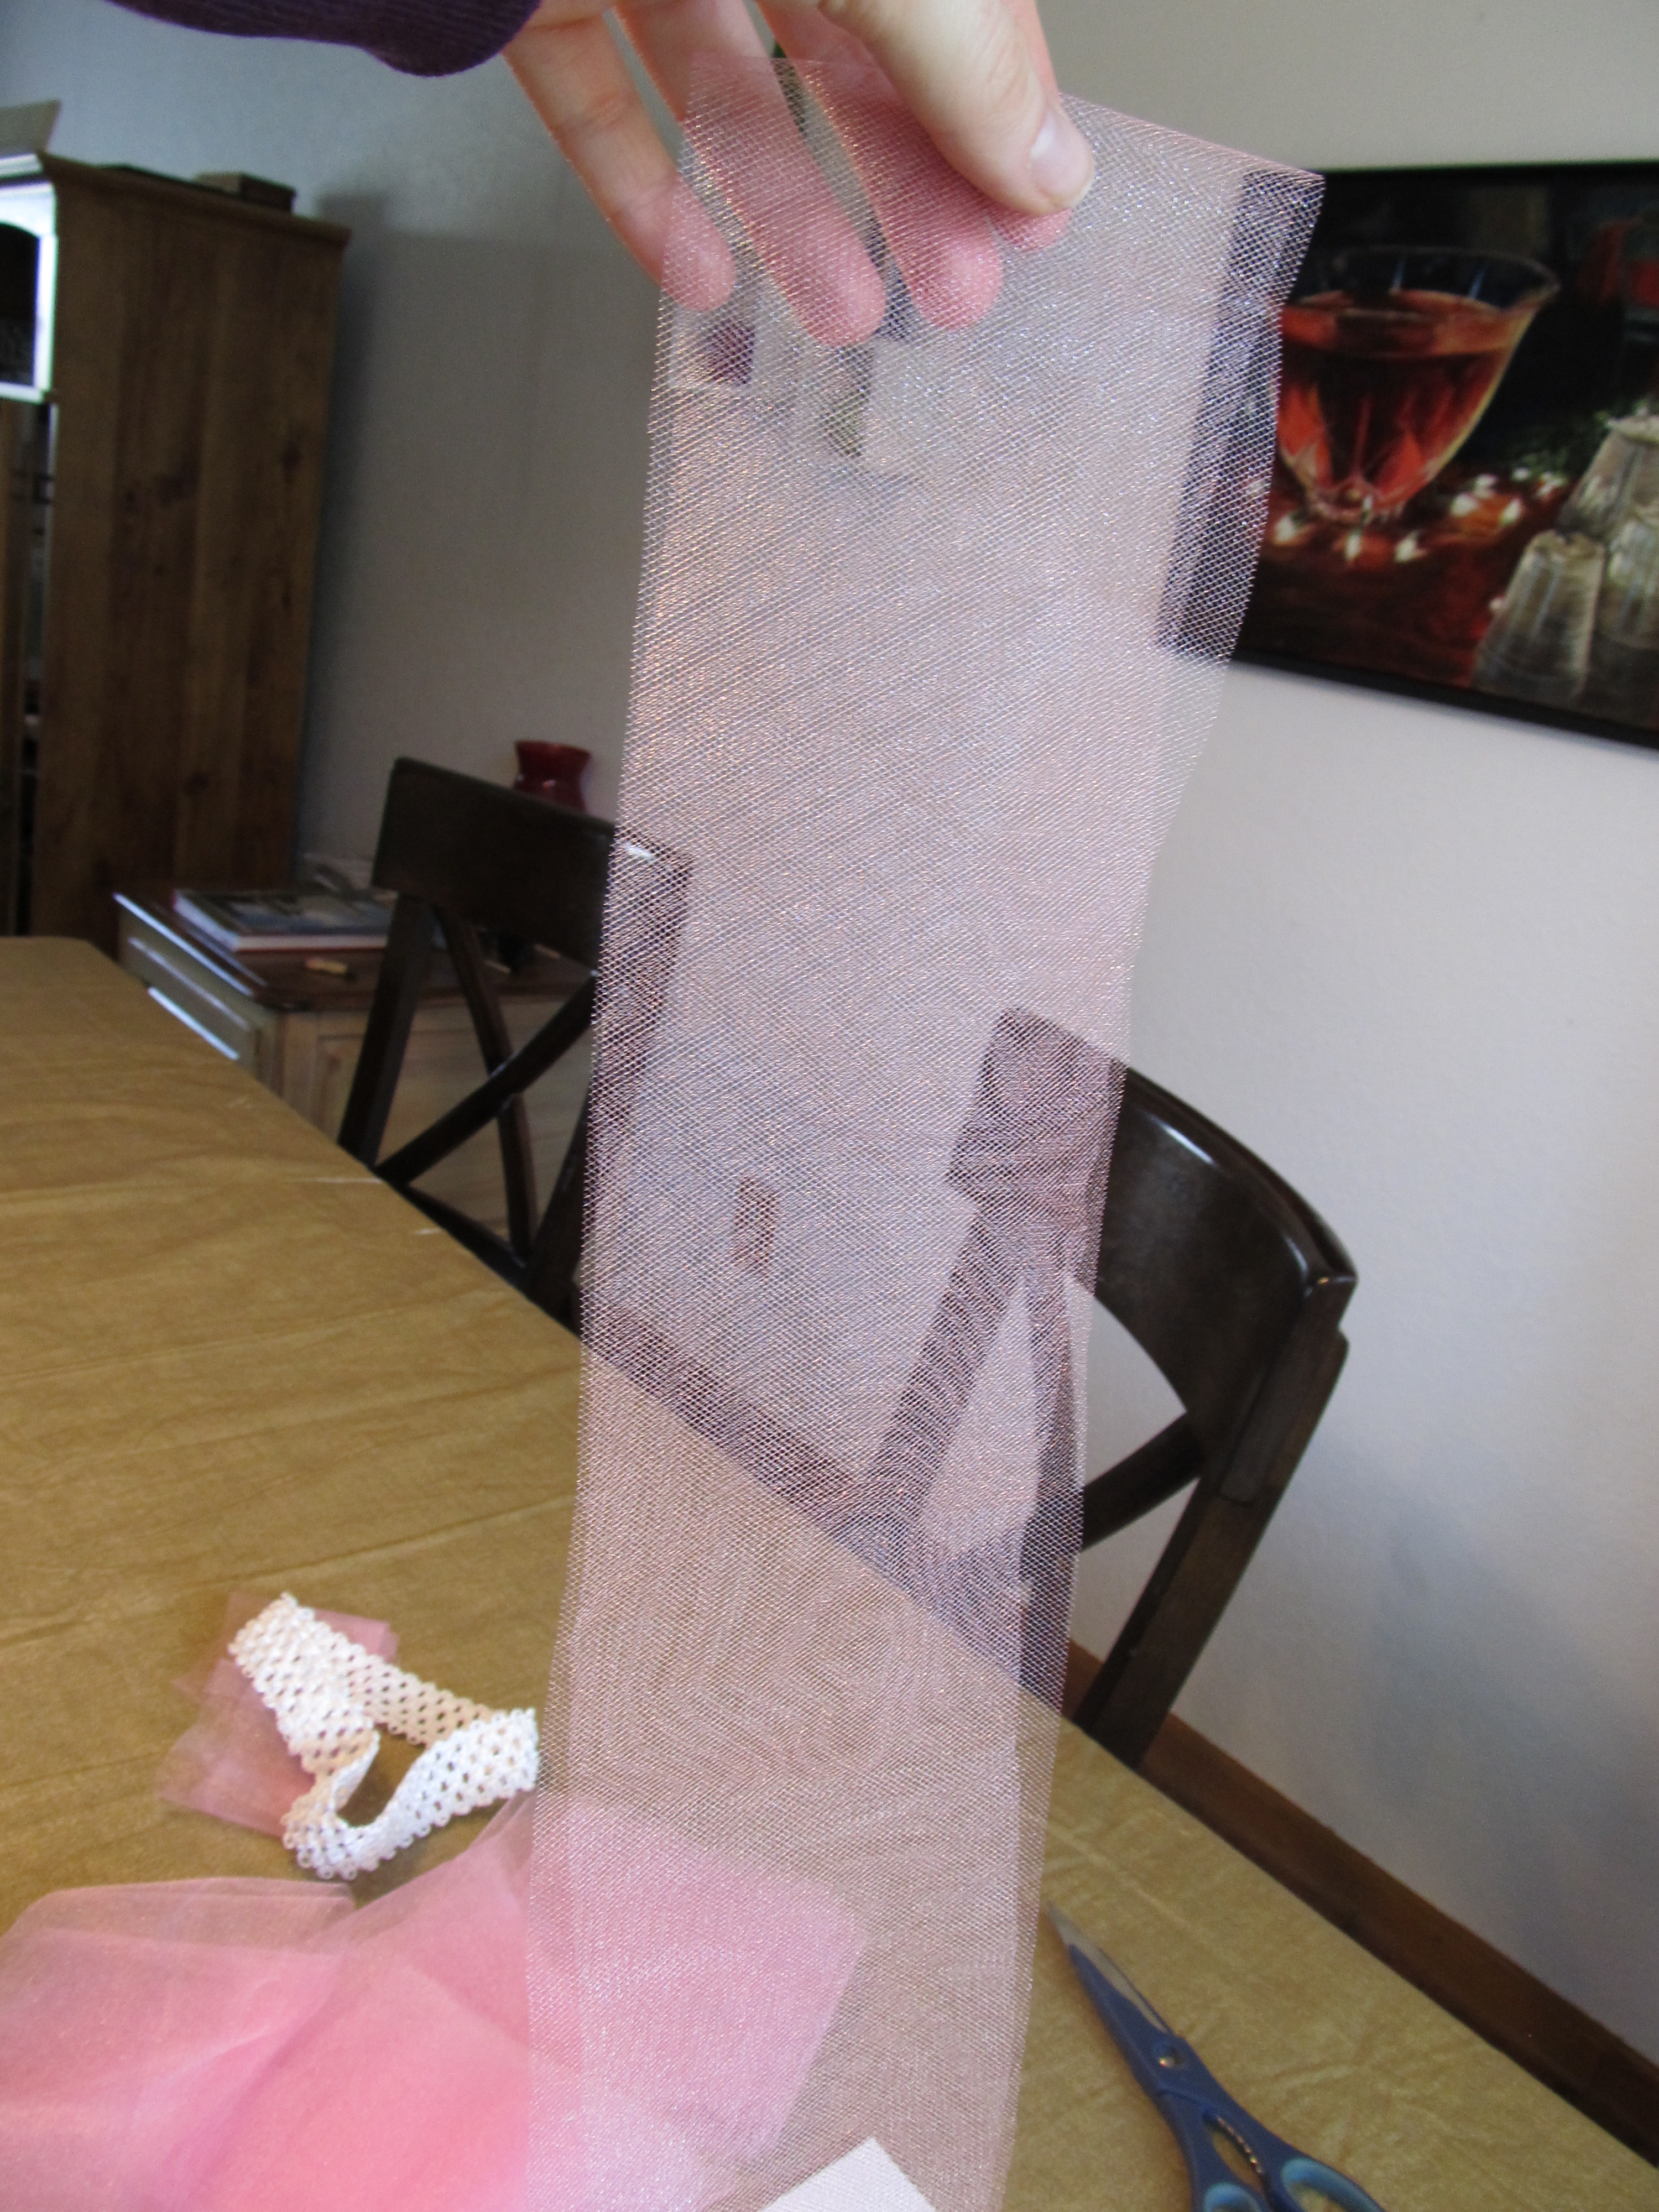
- Next, find the shortest part on each end, and cut off the excess so you have a strait line.
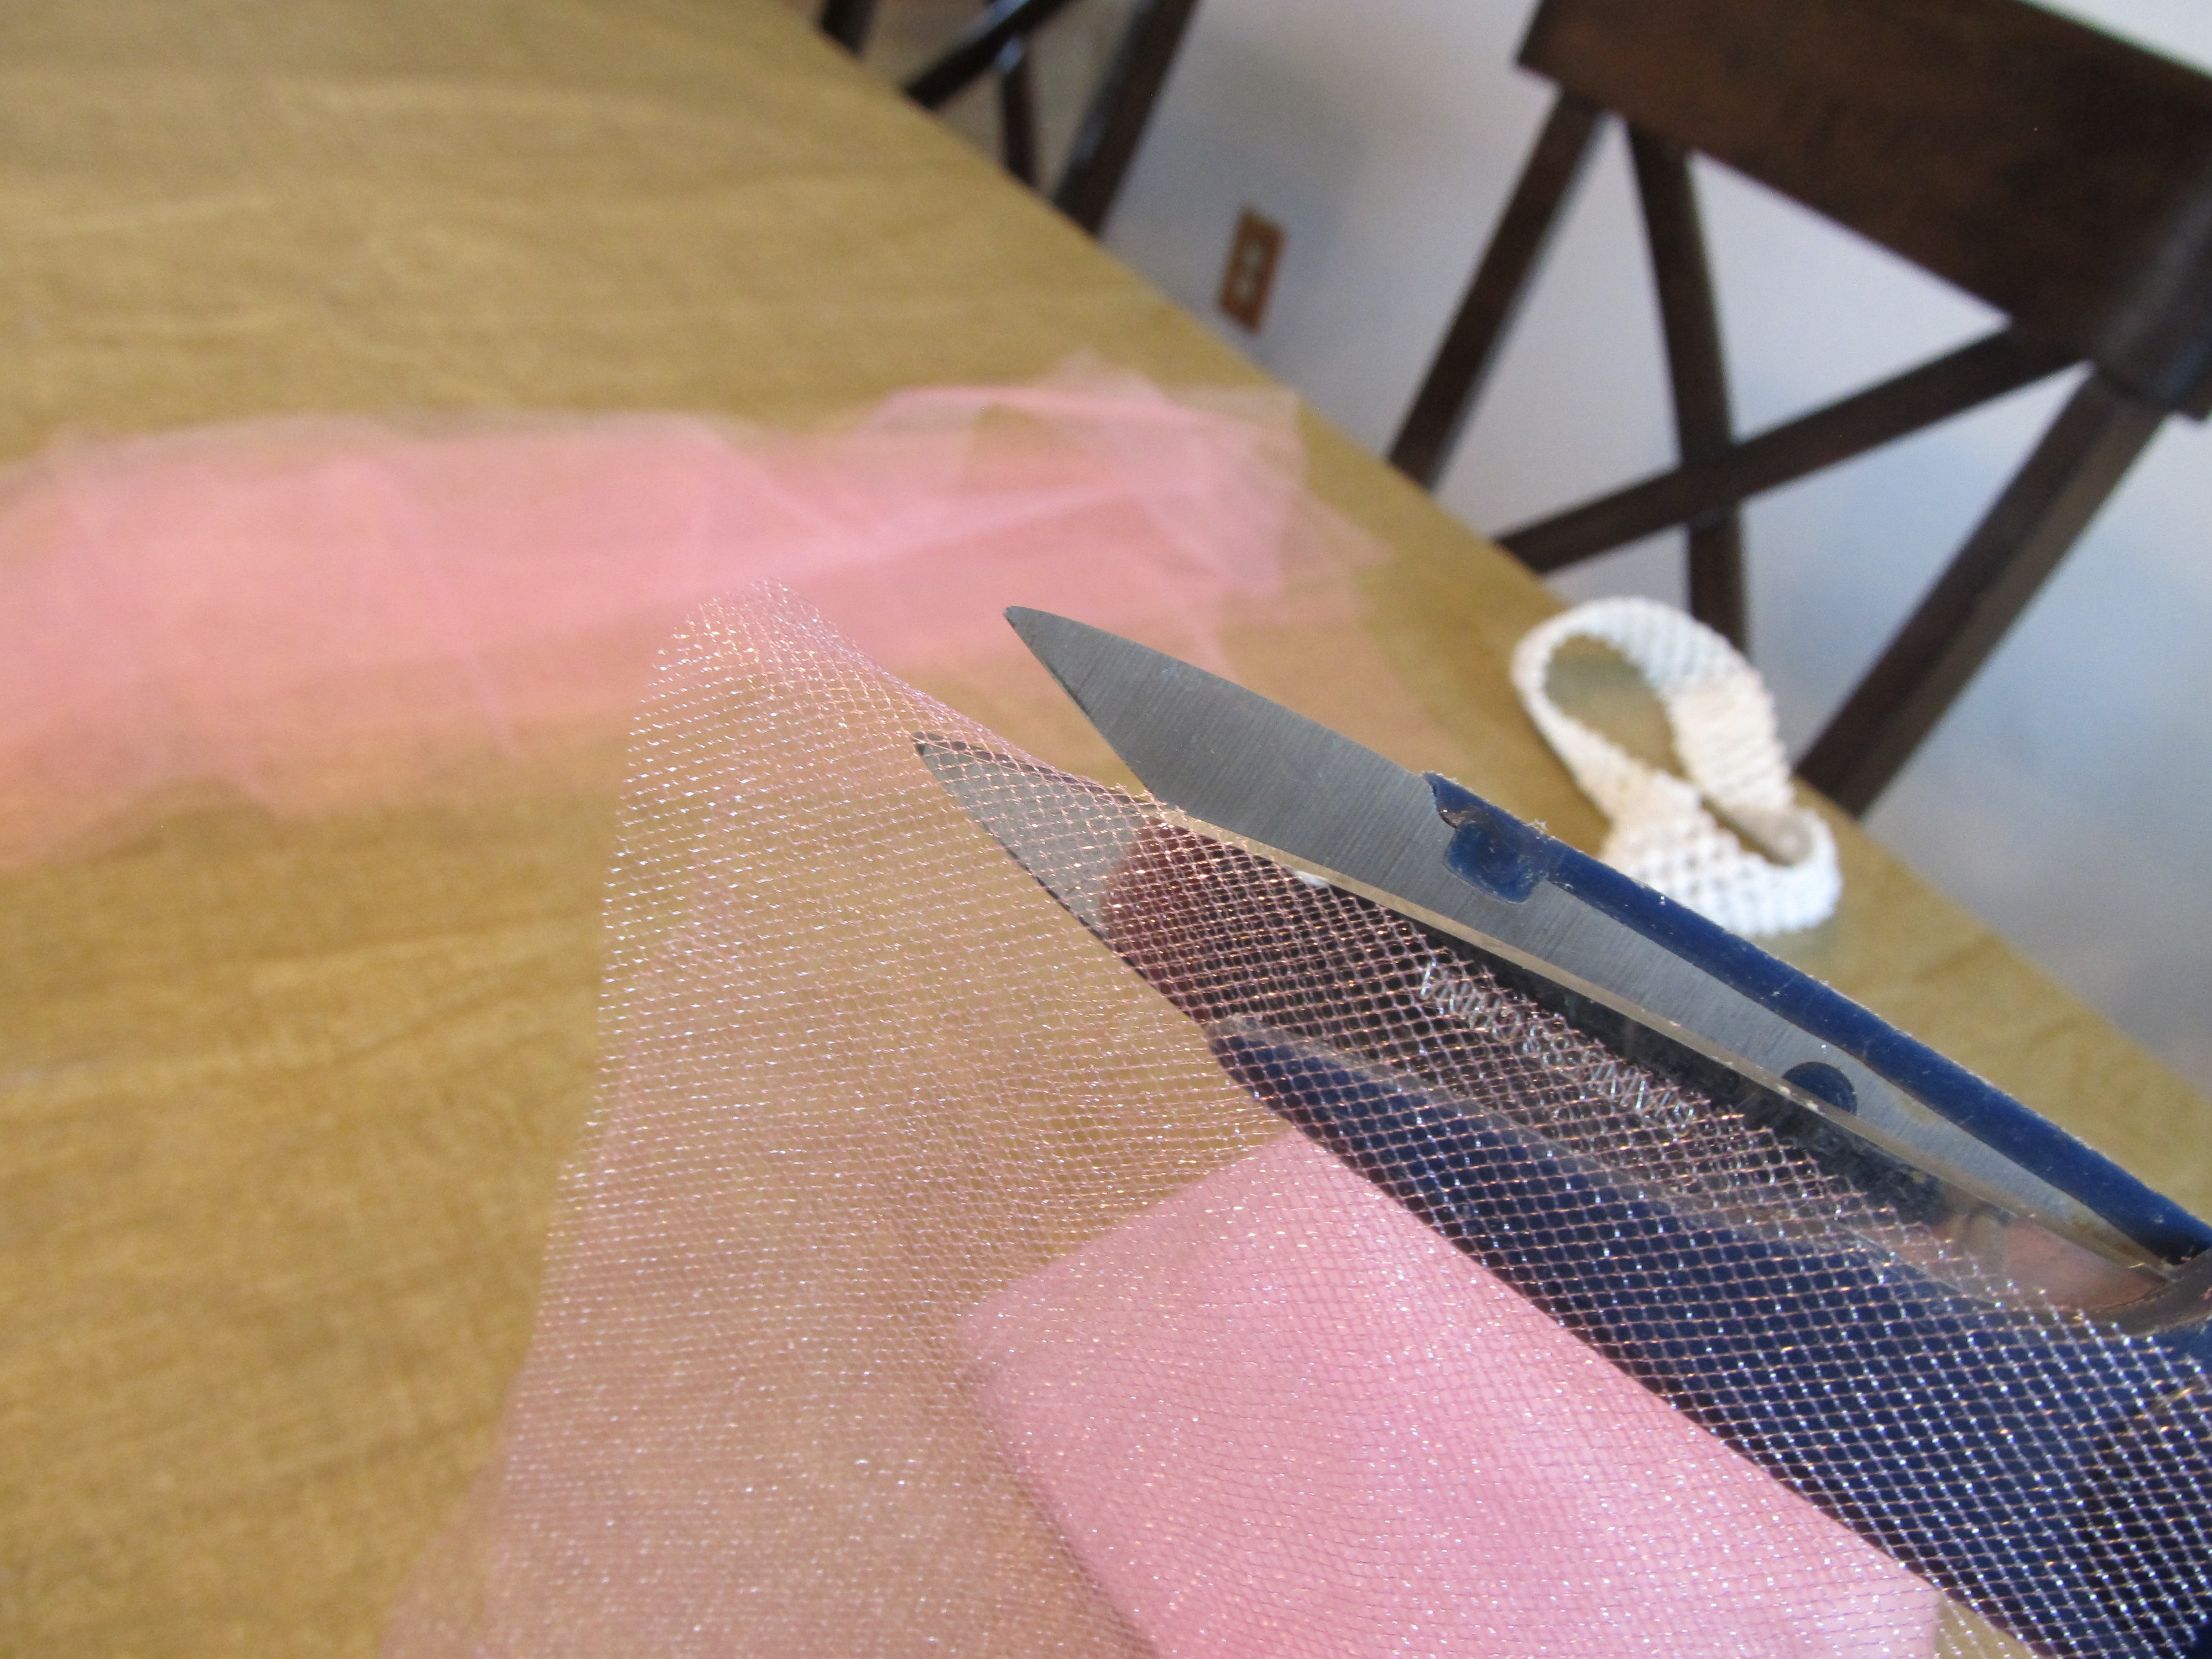
 See how unprofessional you can be? I couldn’t find my sewing scissors ANYWHERE, so I used clean kitchen shears. Point; me.
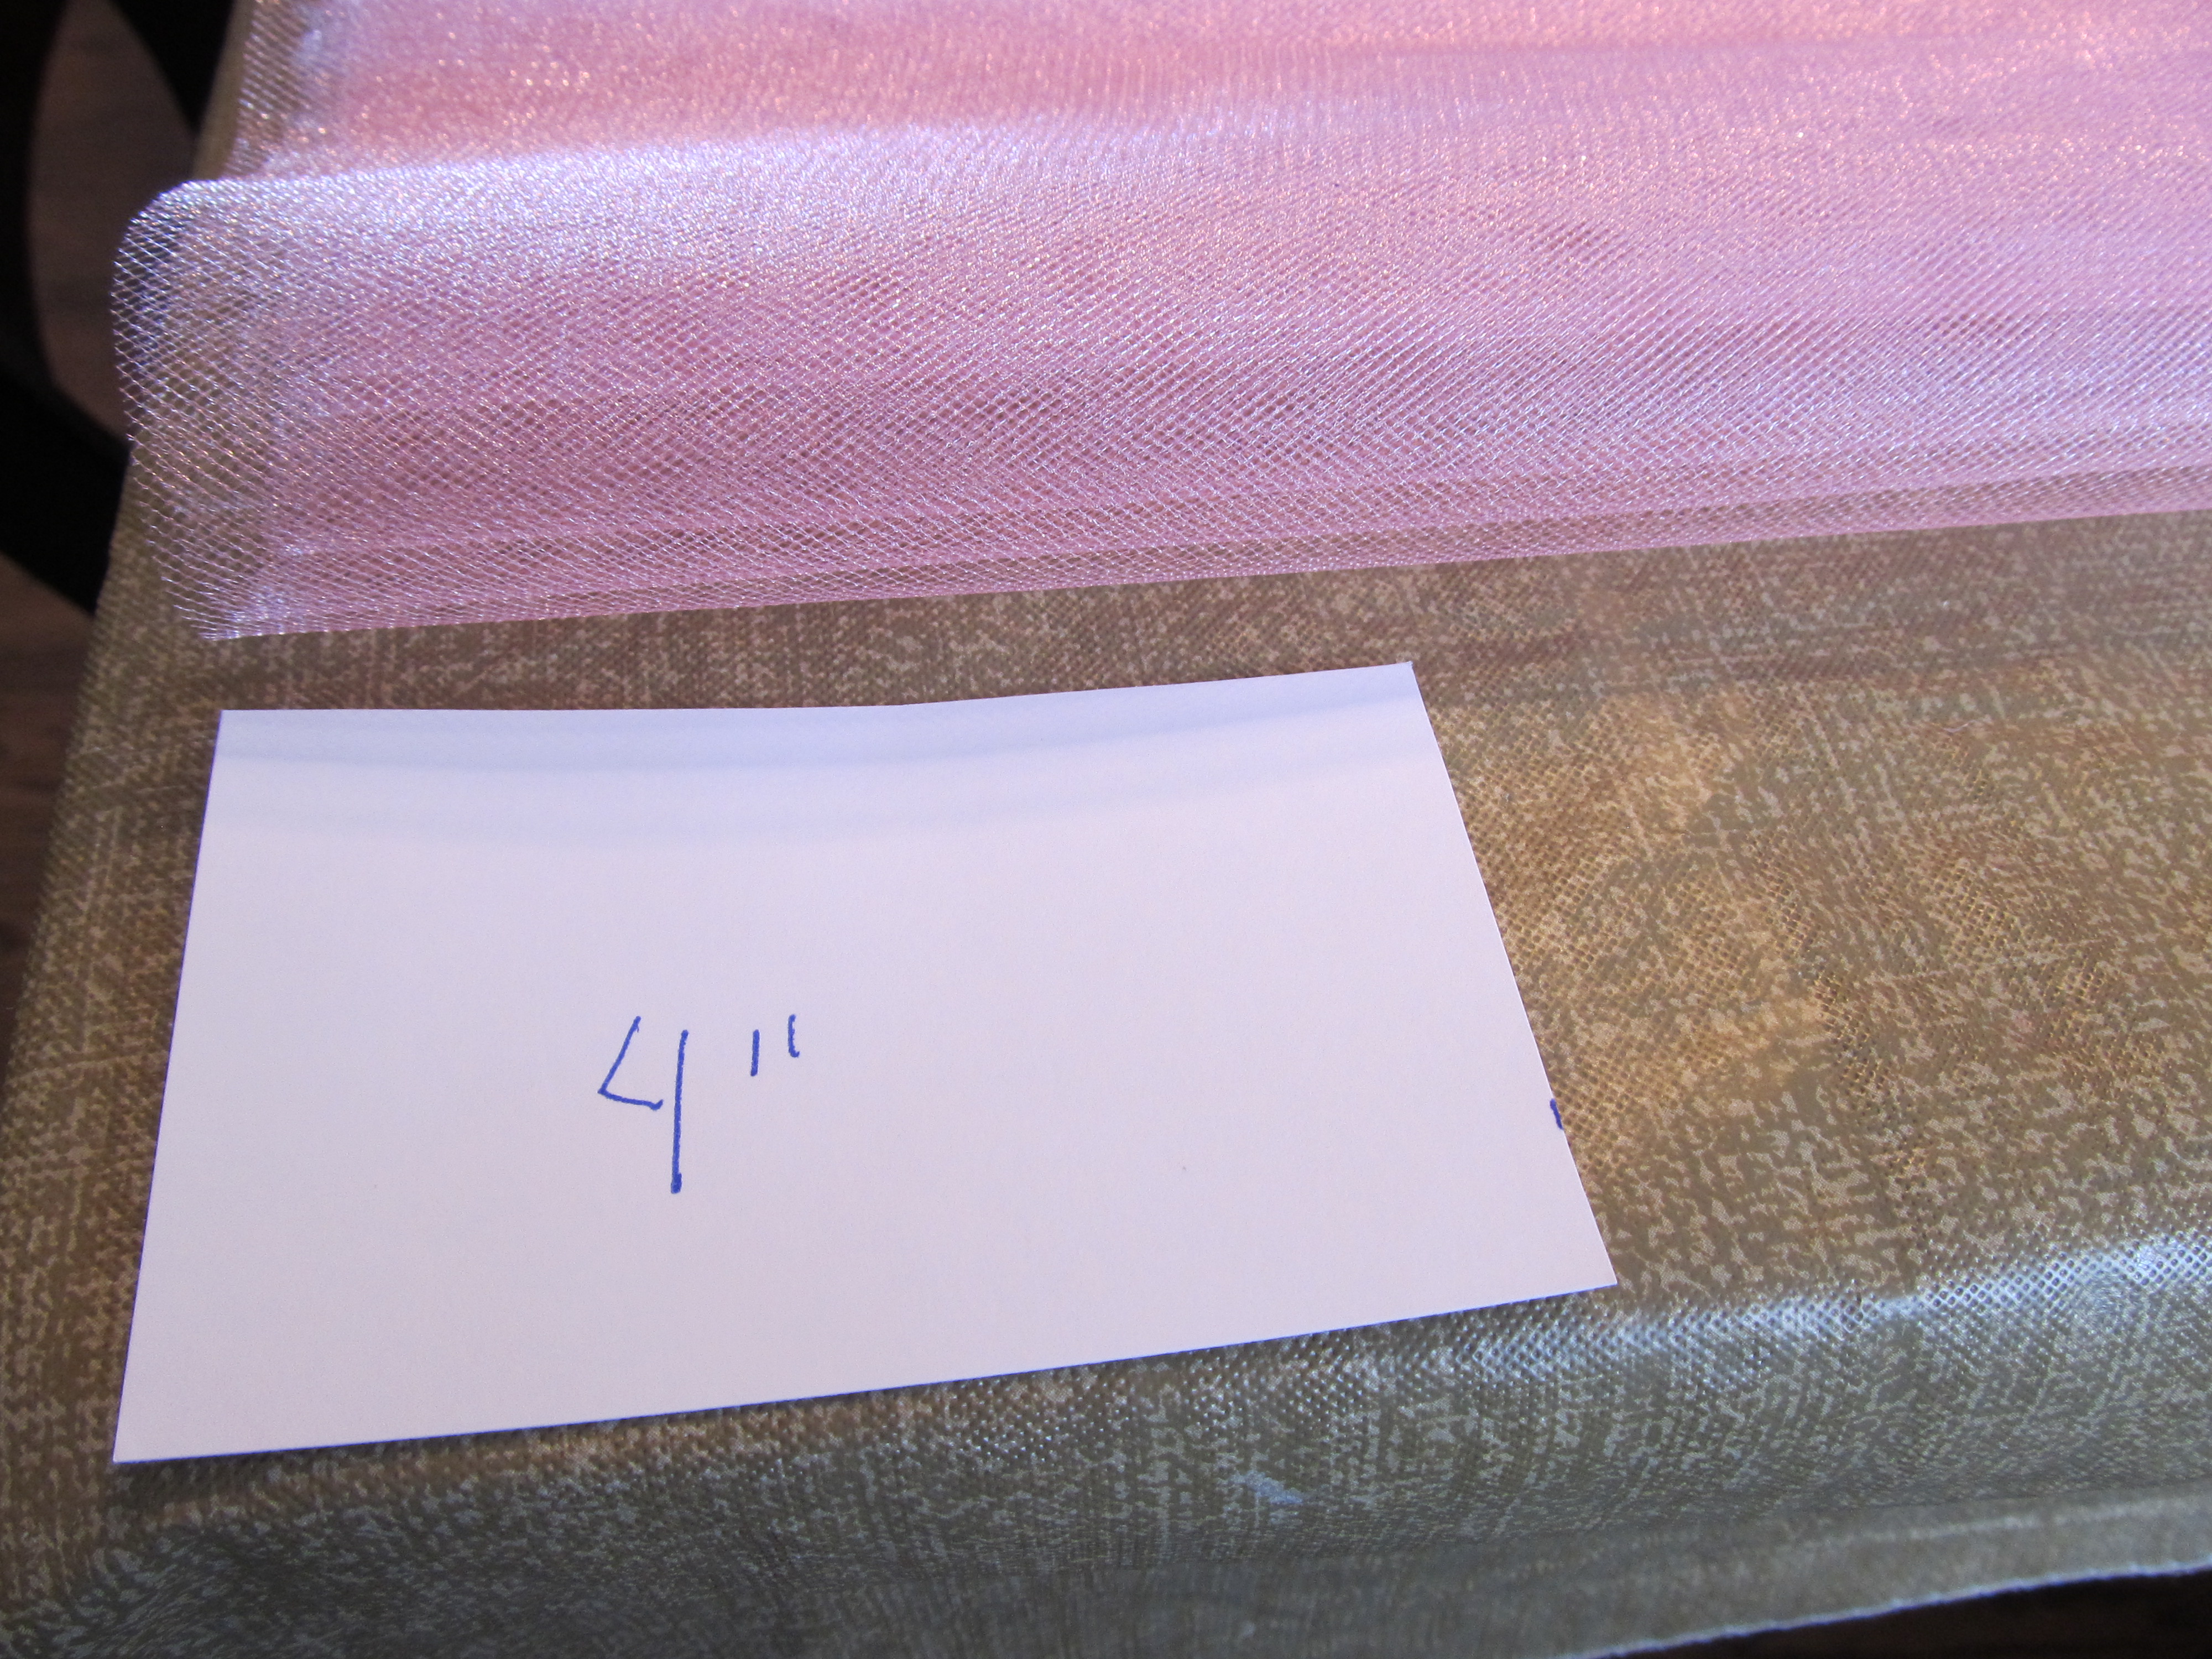
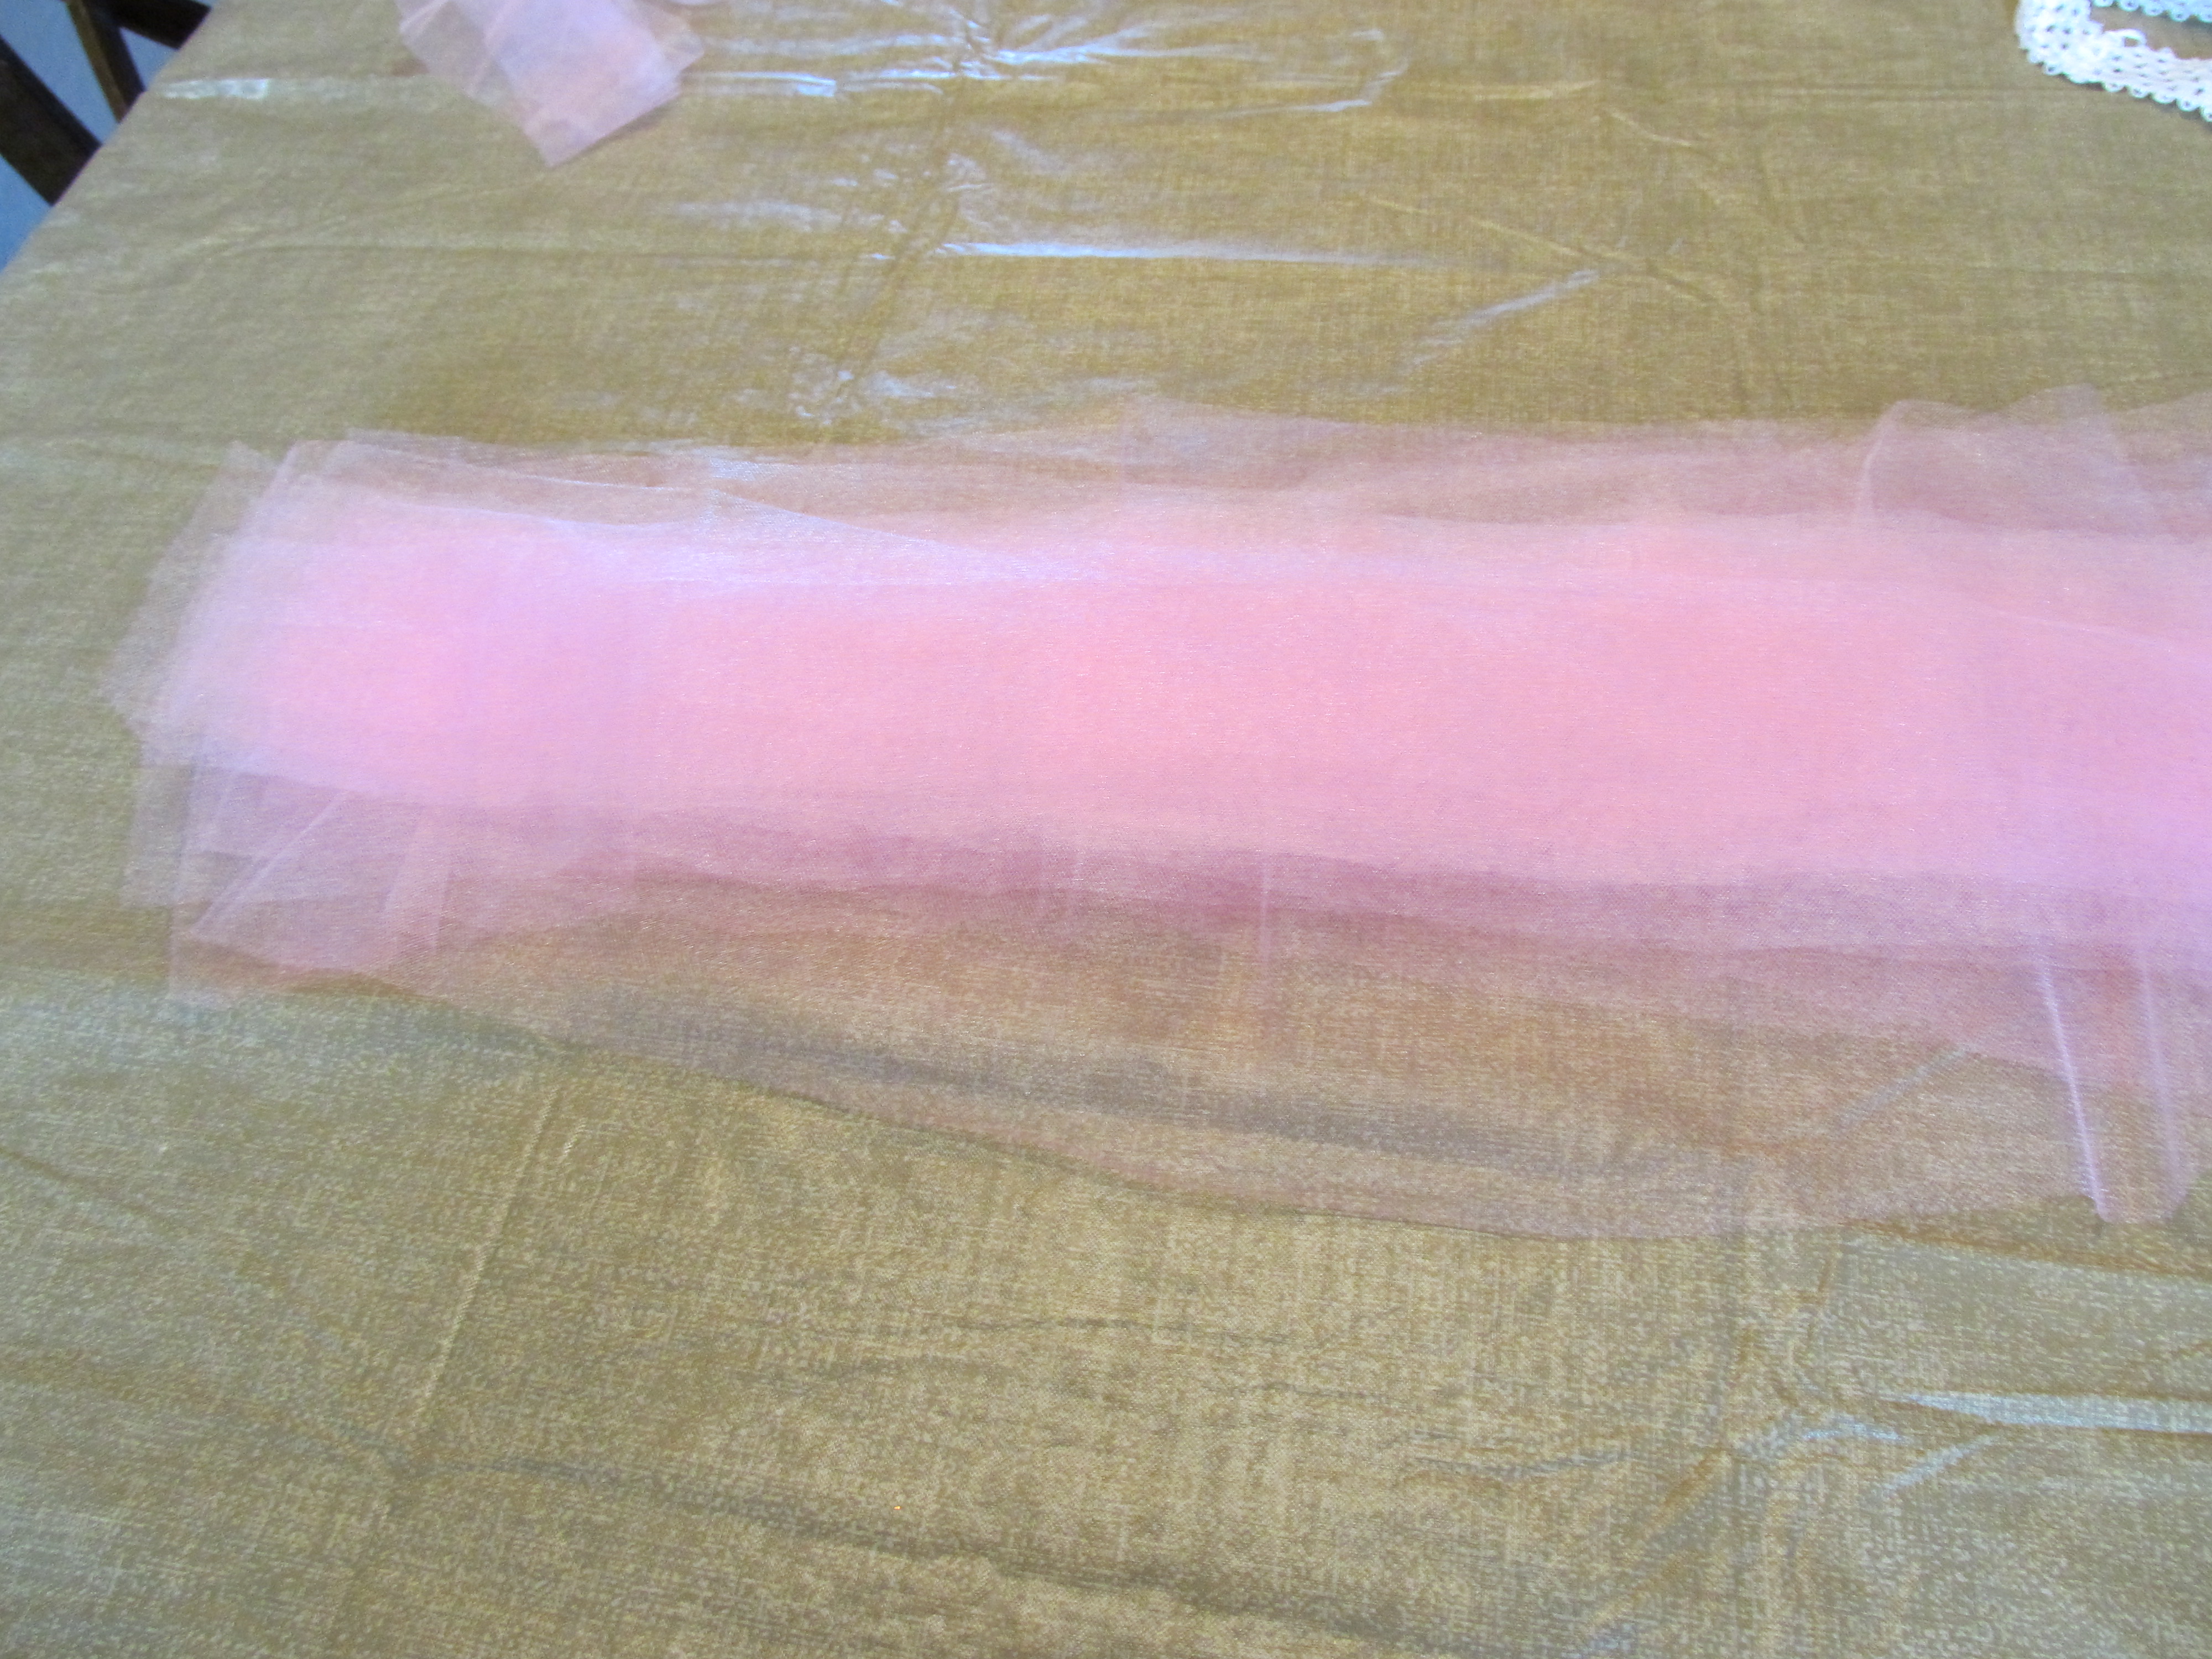
- Now cut your tulle strips. I chose to do 3″ strips. The larger the strips, the fuller the tutu. Rather than use my ruler each time I made a cut, I measured a piece of card stock 3″ long and cut it out. I used this as a guide. The picture says 4″ because I originally planned to do 4″ strips but changed my mind. I made another 3″ guide, but forgot to take a picture. So, use your imagination.
- After you cut your pieces, cut each in half. Just unroll each strip, fold it in half and cut right in the middle.
- Lay the strips out in a pile, keeping the colors separate.
Building the tutu:
This portion took me about an hour and a half. I recommend a good audio book or some peppy music to keep away the madness.
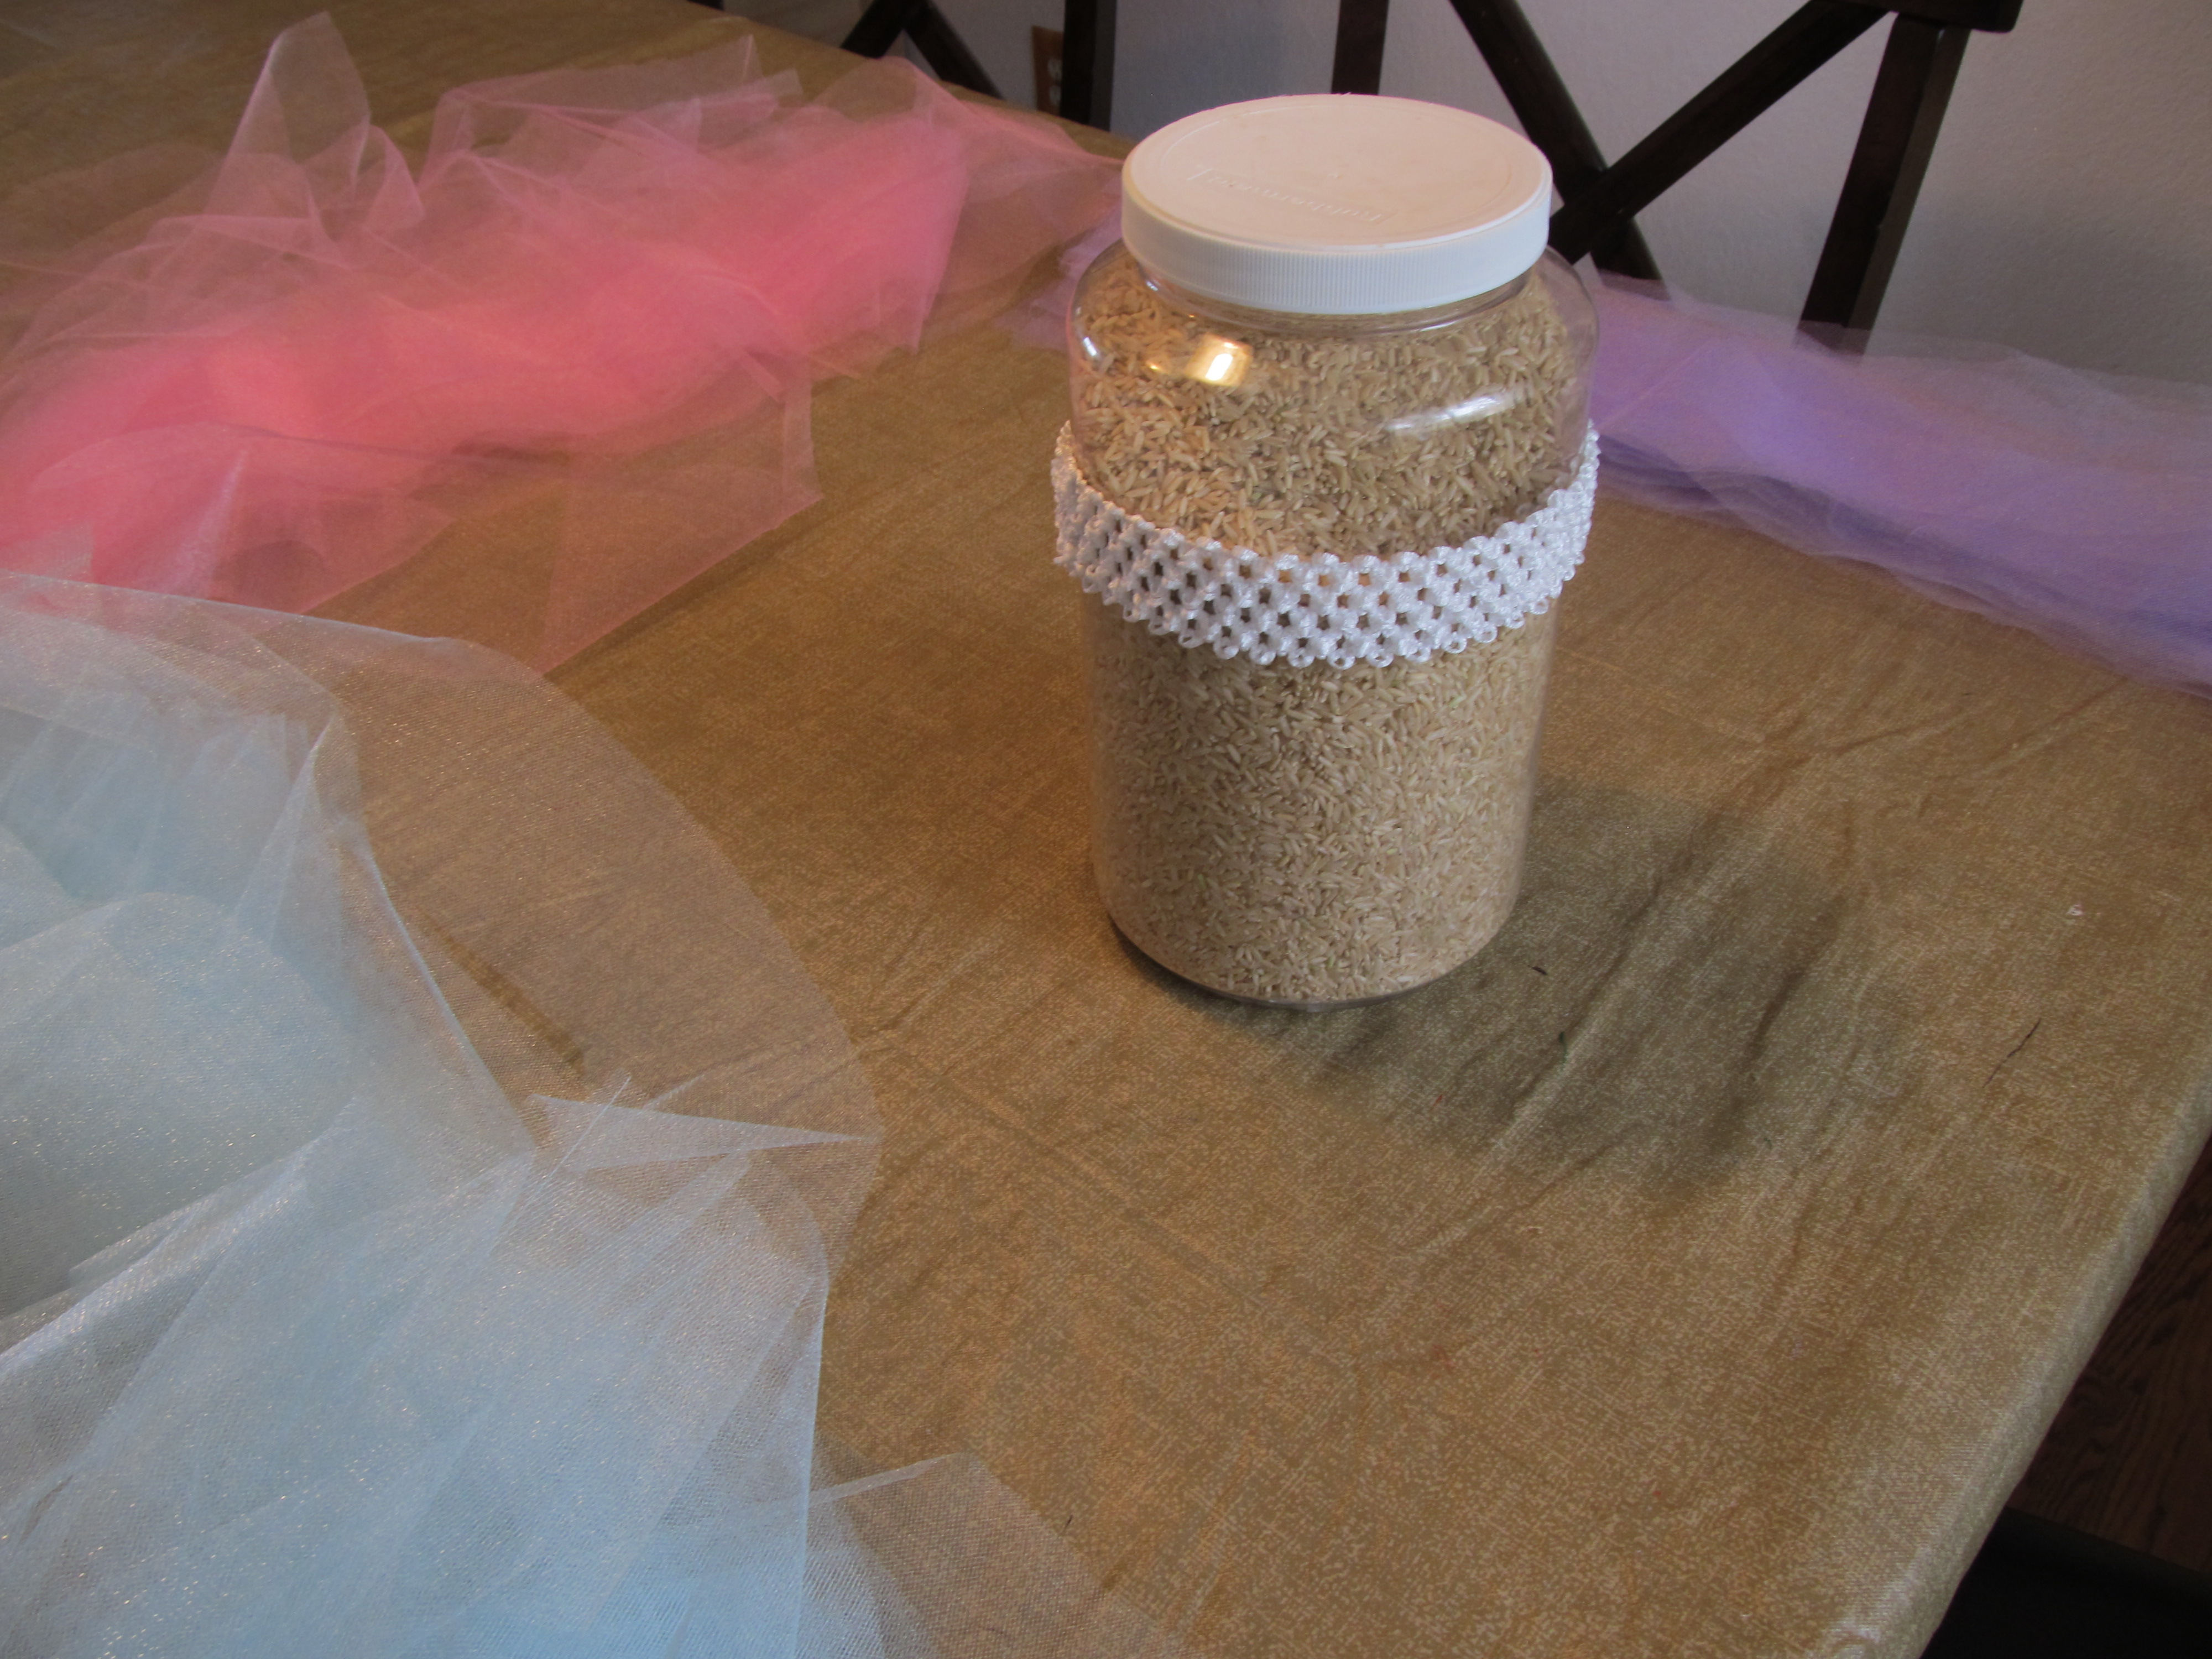
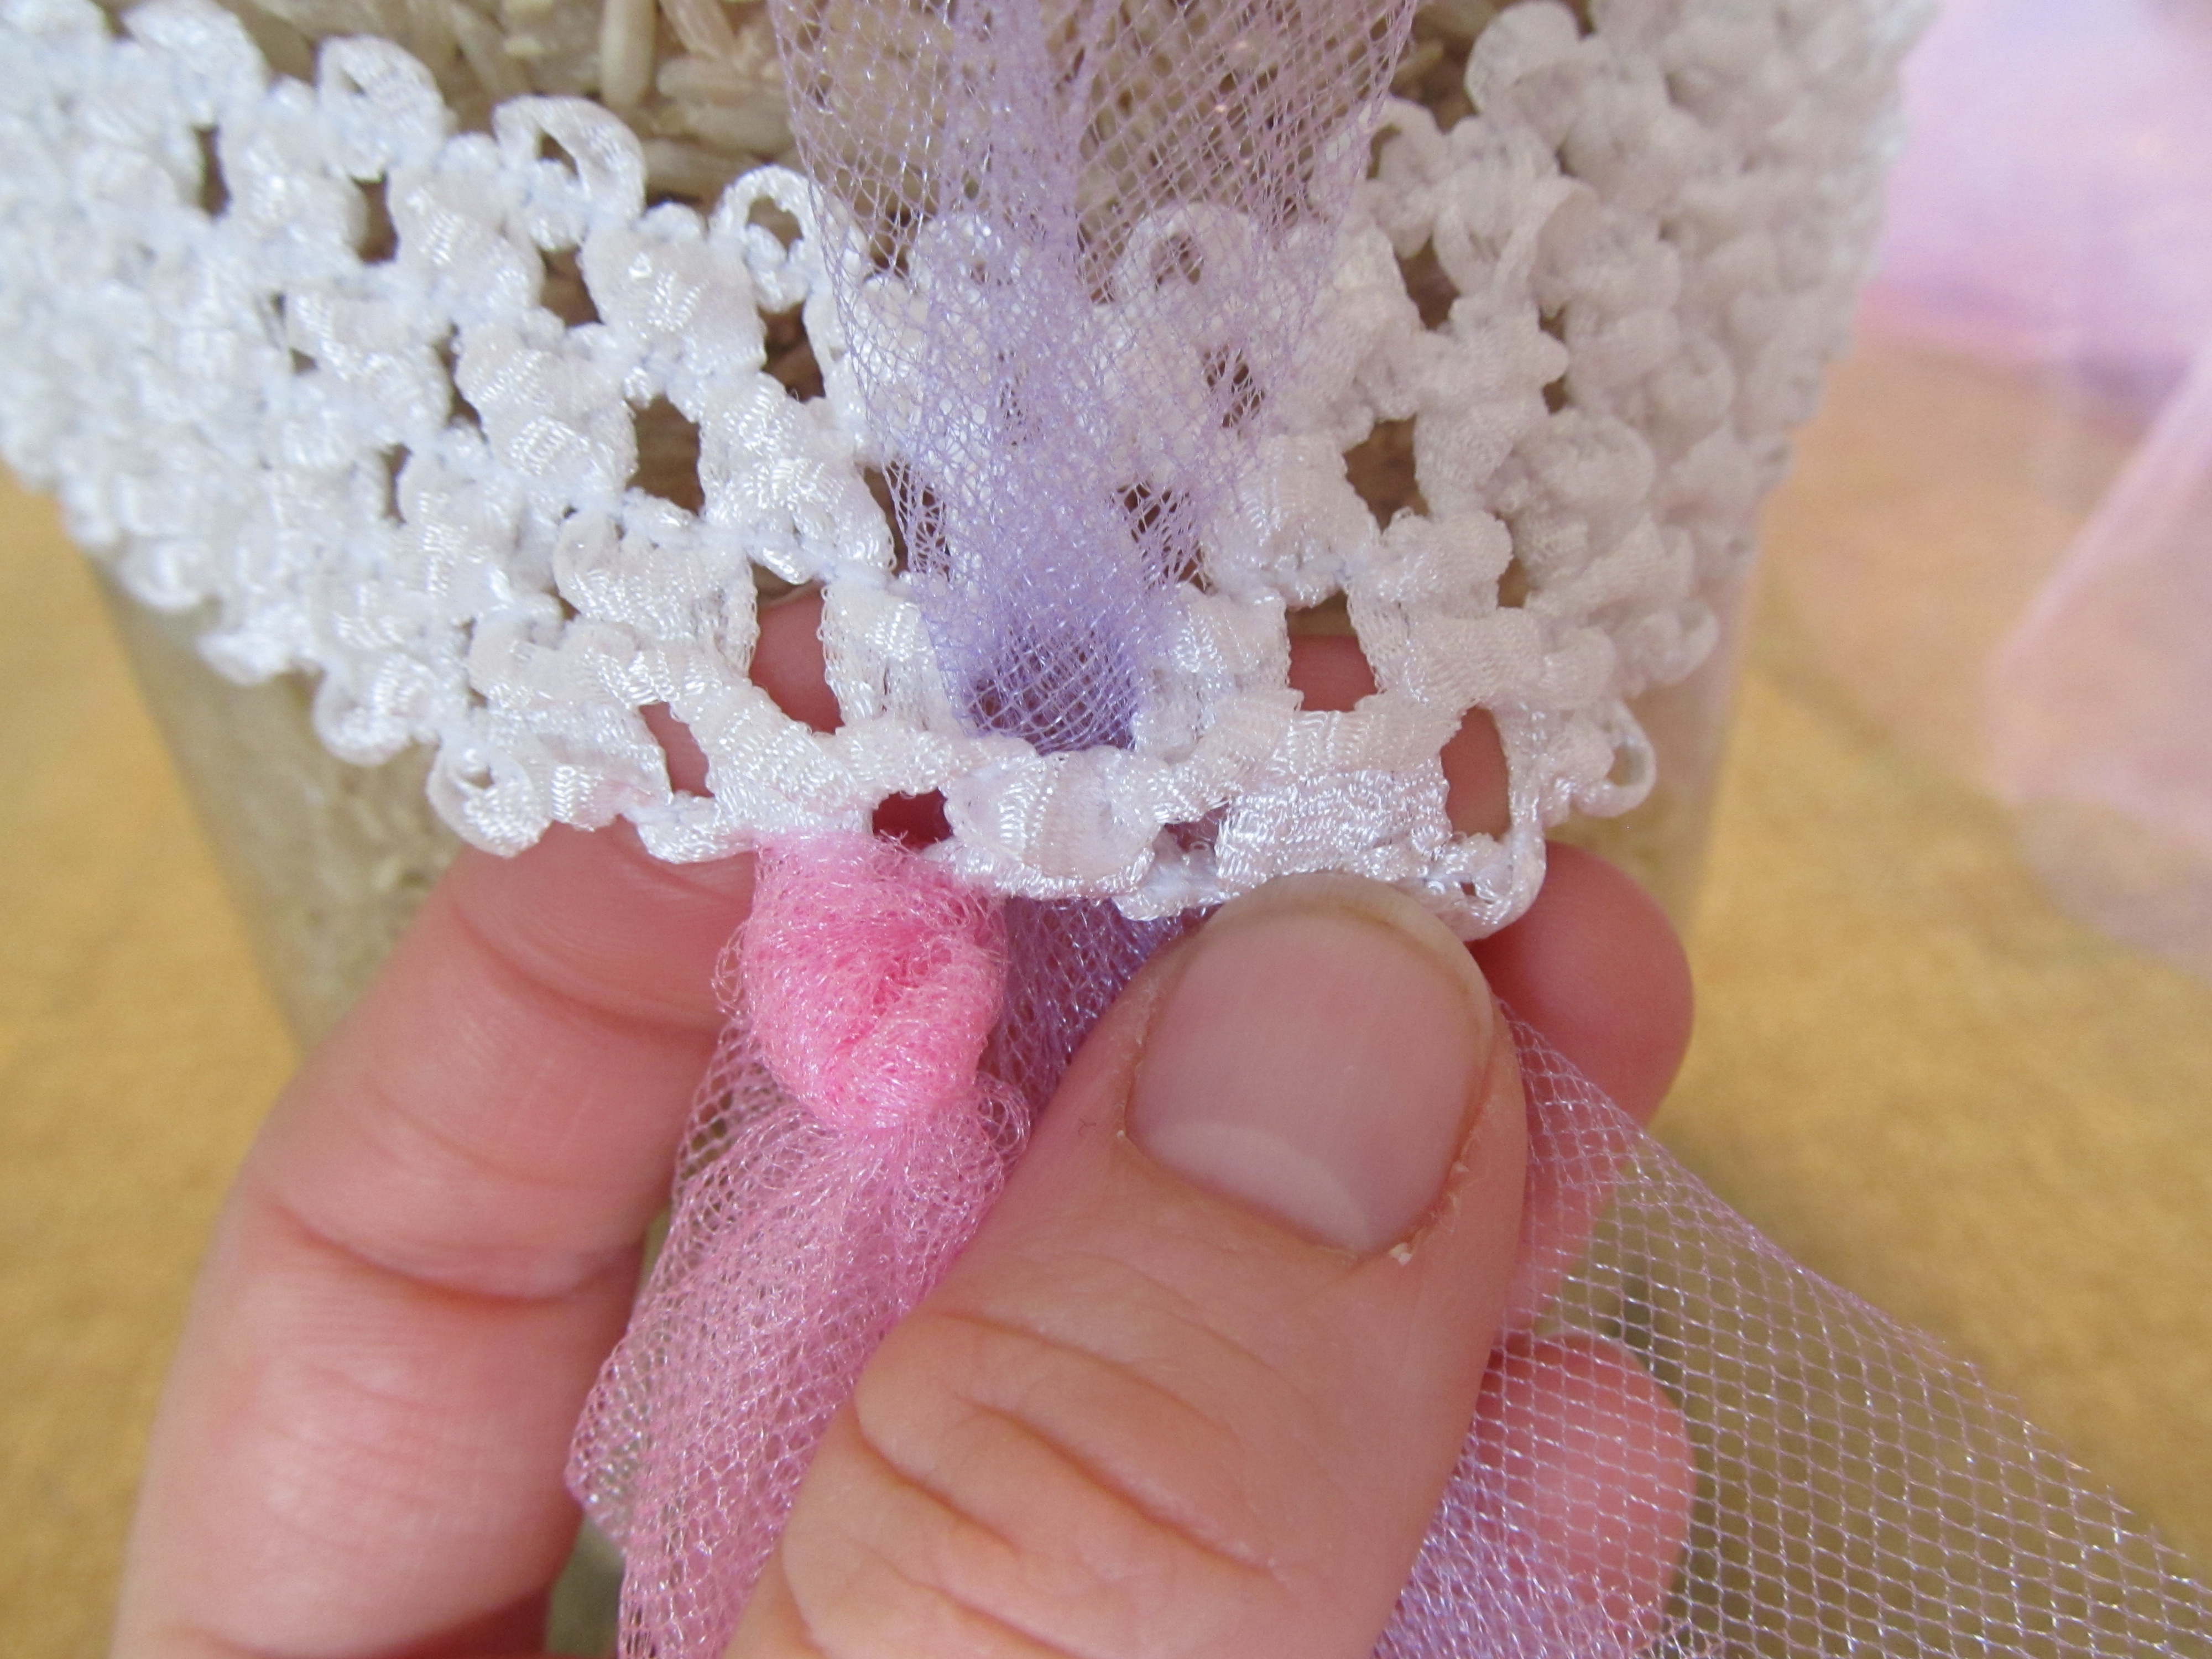
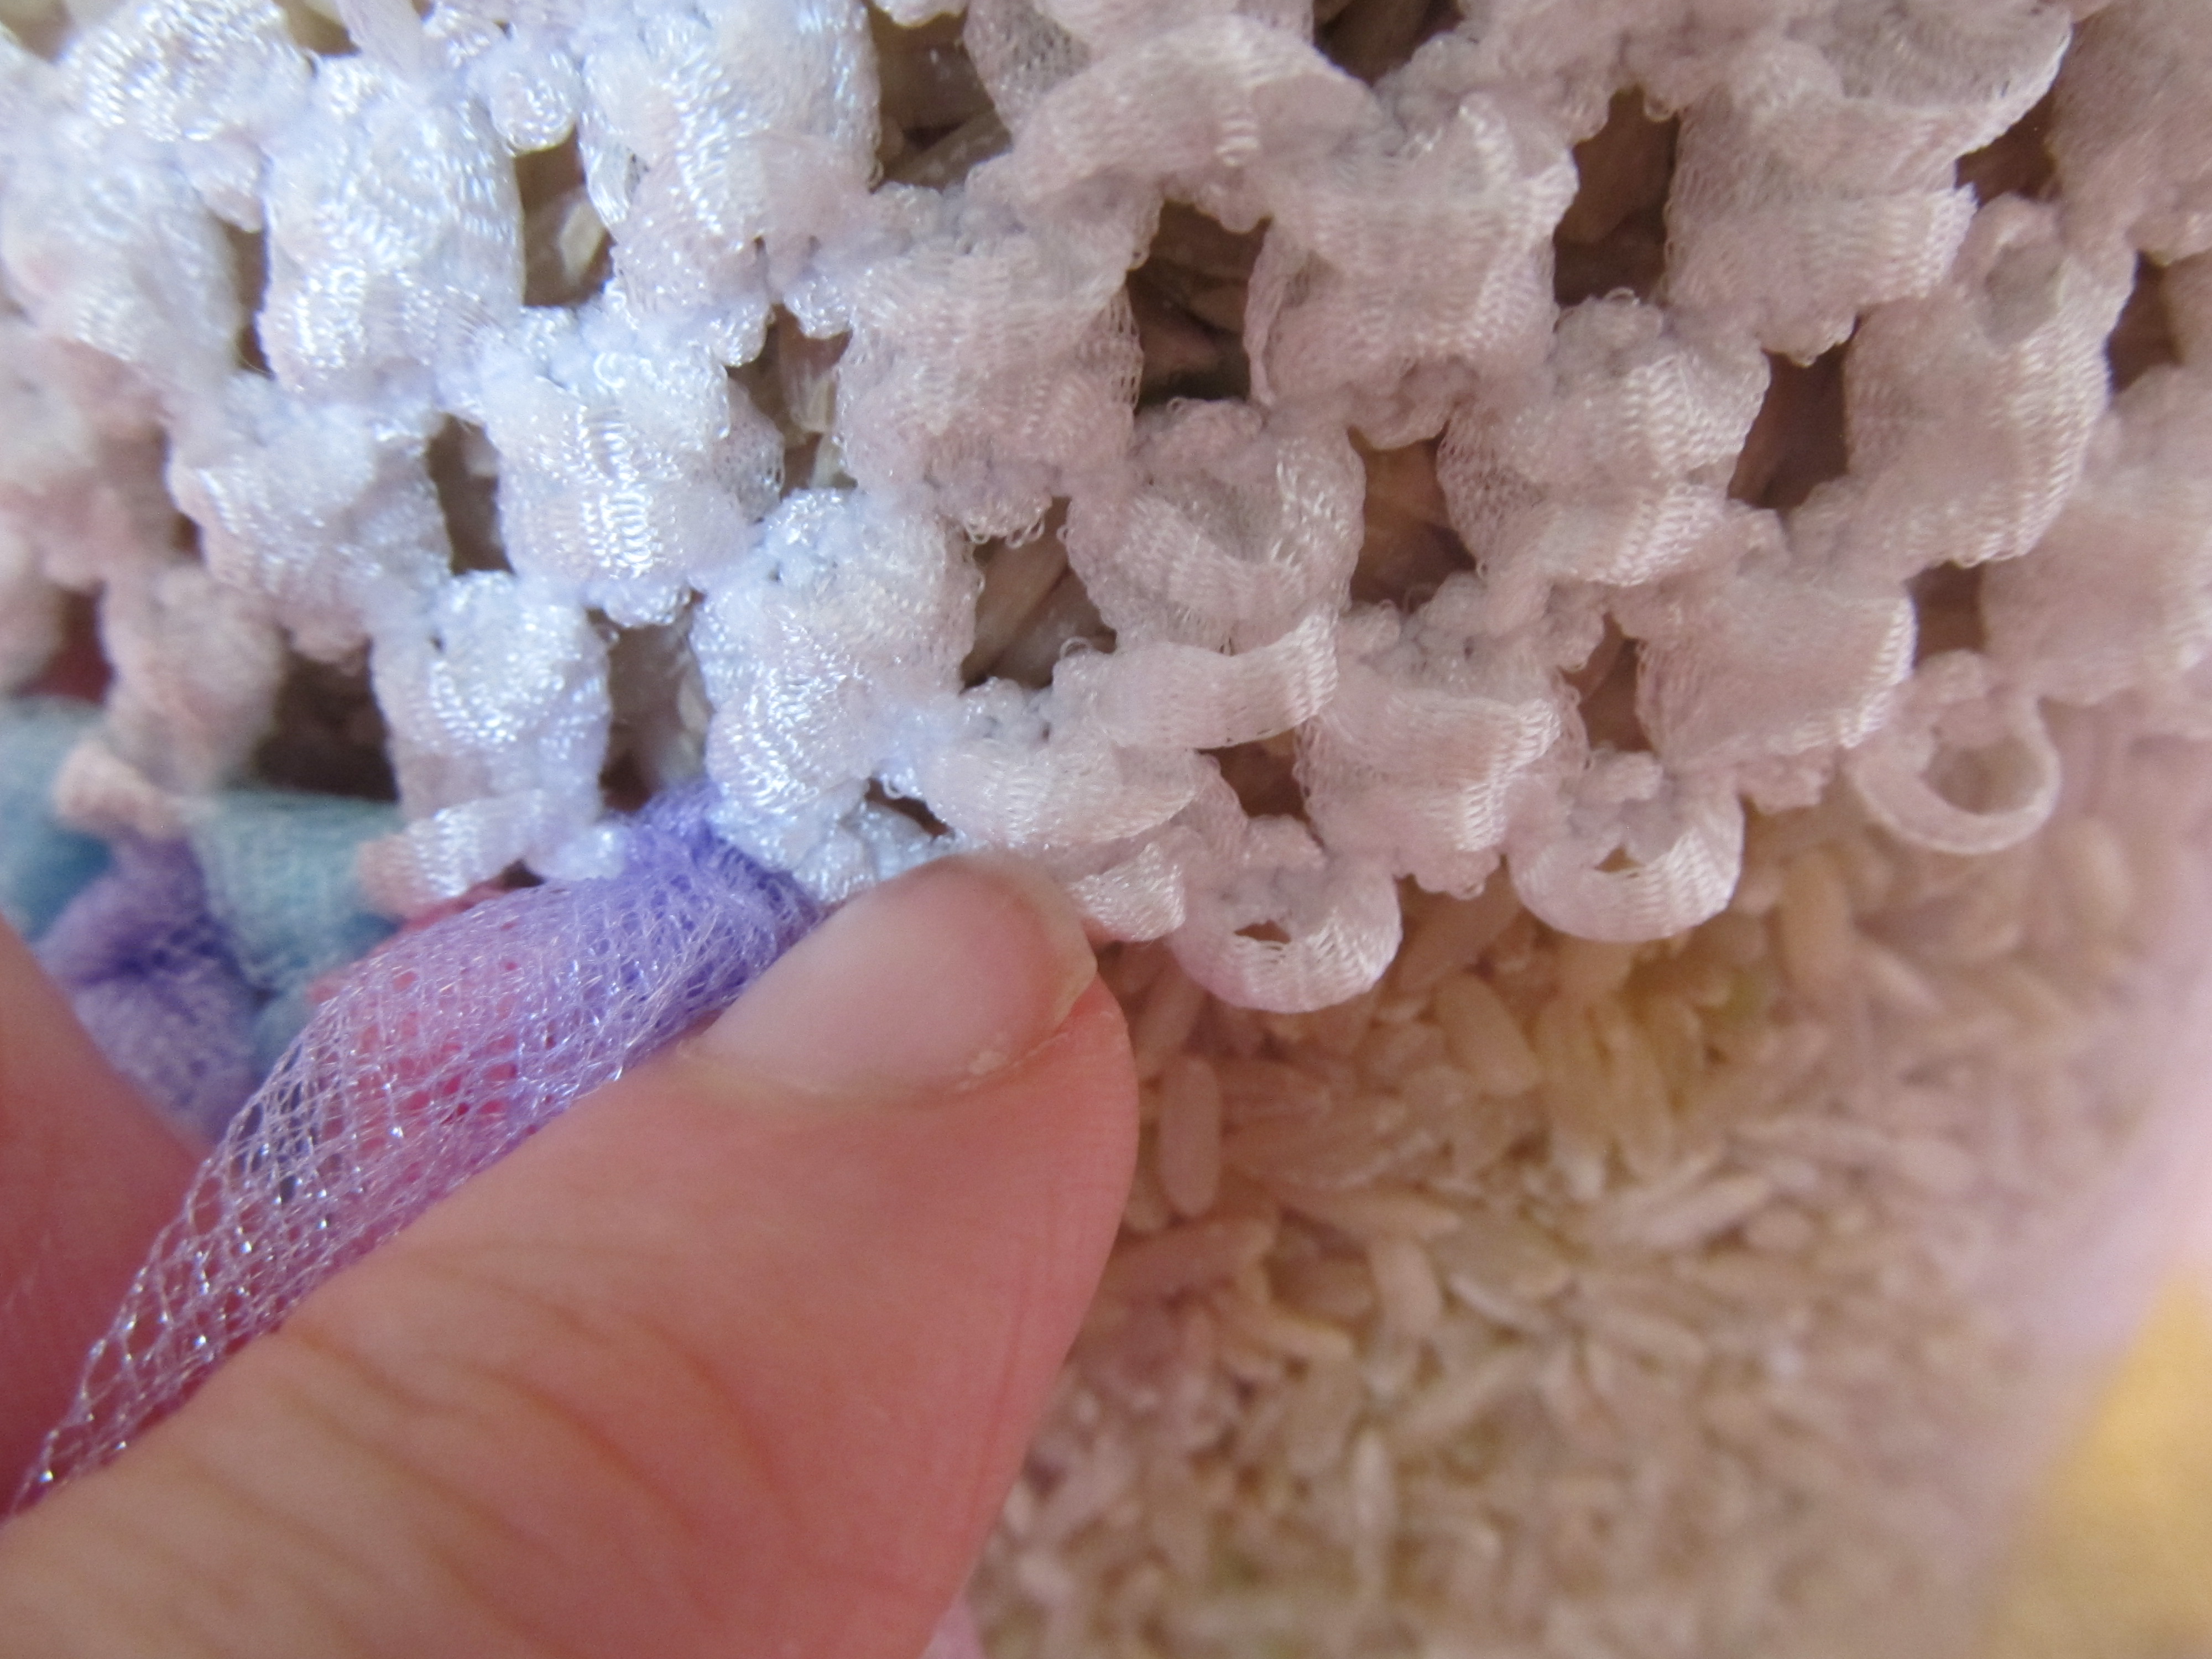
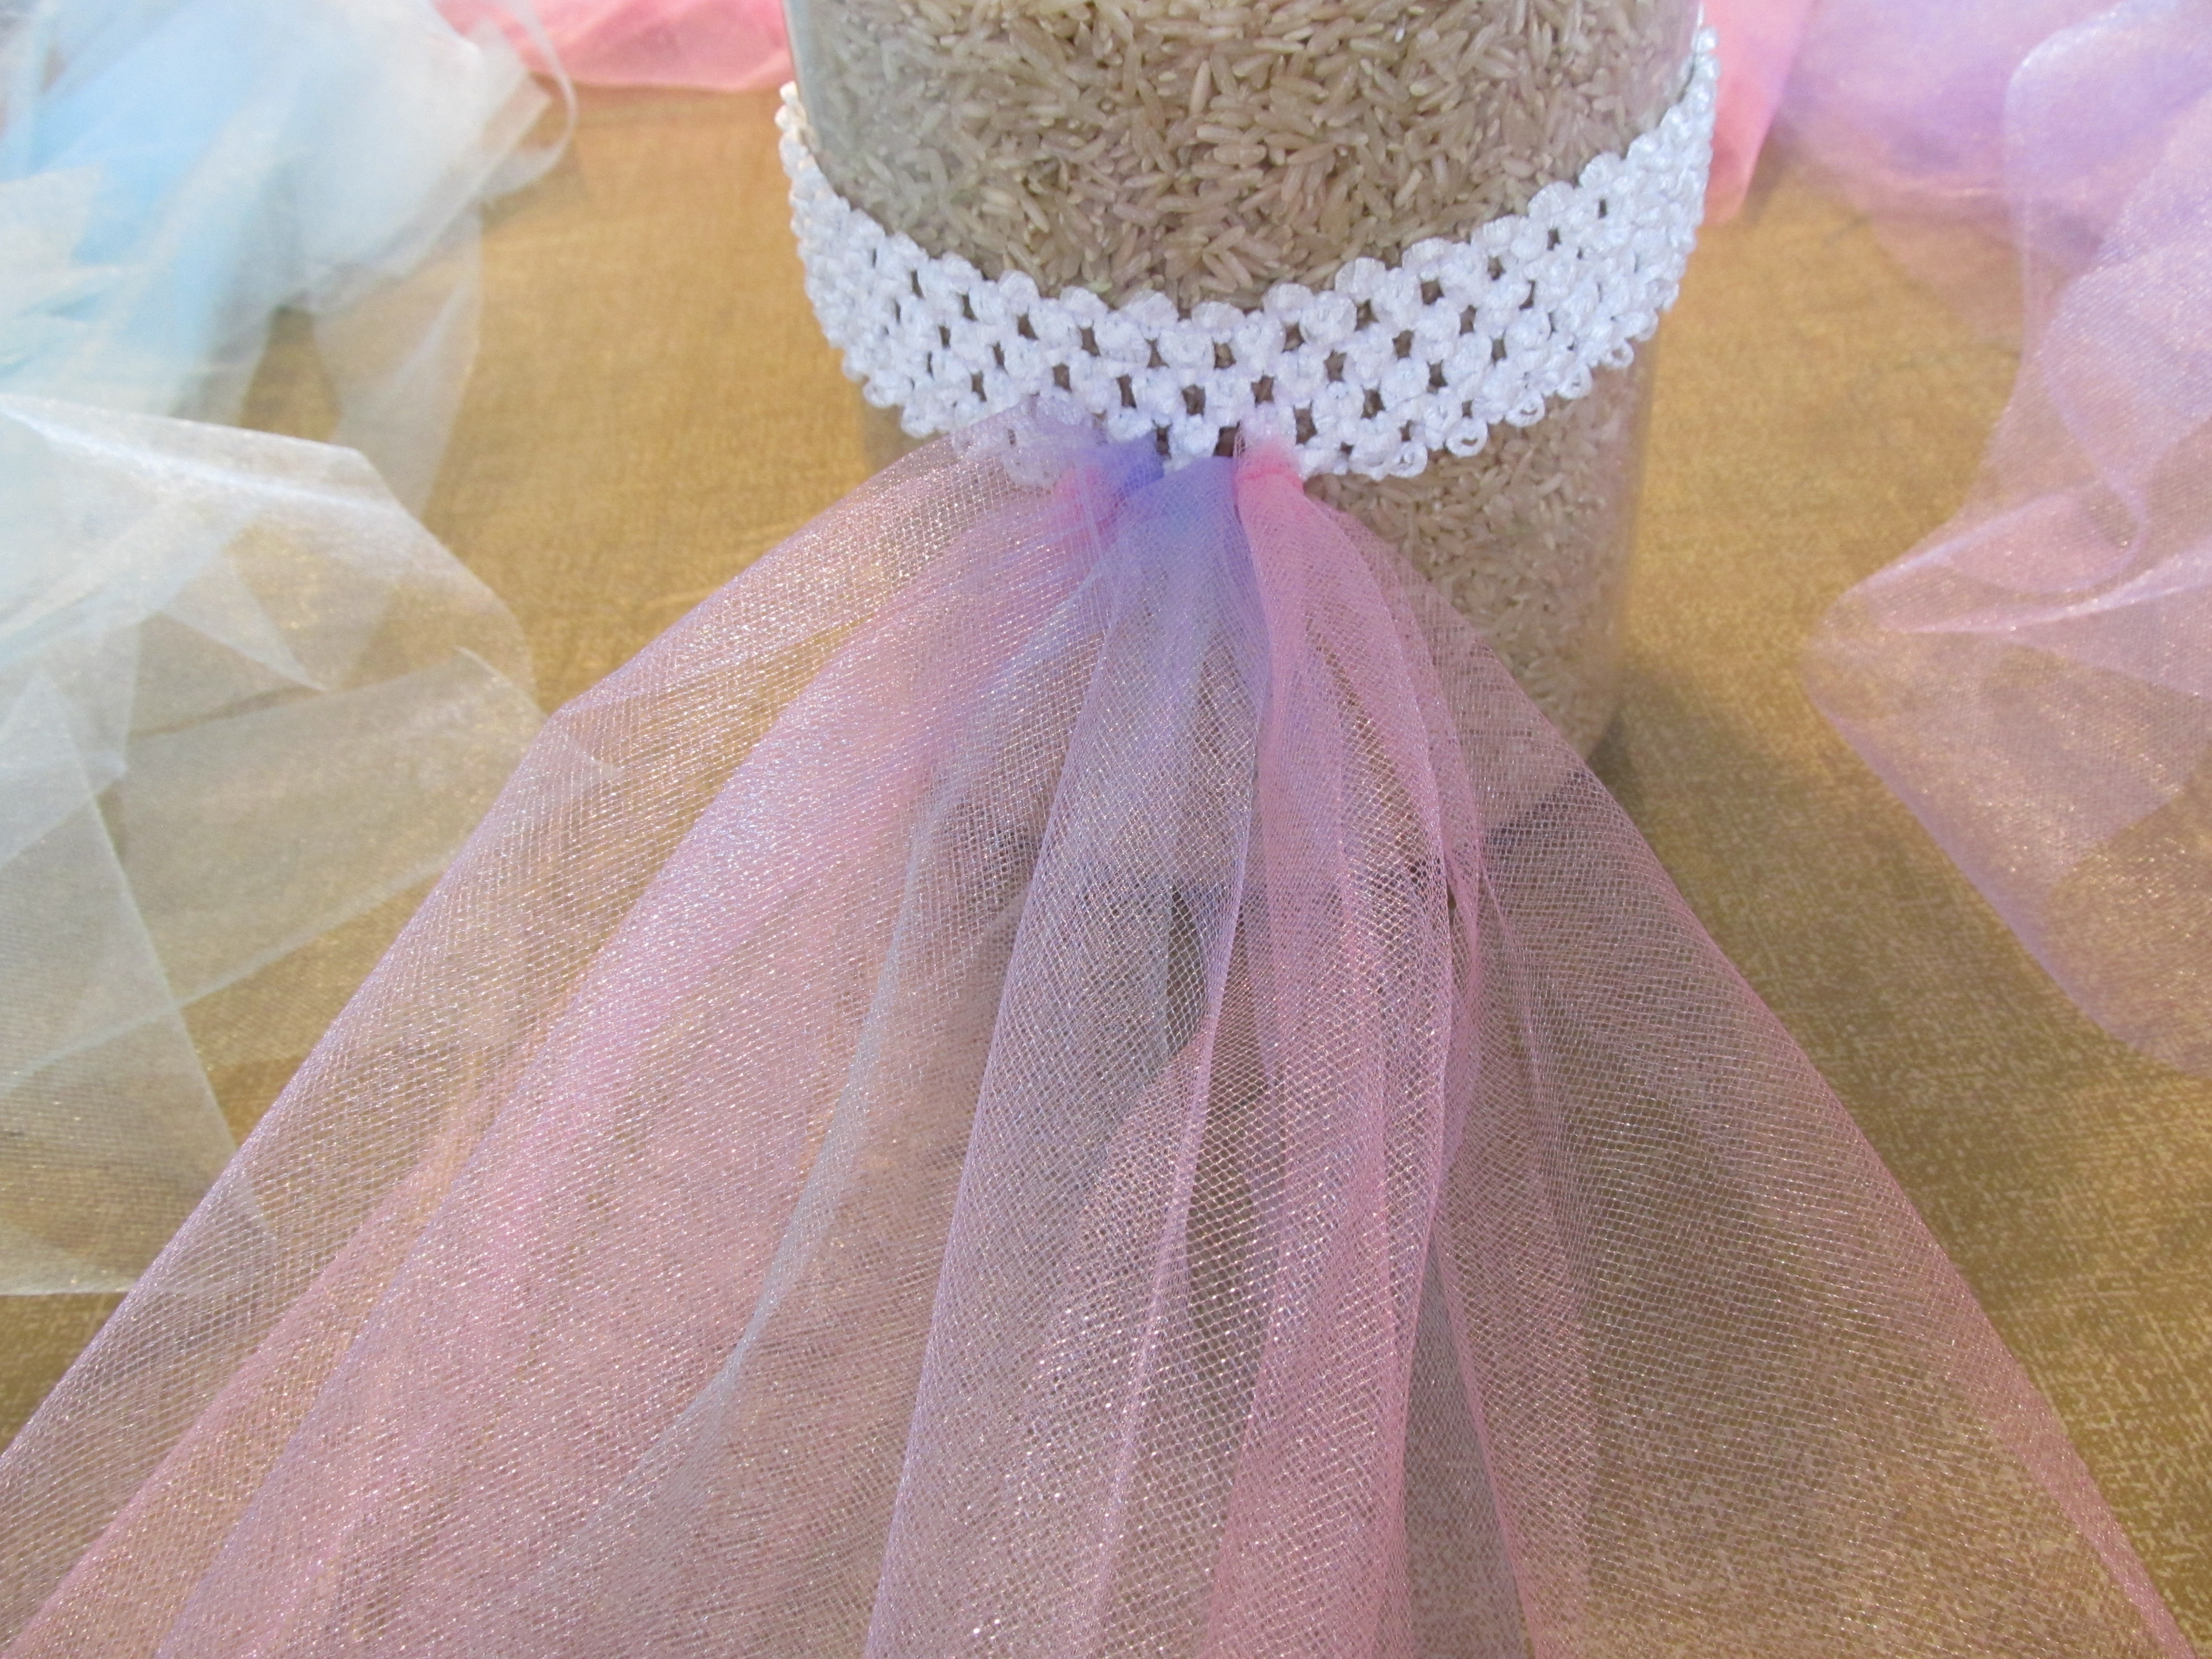
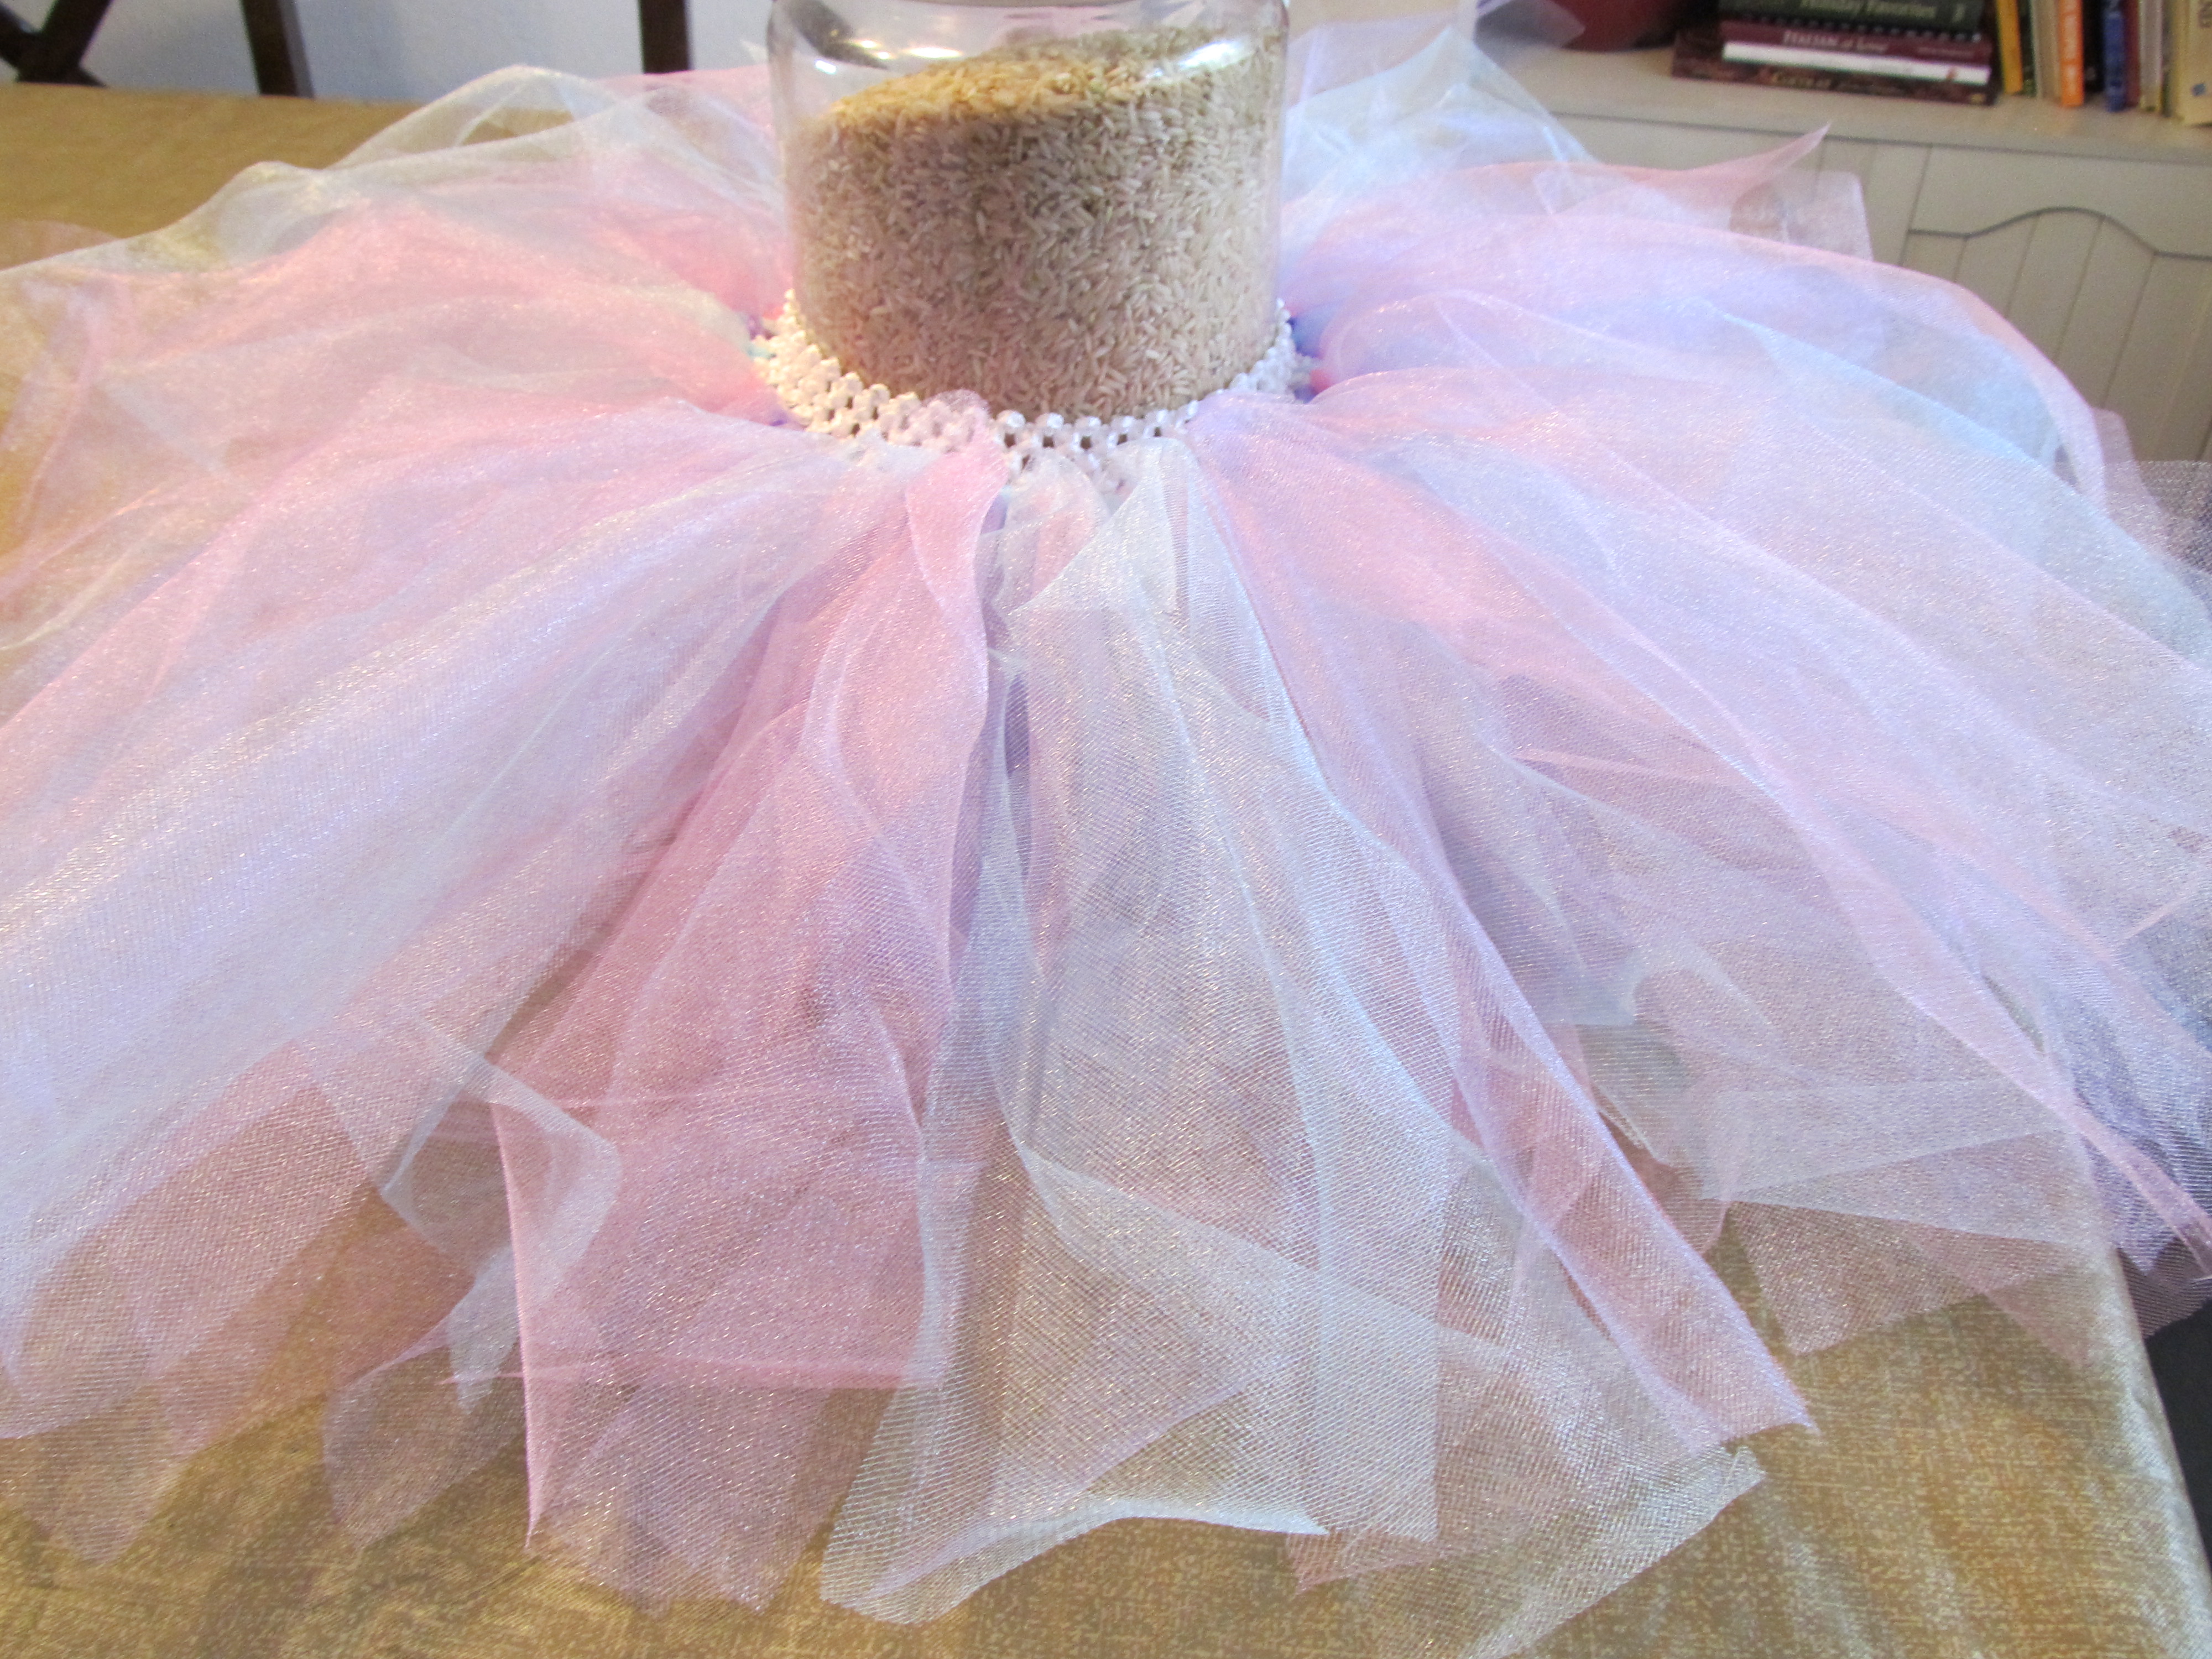
- First you’d need to put your waistband around something to keep it in place. This is A LOT easier than just trying to do it on a table. This won’t work for the ribbon method. I used my big container of rice. You could use a flour canister or a water jug of whatever you can find.
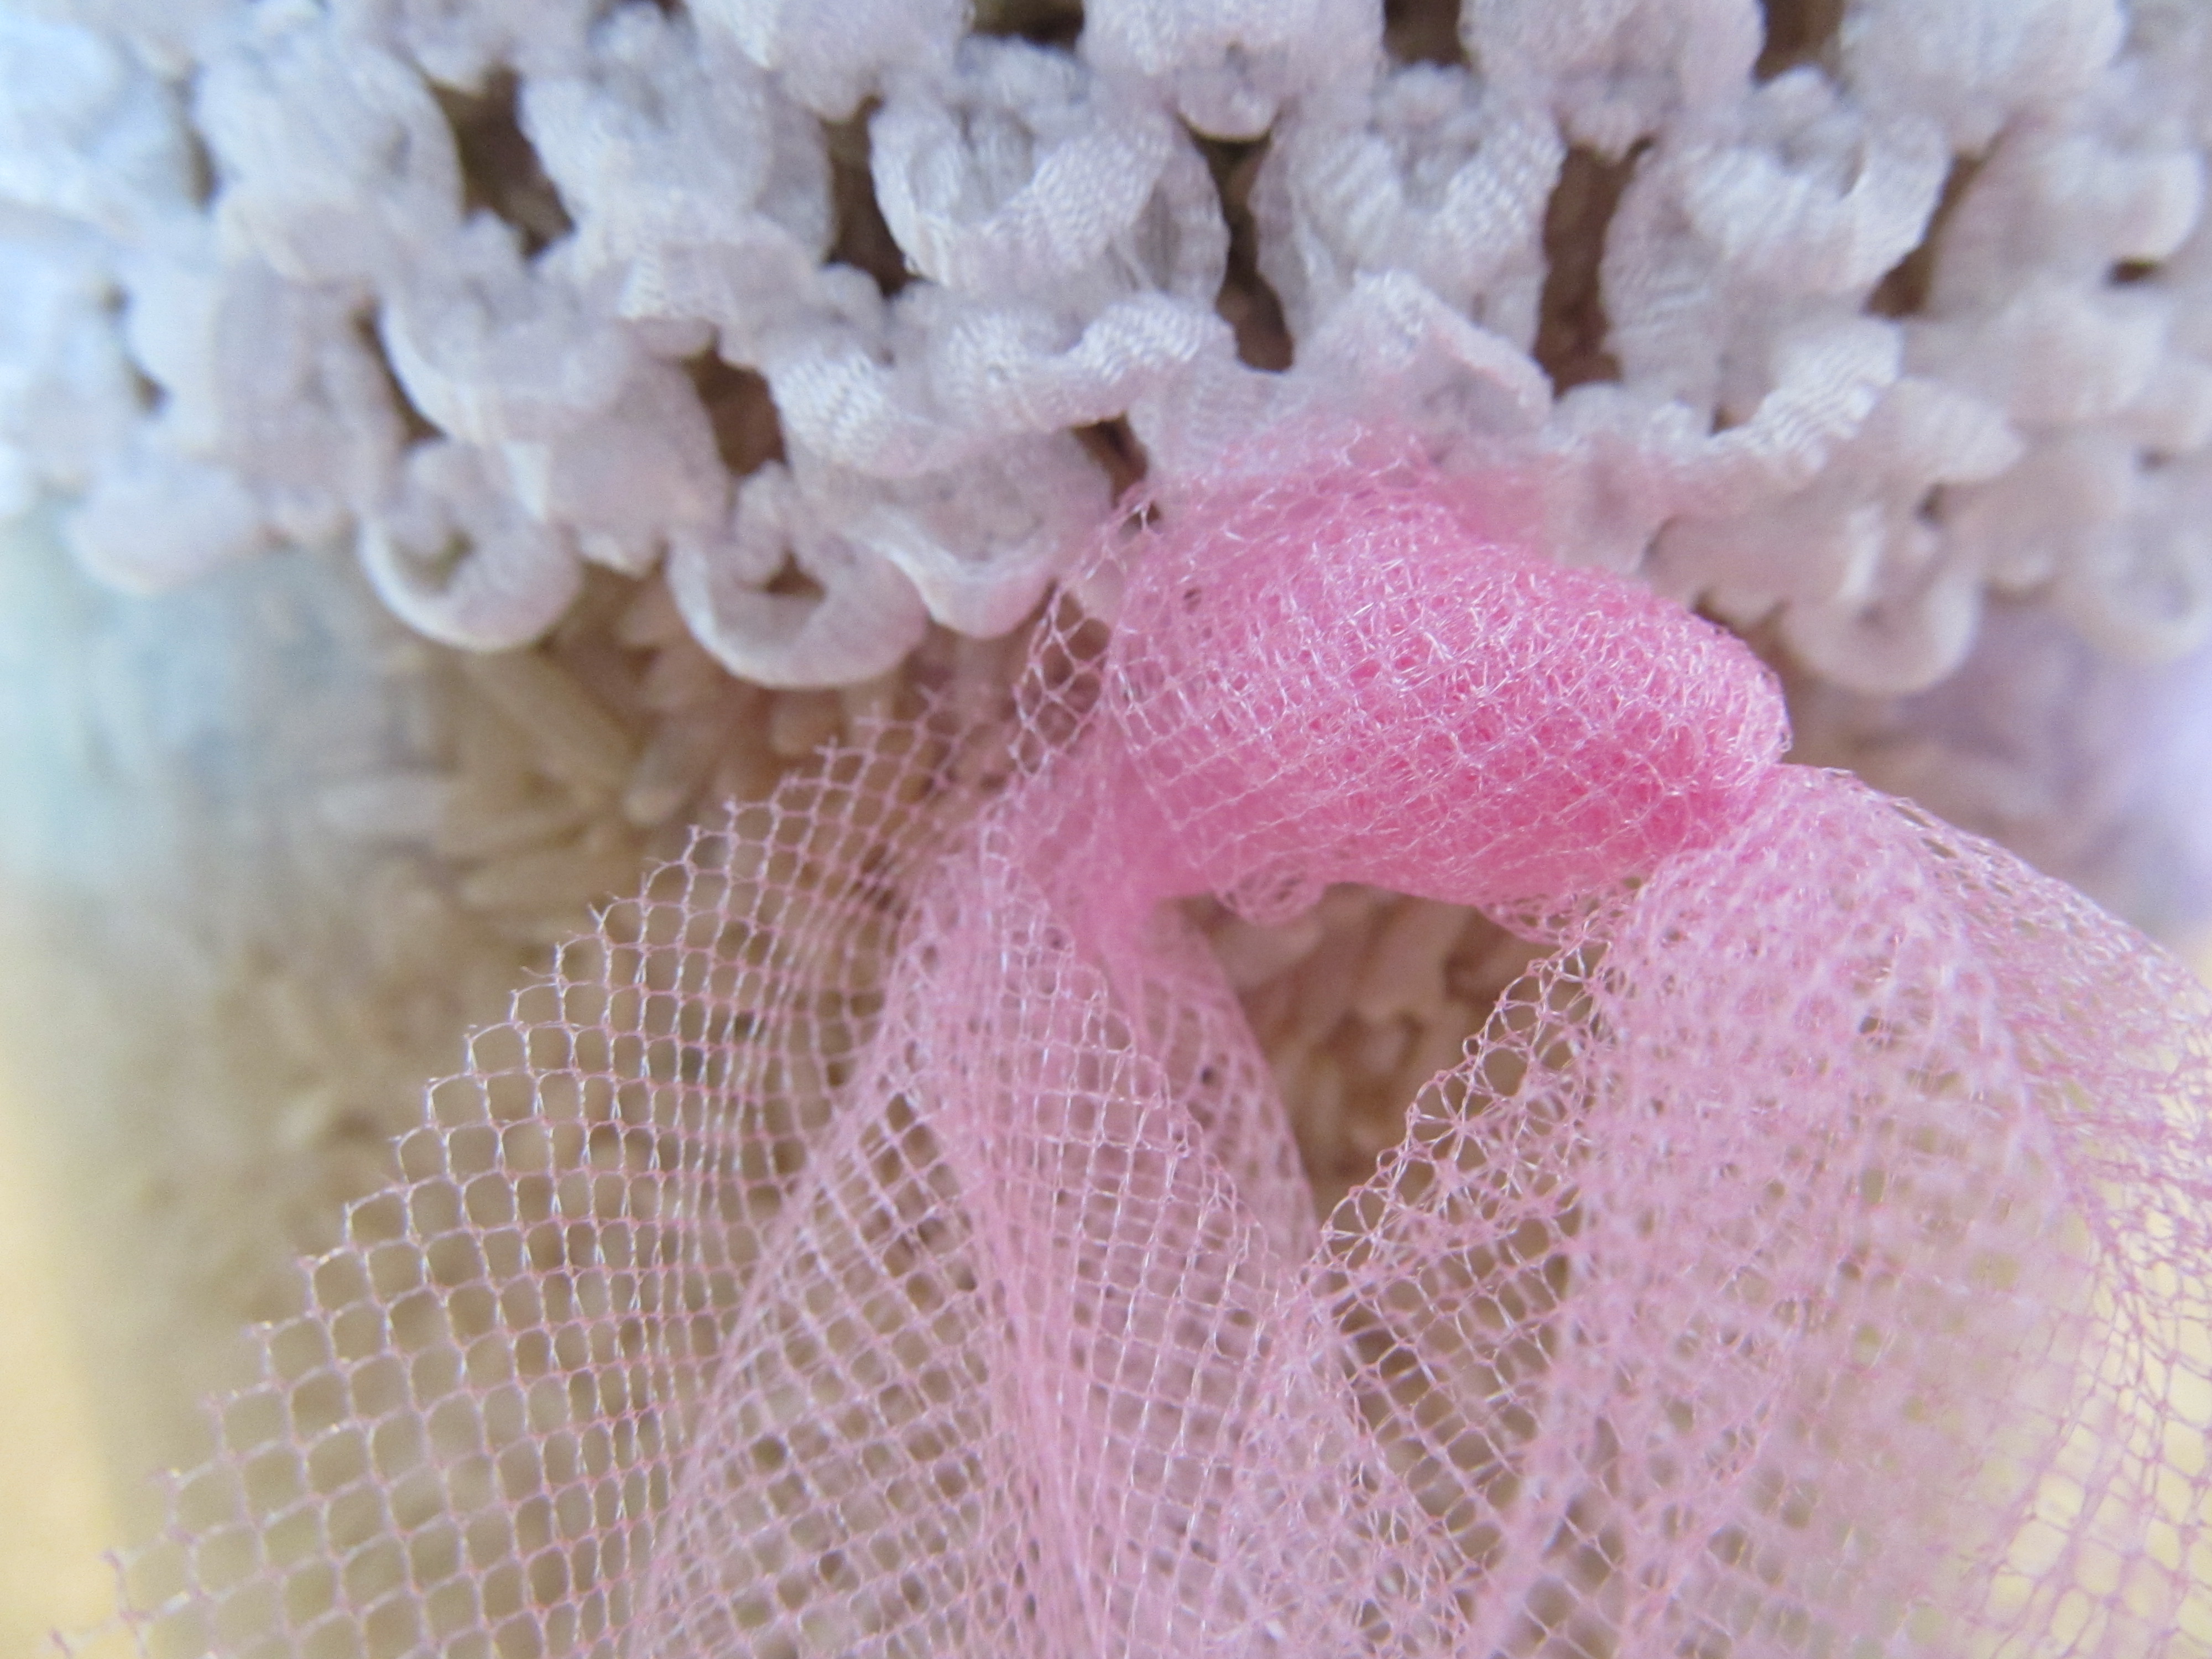
- Now it’s time to tie on the tulle strips. Put a strip of tulle through a hole on the bottom of the waistband. Then pull the tulle through until it’s exactly in half.
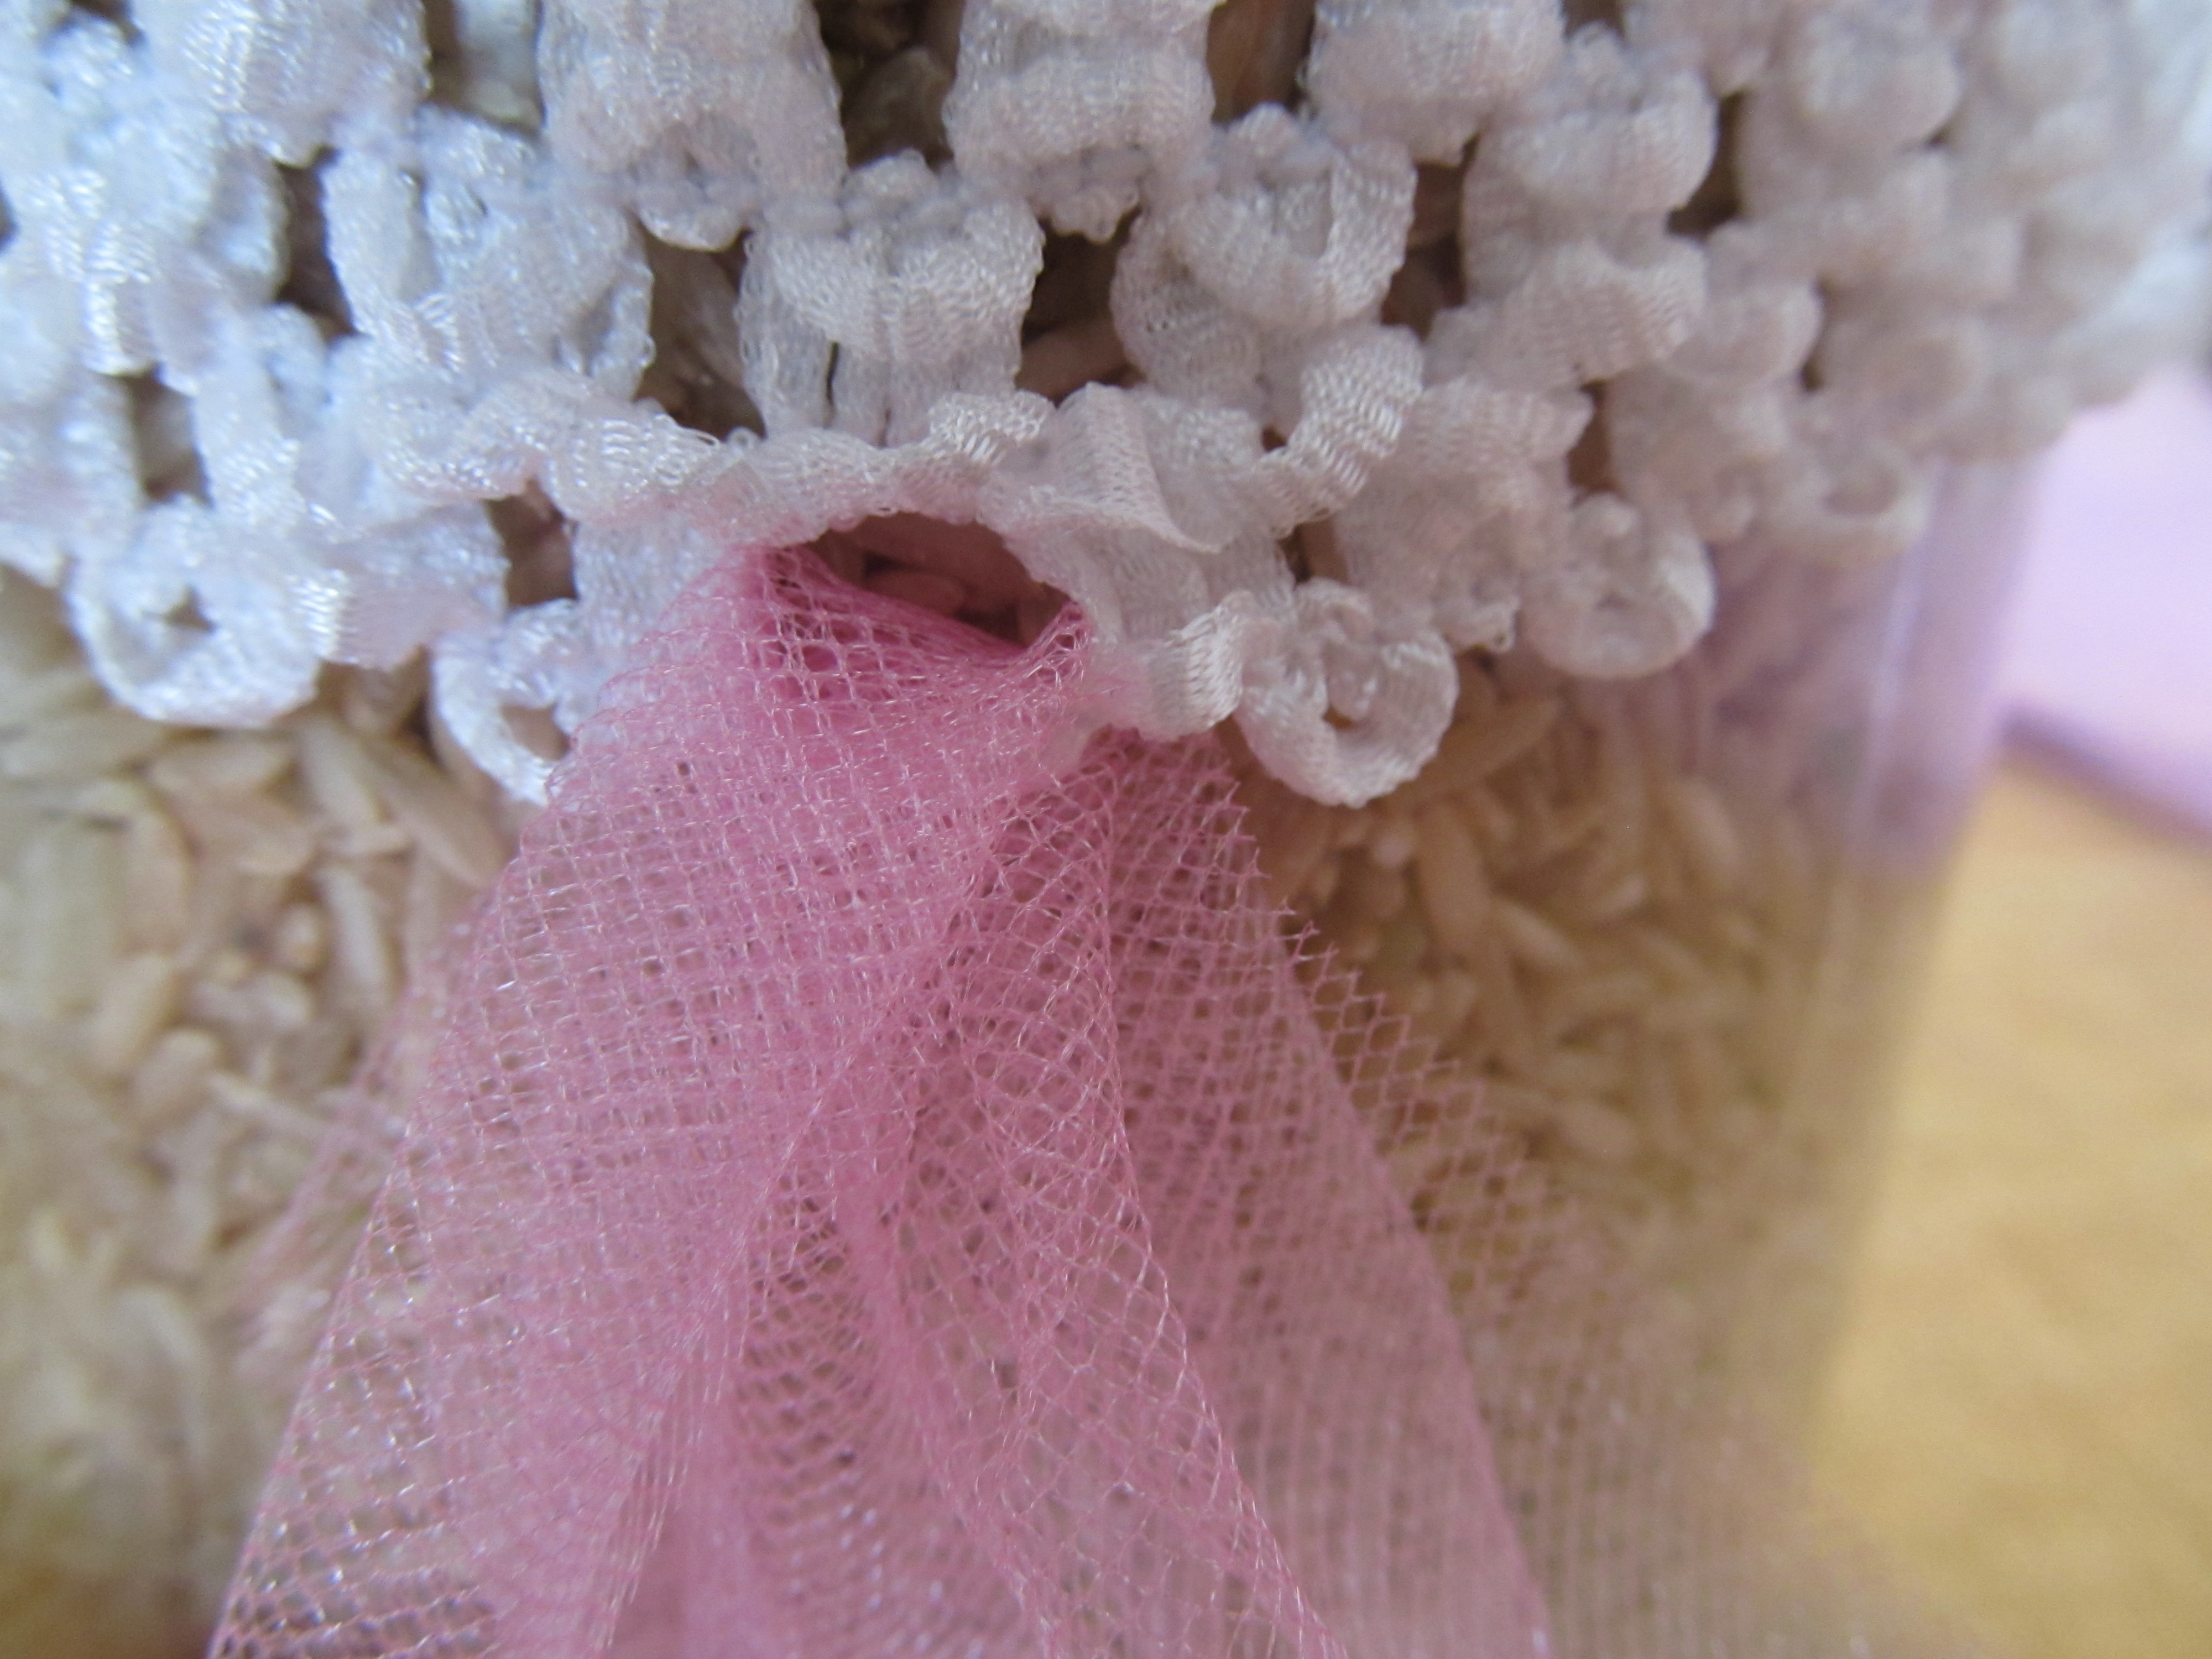
- Now just tie it in a double knot.
- If you’re doing several colors, just alternate here. If you’re doing a double-layer tutu (that’s what I did), put the next piece of tulle in the hole diagonally above the first and tie it in another double knot. Then put the next piece in the next bottom hole (it’s easy to accidentally skip a bottom hole. Be sure you get all the holes filled in.
- Now just do this over, and over, and over, and over, and over, and over……. until you have a BEAUTIFUL tutu!
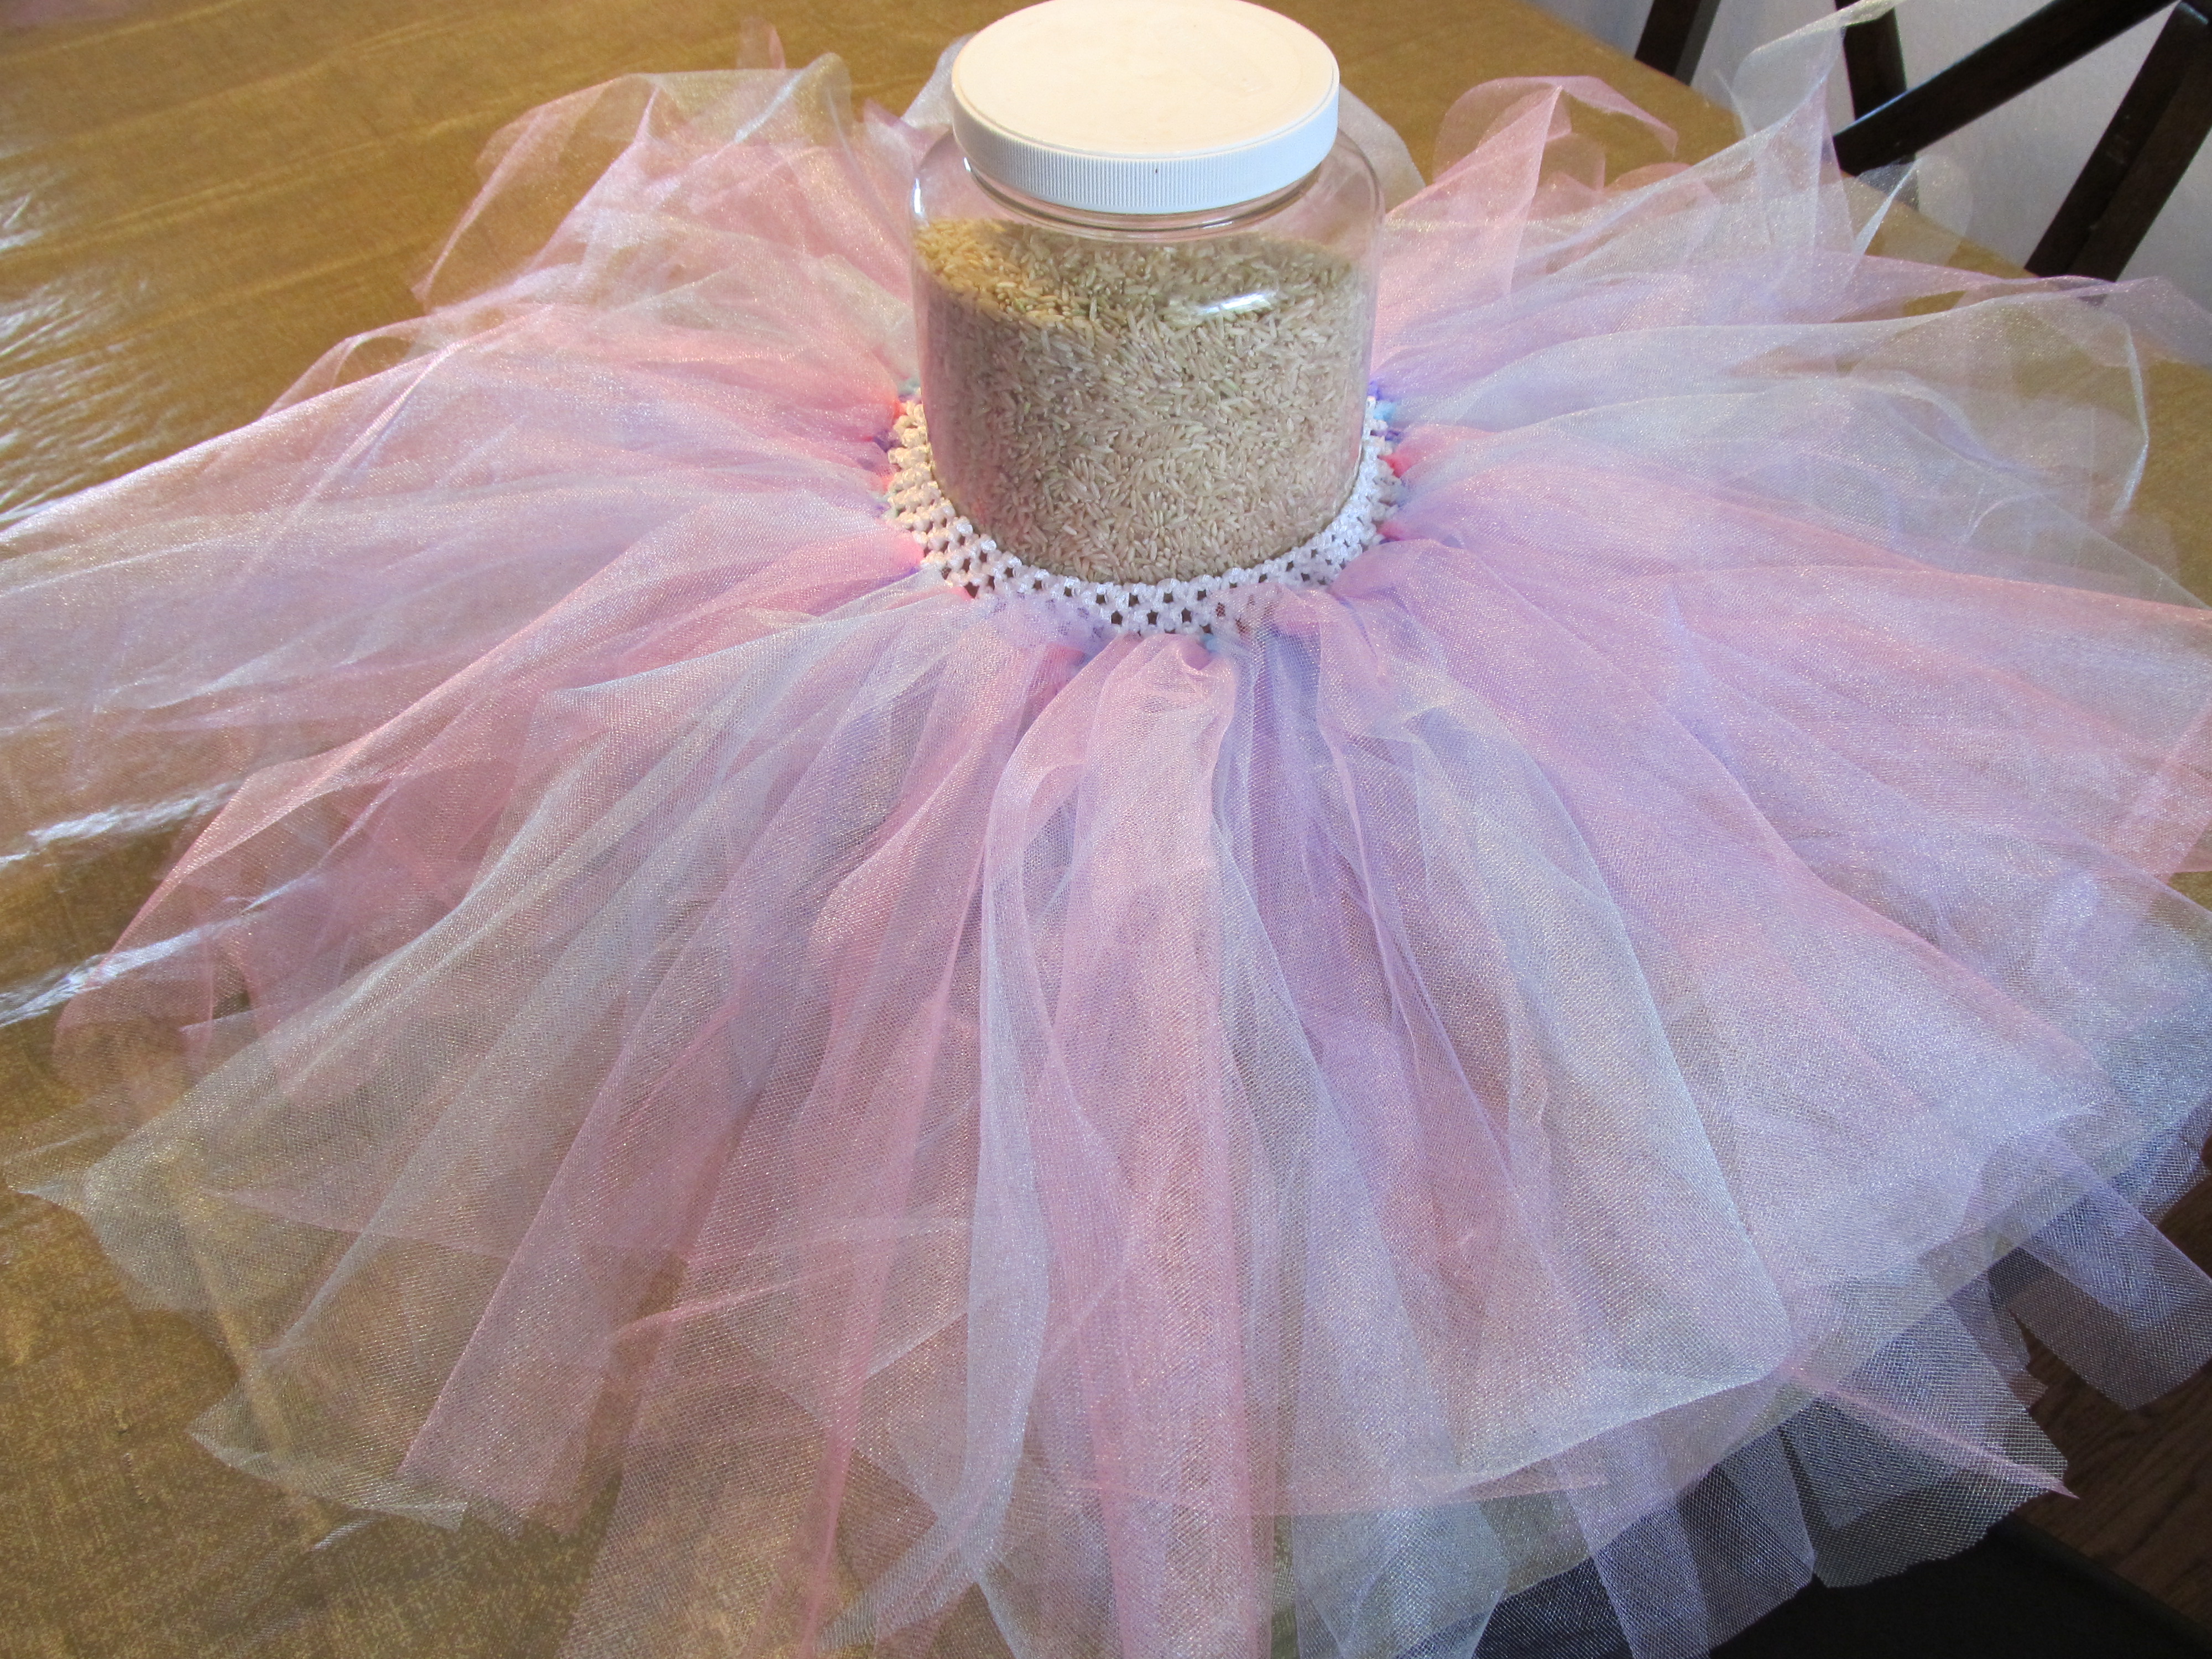
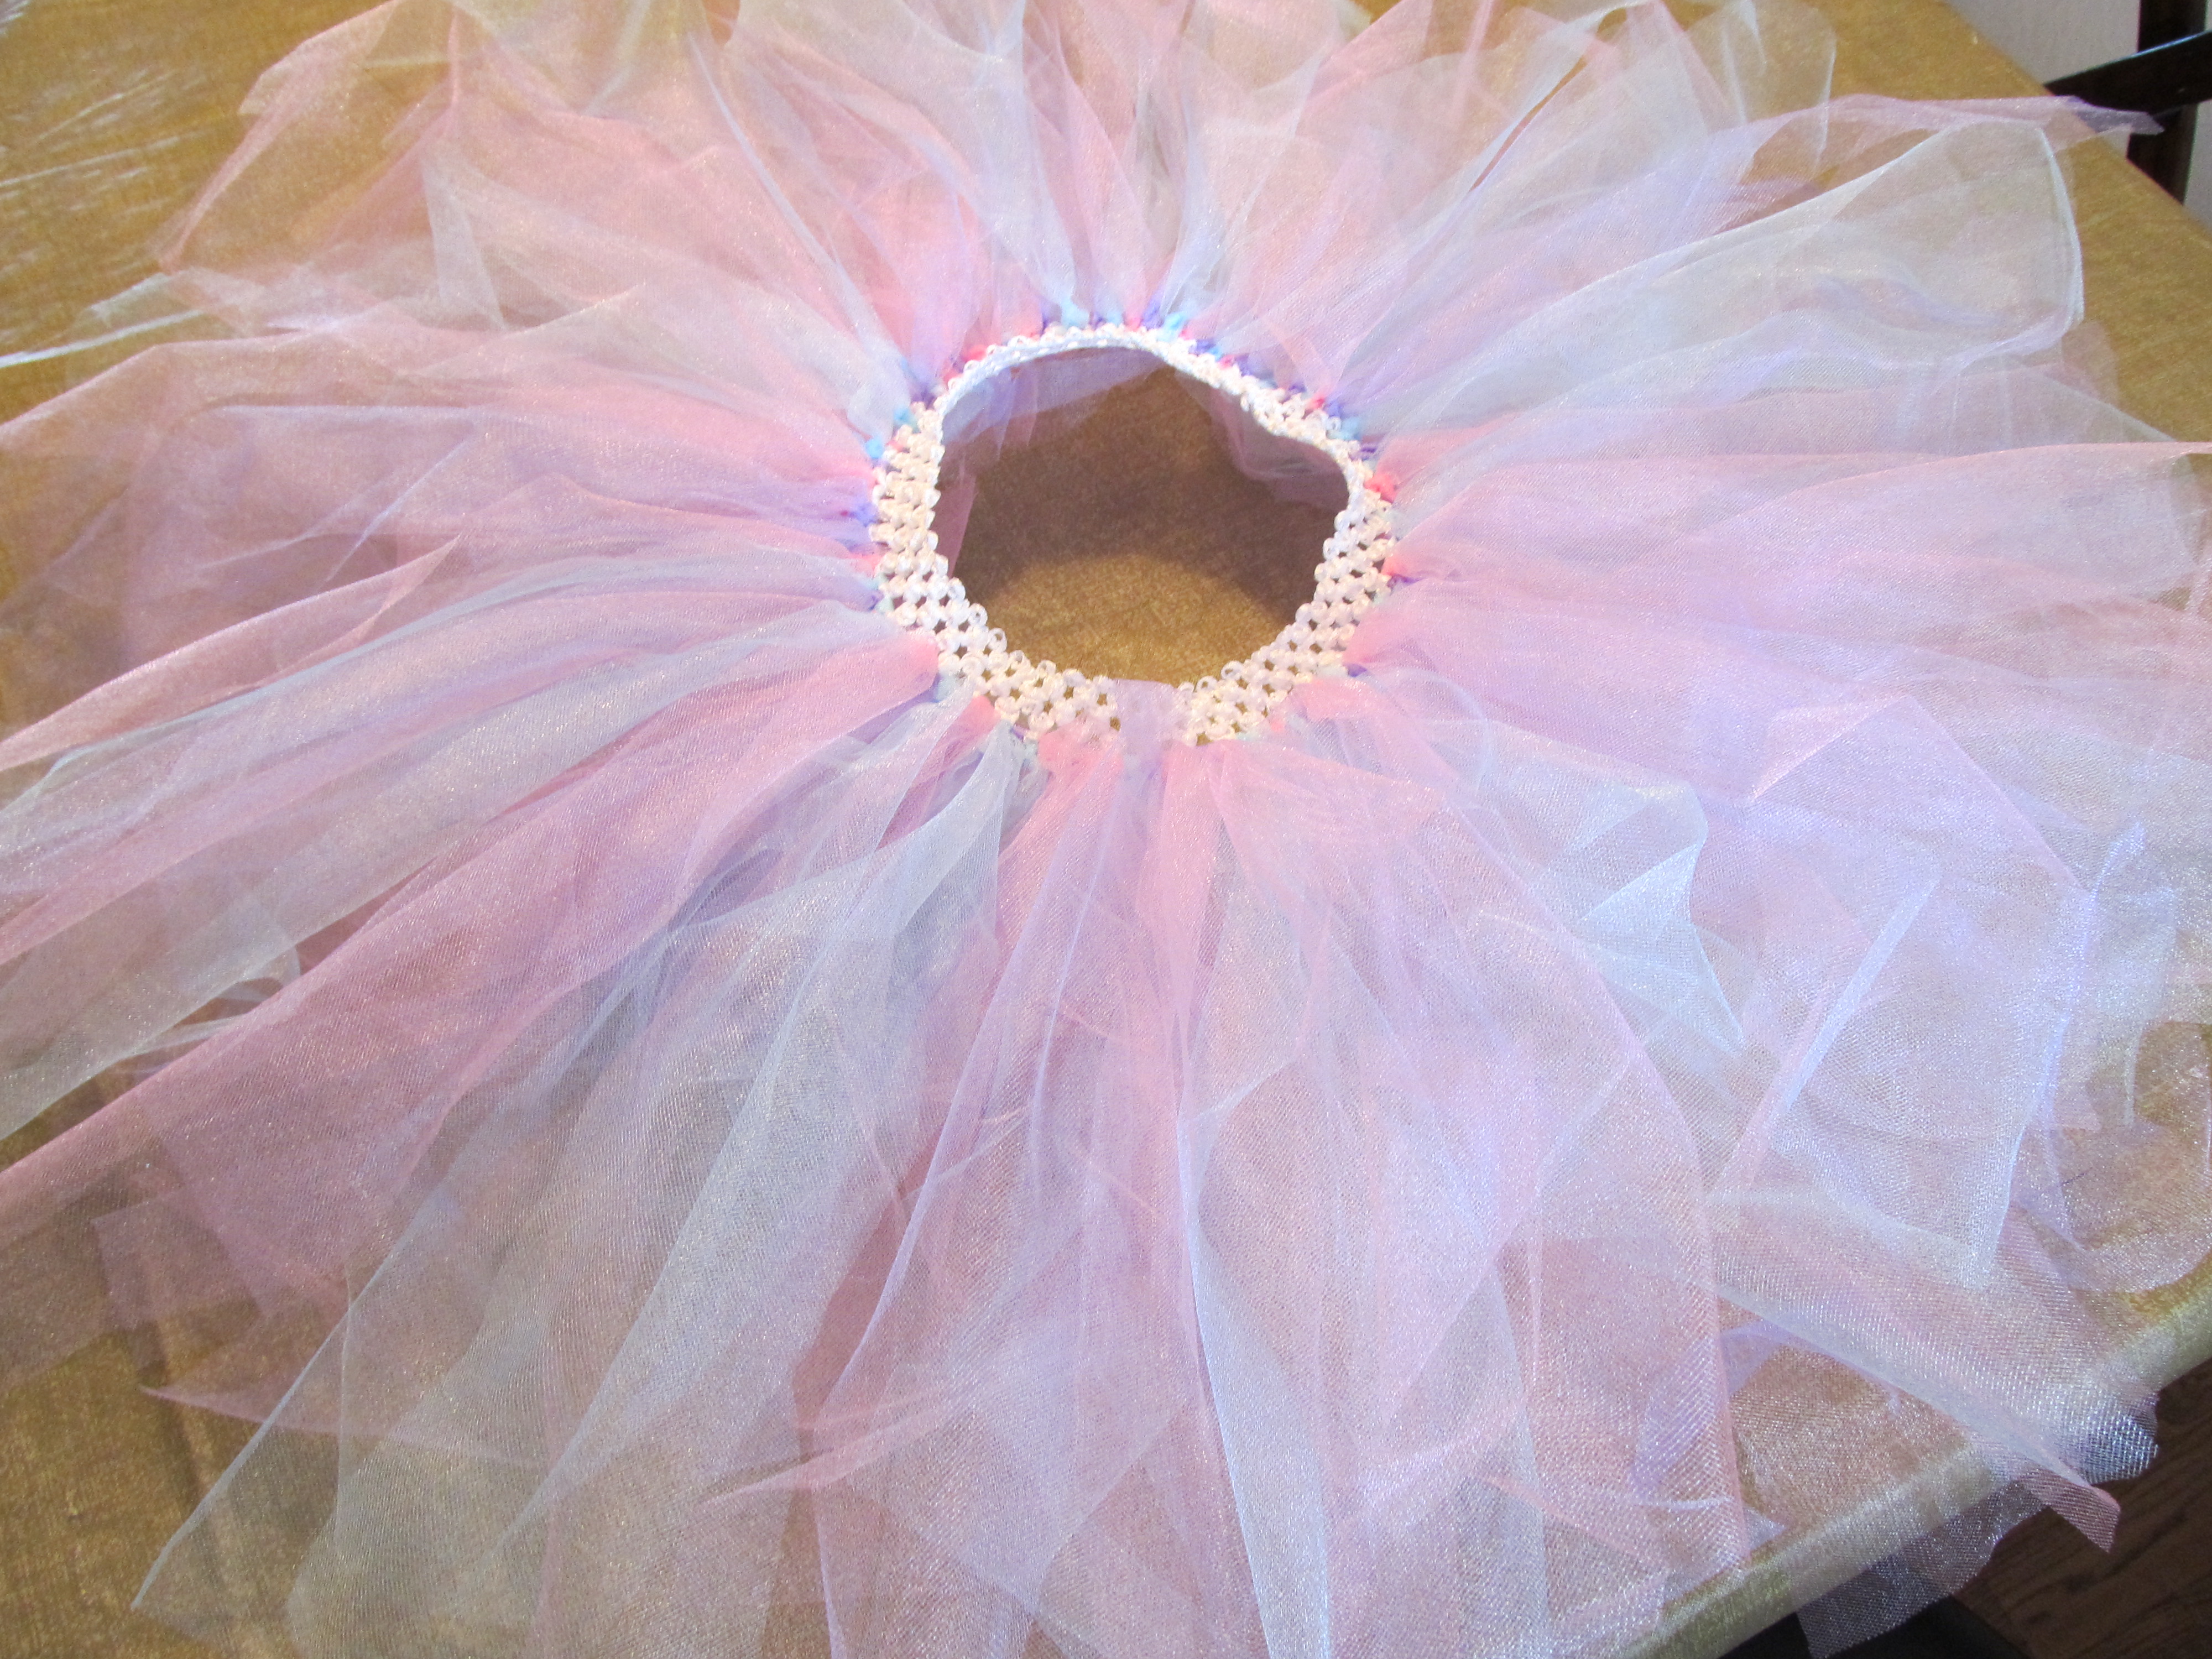
- At this point you can even out the layers or shorten it just by cutting. I put it on my daughter and I was told not to cut anything!
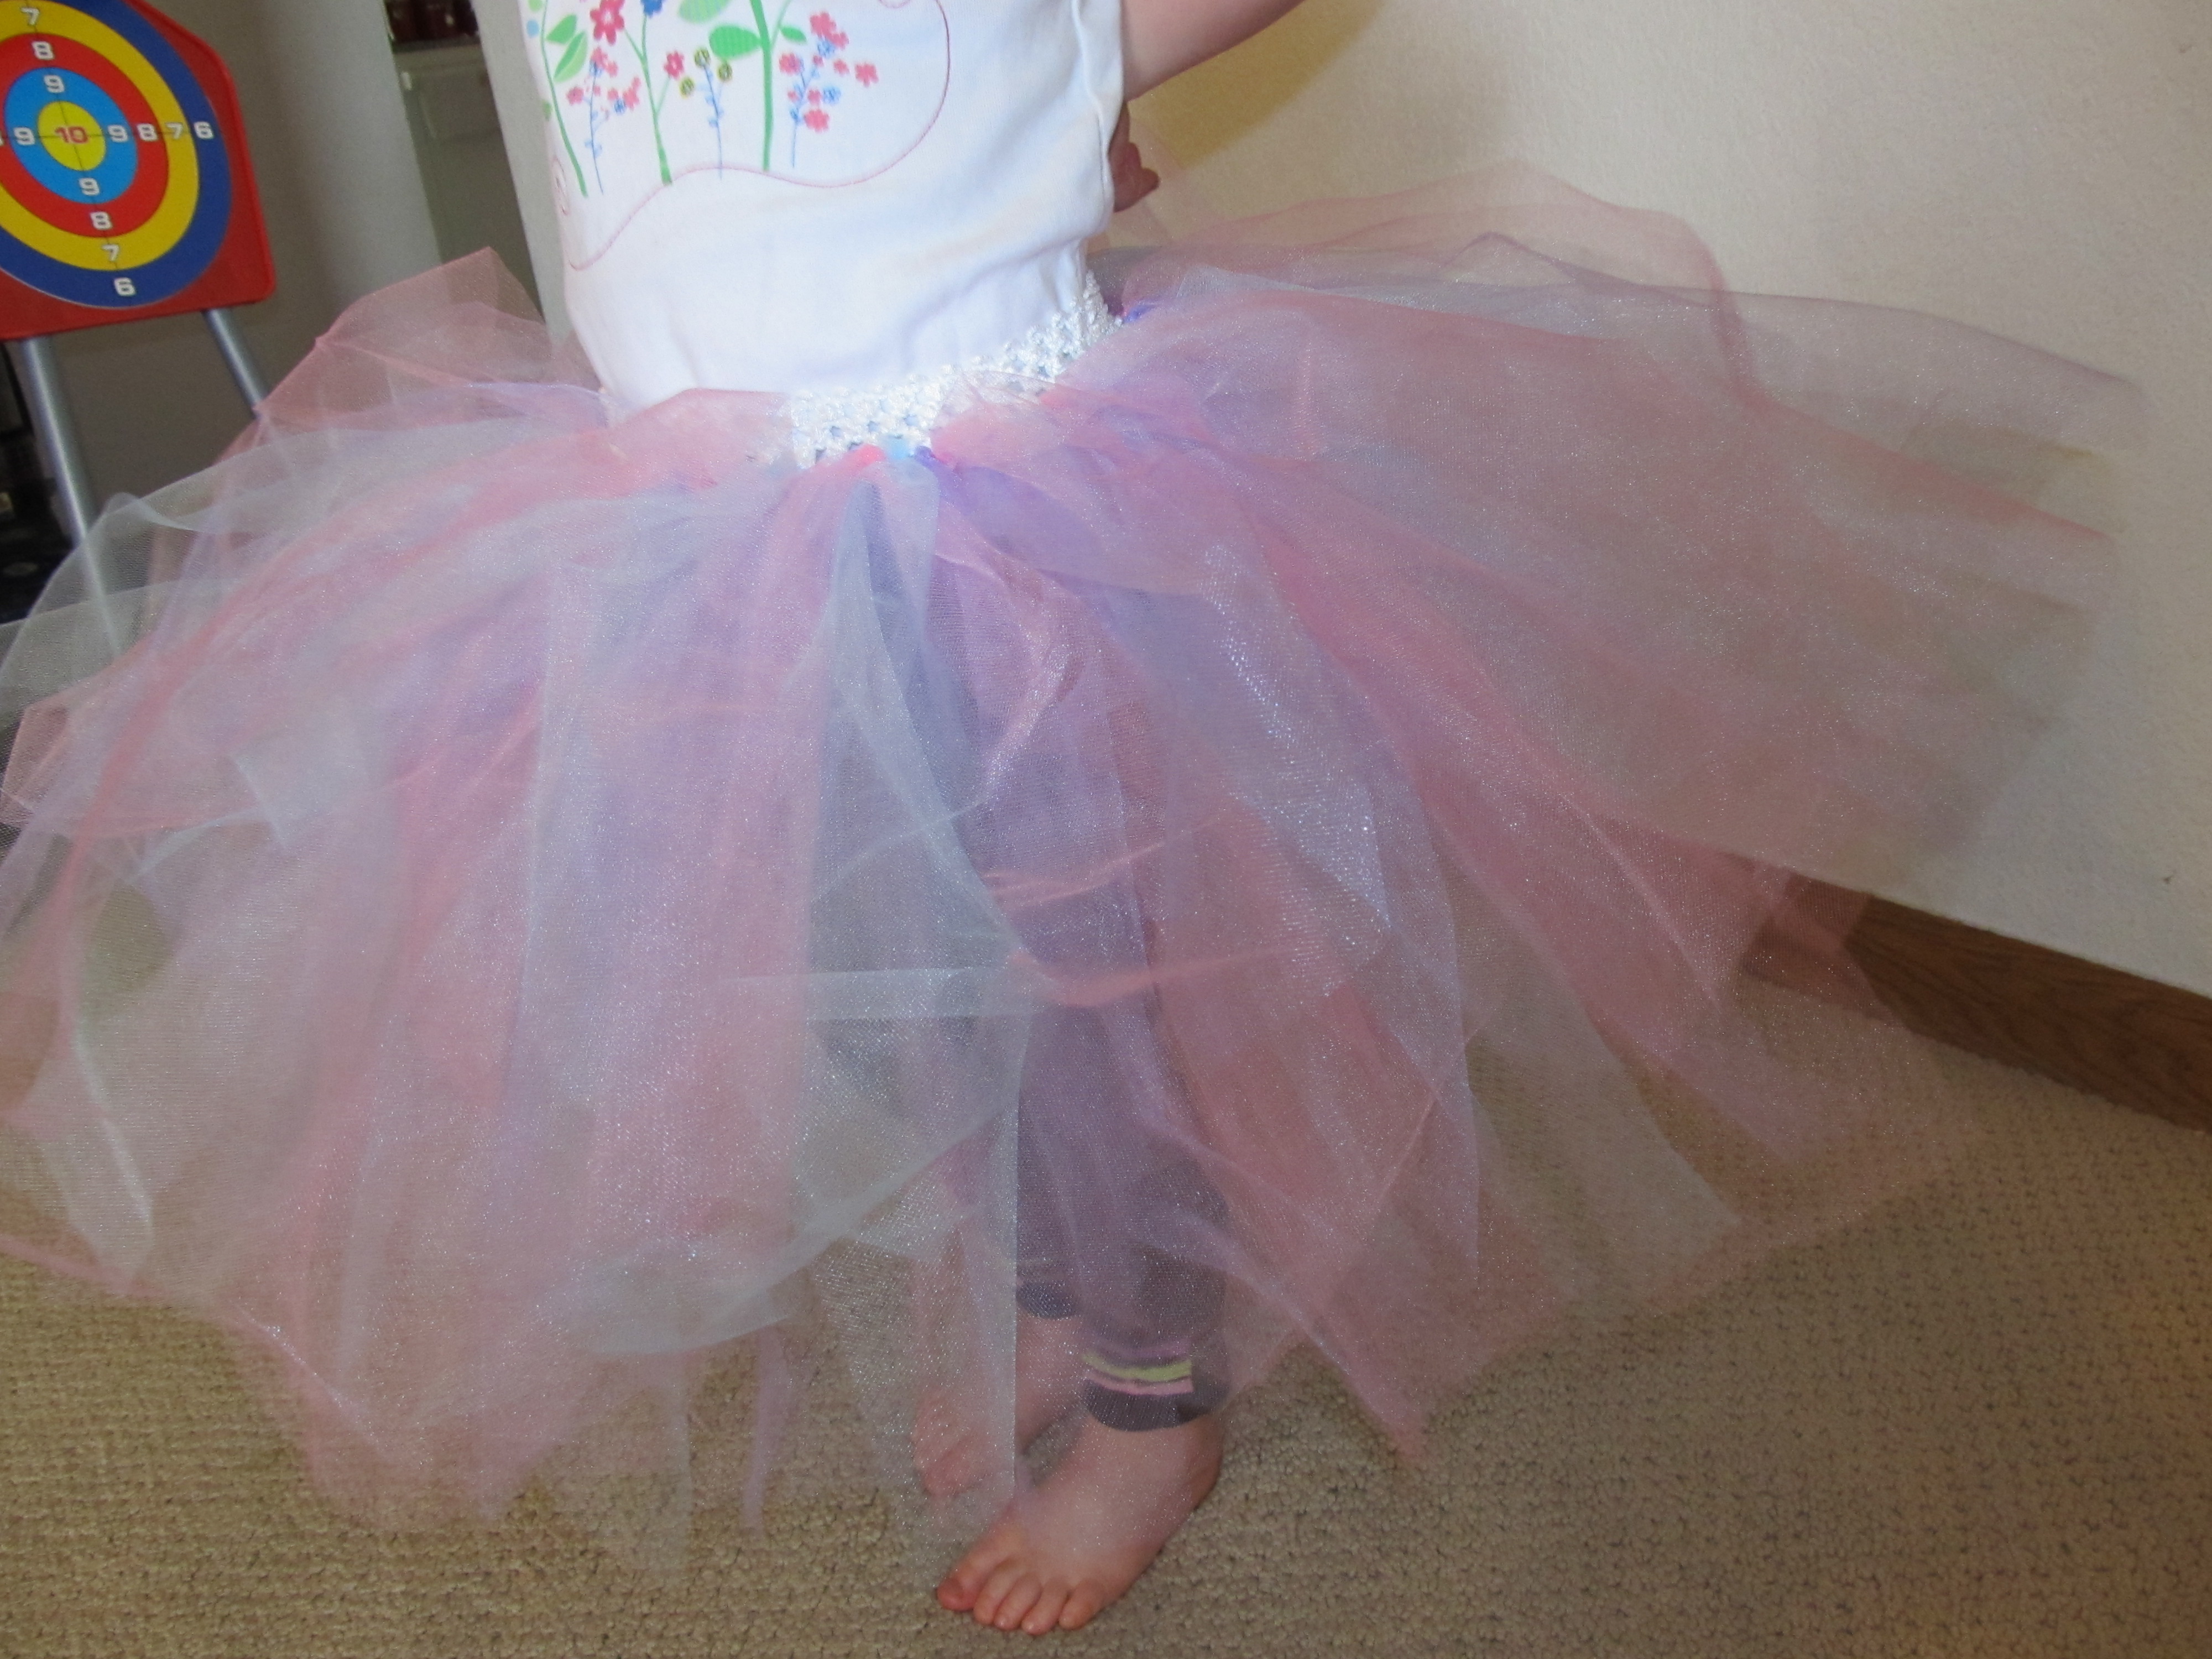
I’m glad we have beauty in our home once more.