Homemade Grape Jelly
A few weeks ago, one of our friends brought us some concord grapes from his garden. At first, I was overwhelmed with the prospect of making jelly from scratch, but there is something so satisfying about making your own jelly and jam. A few minutes into the process, I felt like Anne Shirley working in the kitchen of Green Gables (sort of…).
I started out by preparing my grapes. Luckily, I had a very small helper to remove the stems. After washing the grapes, it was time to crush them.
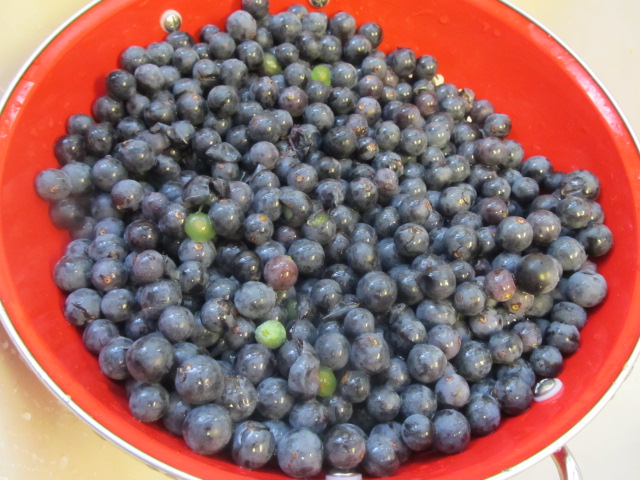
I’m sure if Anne Shirley were crushing grapes, she would have used some kind of potato masher, but since it’s the 21st century, I decided to use my food processor instead.
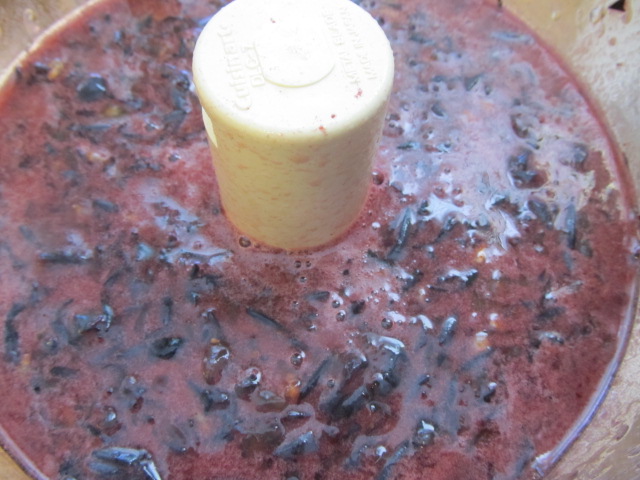
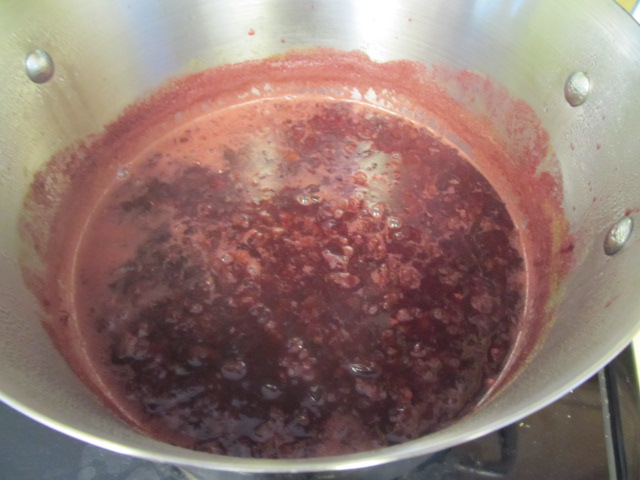
After the grapes are crushed, put them in a large pot. I ended up with just under 11 cups of crushed grapes. Fill the pot with water until all the grapes are covered (1 1/2 to 2 cups of water), and set the pot on the stove to boil.
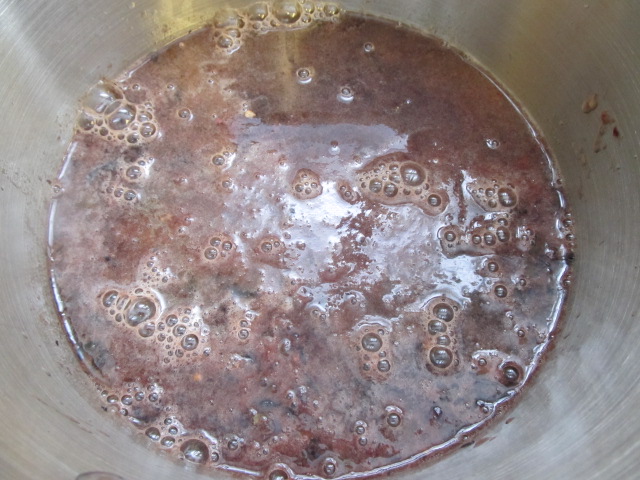
After the grapes start to boil, lower the heat to simmer for another 10 minutes.
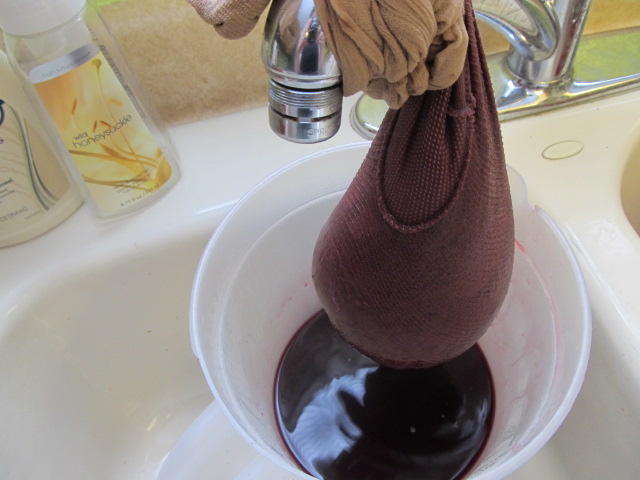
Now it’s time to strain out all the skins, seeds, stems, etc so you’re left with grape juice. Many people use a cheese-cloth. Fancy people use a designated jelly strainer. Since I have neither and don’t want to spend money on either I use…. PANTYHOSE! They work great. I very professionally attached the filled nylons to the faucet using a rubber band and put a pitcher underneath. After about 30 minutes of straining, I squeezed the nylons to get the rest of the juice out. Now not only do I have grape juice, but lovely purple nylons to match my new dress. (I hope you know I’m kidding… I didn’t actually plan to wear the nylons).
If you don’t feel like doing all this, you can just start with pre-made grape juice and pick things up here. This is also a good place to stop if you don’t have time to make the jelly in one day.
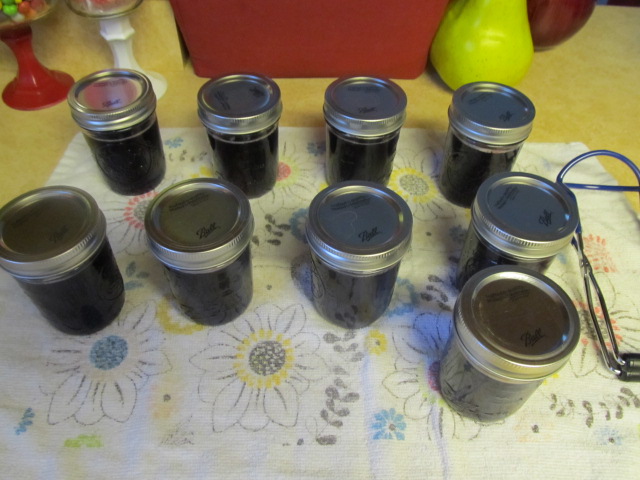
Before you start to cook the jelly, make sure you have your jars, lids and rings sterilized. I ended up using 9 8-oz jars. I put the jars and rings in the dishwasher, along with my canning equipment and put it through a wash cycle ending with a heated dry. Put the lids in a small pot of simmering water and let them simmer for a while.
After the jars and such are clean, set your jars on a rag on the counter with the lids and rims close by.
At this point, I also put my massive canning pot on the stove to boil. It requires a lot of water, which takes quite a while to boil.
Now to make the jelly (which is actually the easiest part of the process in my opinion).
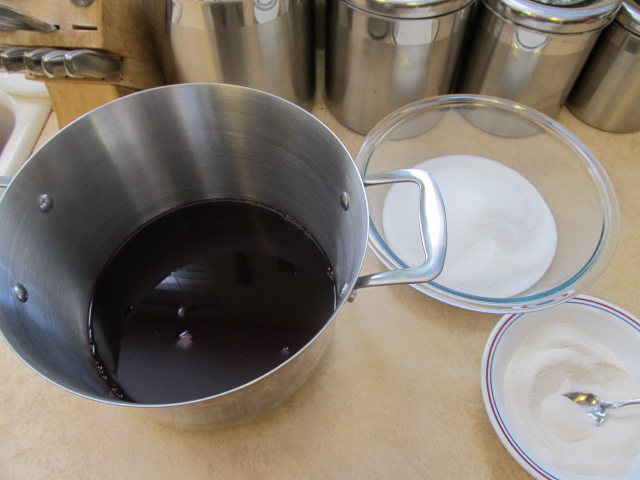
Measure out 5 1/2 C of your prepared grape juice and put it in a large pot. In a large bowl, measure out 3 1/4 C sugar . This is less than most recipes because I use a “less-sugar needed” pectin. Grapes are fairly sweet on their own and don’t need a ton of sugar. In a small bowl, mix together 1/4 C sugar and one package Less-Sugar needed fruit pectin.
Stir the pectin/sugar mixture (not the 3 1/4 C) into the fruit juice and put the pot on the stove on high heat, stirring constantly. When the mixture reaches a full-rolling boil (the boil doesn’t stop when you stir), add in the 3 1/4 C sugar.
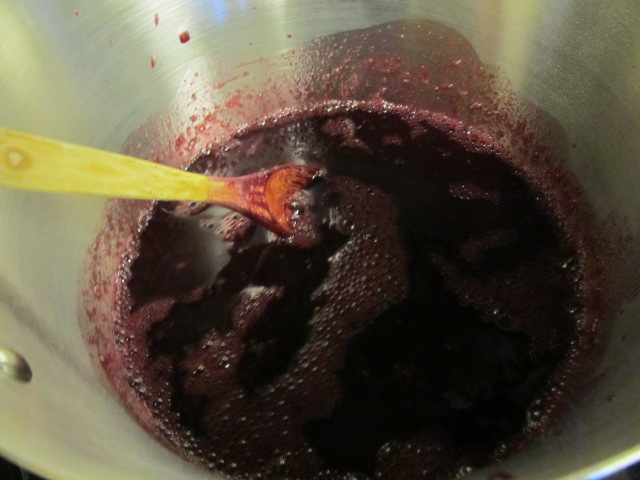
Continue stirring until the mixture comes back to a full-rolling boil. Boil for one minute (while continuing to stir. You may want to prep for this by beginning a weight-lifting program) and remove the pot from the heat.
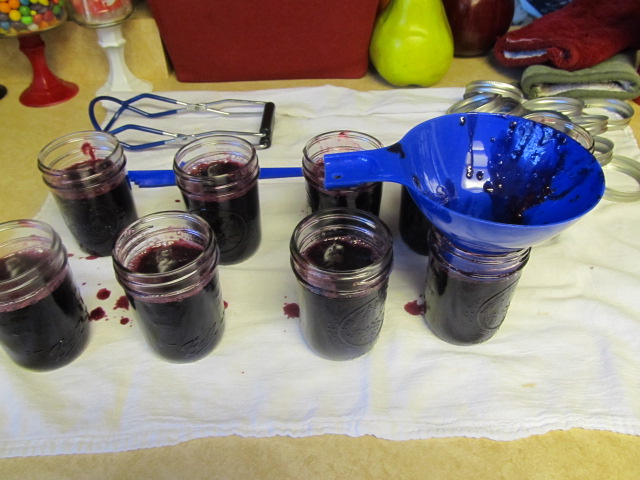
Now add the jelly to the jars. I use my canning funnel and a ladle. Fill the jars until they are level with the bottom of the canning funnel. This shot is to show you the mess I make when making jelly. Not exactly what you’ll see in a magazine, but probably more realistic.
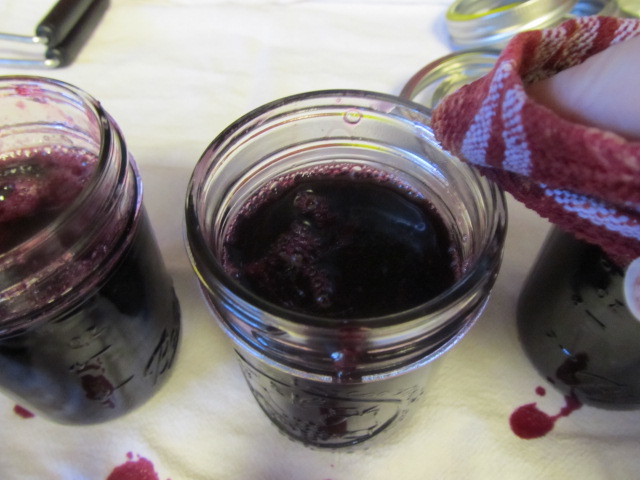
Before putting the lids on, wipe the rims of the jars with a damp cloth. This makes sure they’ll seal.
Put on the lids and rims and put them in the boiling water bath. Make sure to put the jars on an elevated rack before lowering them into the water. The water should cover the jars by about two inches.
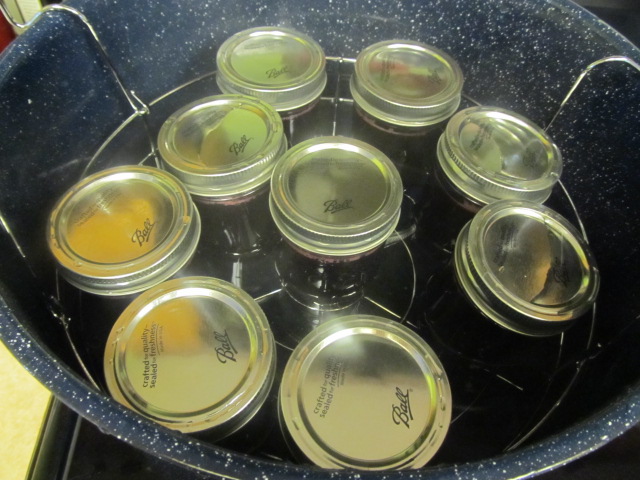
Processing time (how long the jars are in the water bath) varies by altitude. Here in Denver, I processed mine for about 15 minutes. At sea level, I’d only do 5 minutes. Check the instructions in your box of pectin for exact processing time.
Once the jars are processed, very carefully remove them from the water bath and set them on the towel. You may hear them pop. This is one of my favorite sounds as it means my efforts were successful!!!
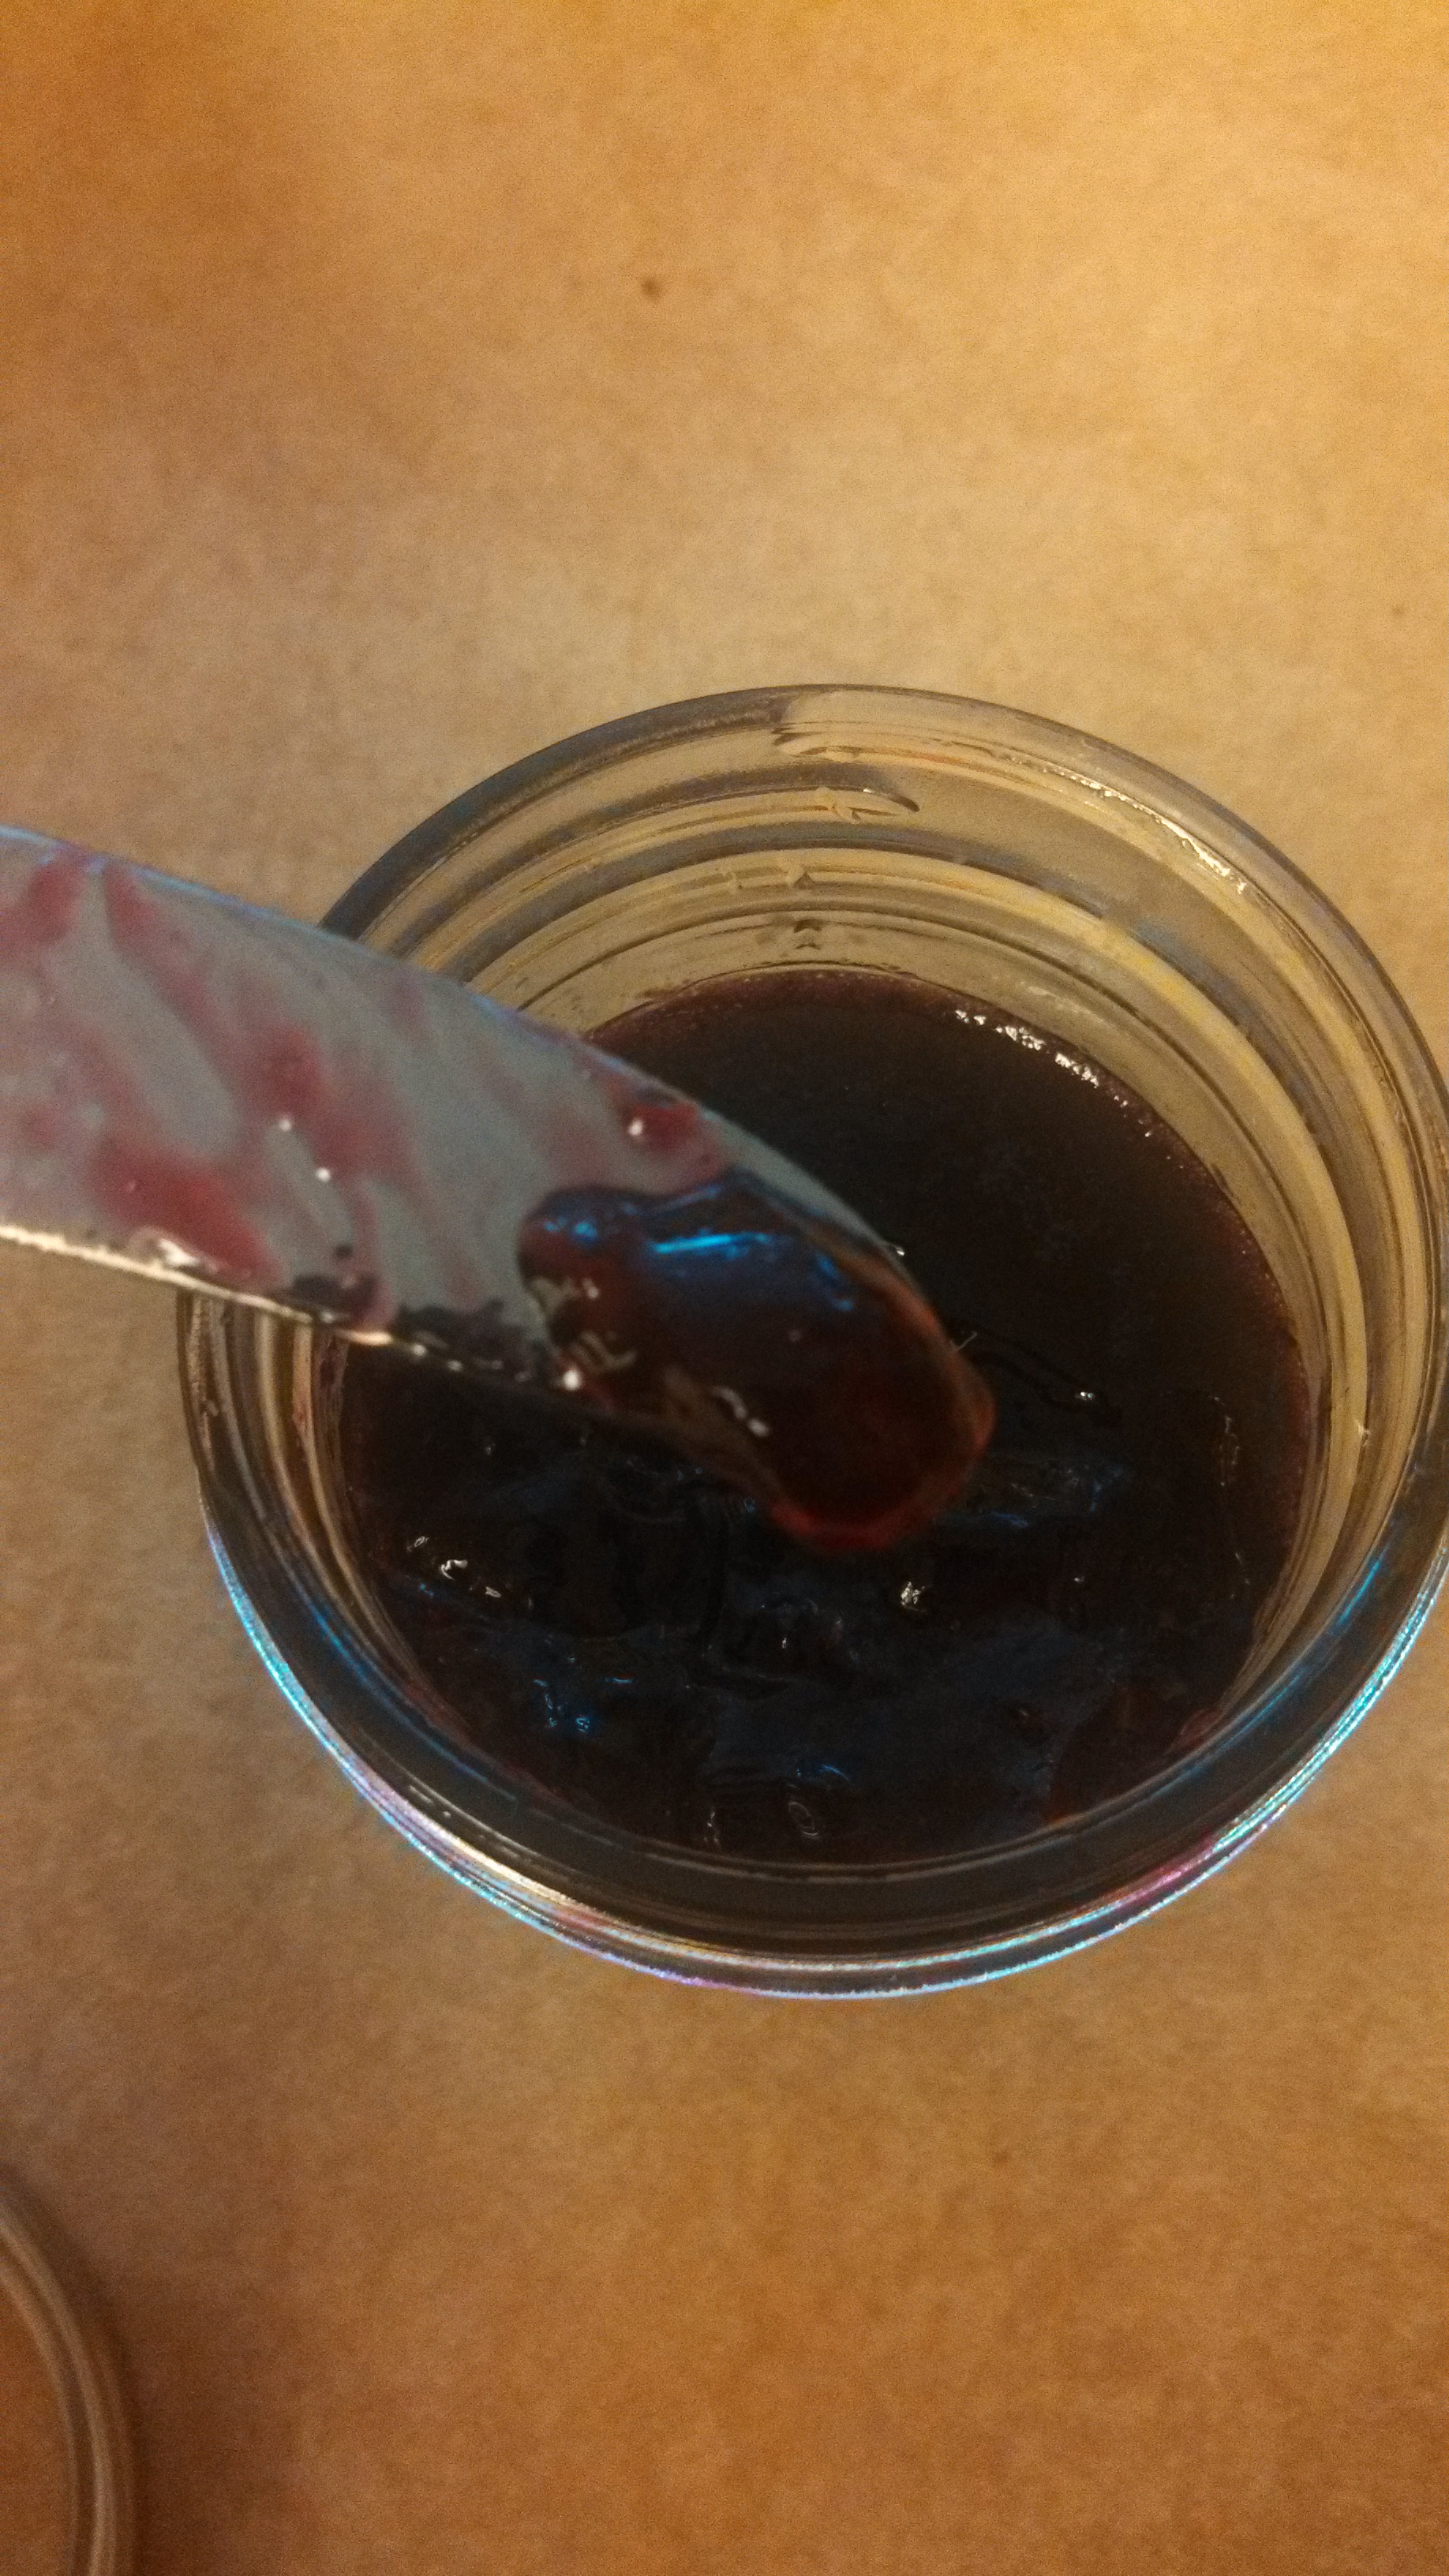
Now for the hard part. The jars have to sit undisturbed for 24 hours. After 24 hours, the jars are ready to be labeled and given out or put into storage. I always have to crack one open (even if I have open jams or jellies in the fridge) because I’m impatient and want to see how it turned out.
Again, it’s very satisfying to see.